Sourcetree (git GUI)#
The Sourcetree application is a git GUI with great compatibility to Bitbucket. It is recommended to use Sourcetree for convenience and standardization in the community. If you are not familiar with Sourcetree please refer to the following resources:
Note
The following description of the installation and usage of Sourcetree is basic. Make sure to check the links above to the Sourcetree and Bitbucket tutorial, which is provided by Bitbucket itself and quite useful!
Sourcetree installation#
The following details the installation of Sourcetree.
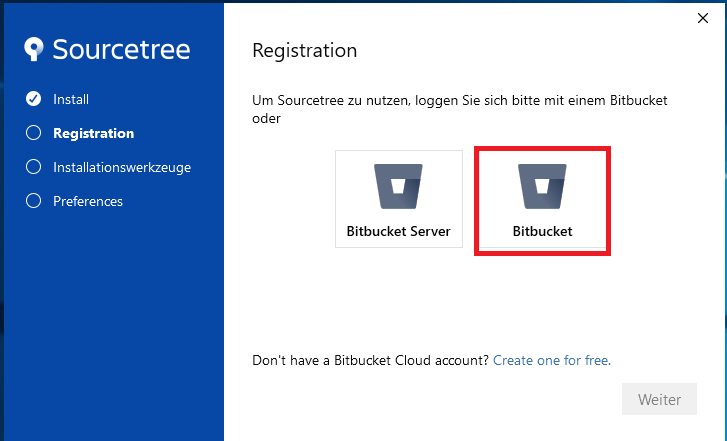
We use Bitbucket Cloud-hosted, so click Bitbucket (right).
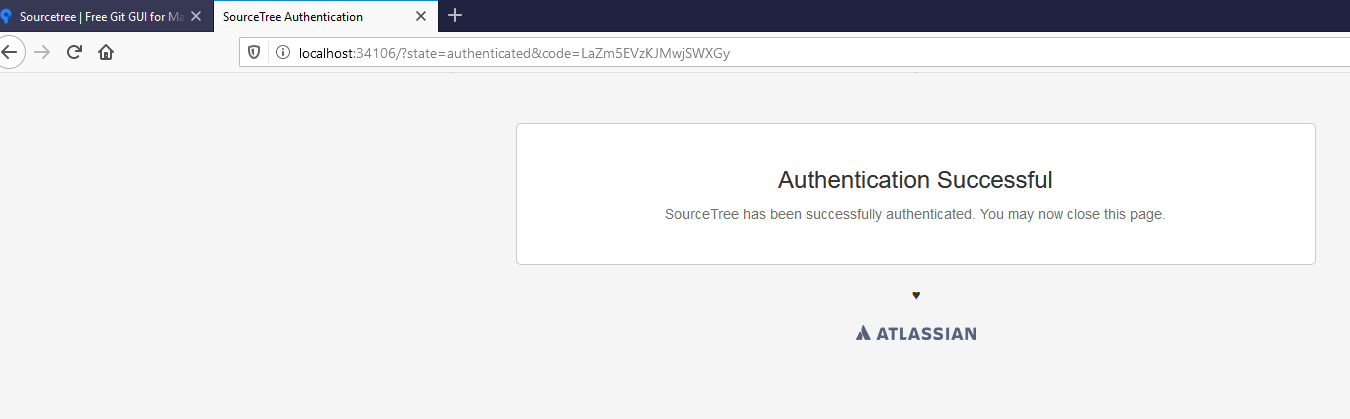
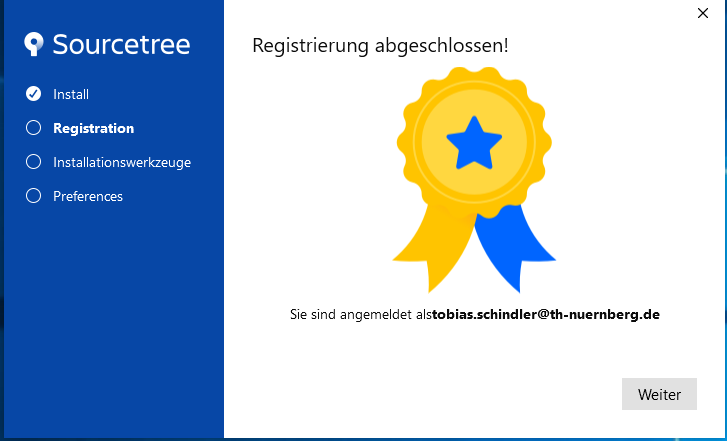
You will be asked to login to your Bitbucket account. If you do not have one, please create one <https://www.bitbucket.com> since it is required to access the software of the UltraZohm.

You only need to download and install git (if you do not have installed it already).

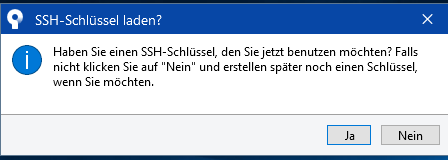
If you know what an SSH Key is, how to use it and want to use it, you can you it (Ja=Yes, Nein=No).
If you do not know what an SSH Key is, click Nein (No) and use clone by https in the following.
After that the installation is complete and you can open Sourcetree and you should be logged in and you see your remote repositories.
If you are in the UltraZohm team you will see the ultrazohm_sw repository.
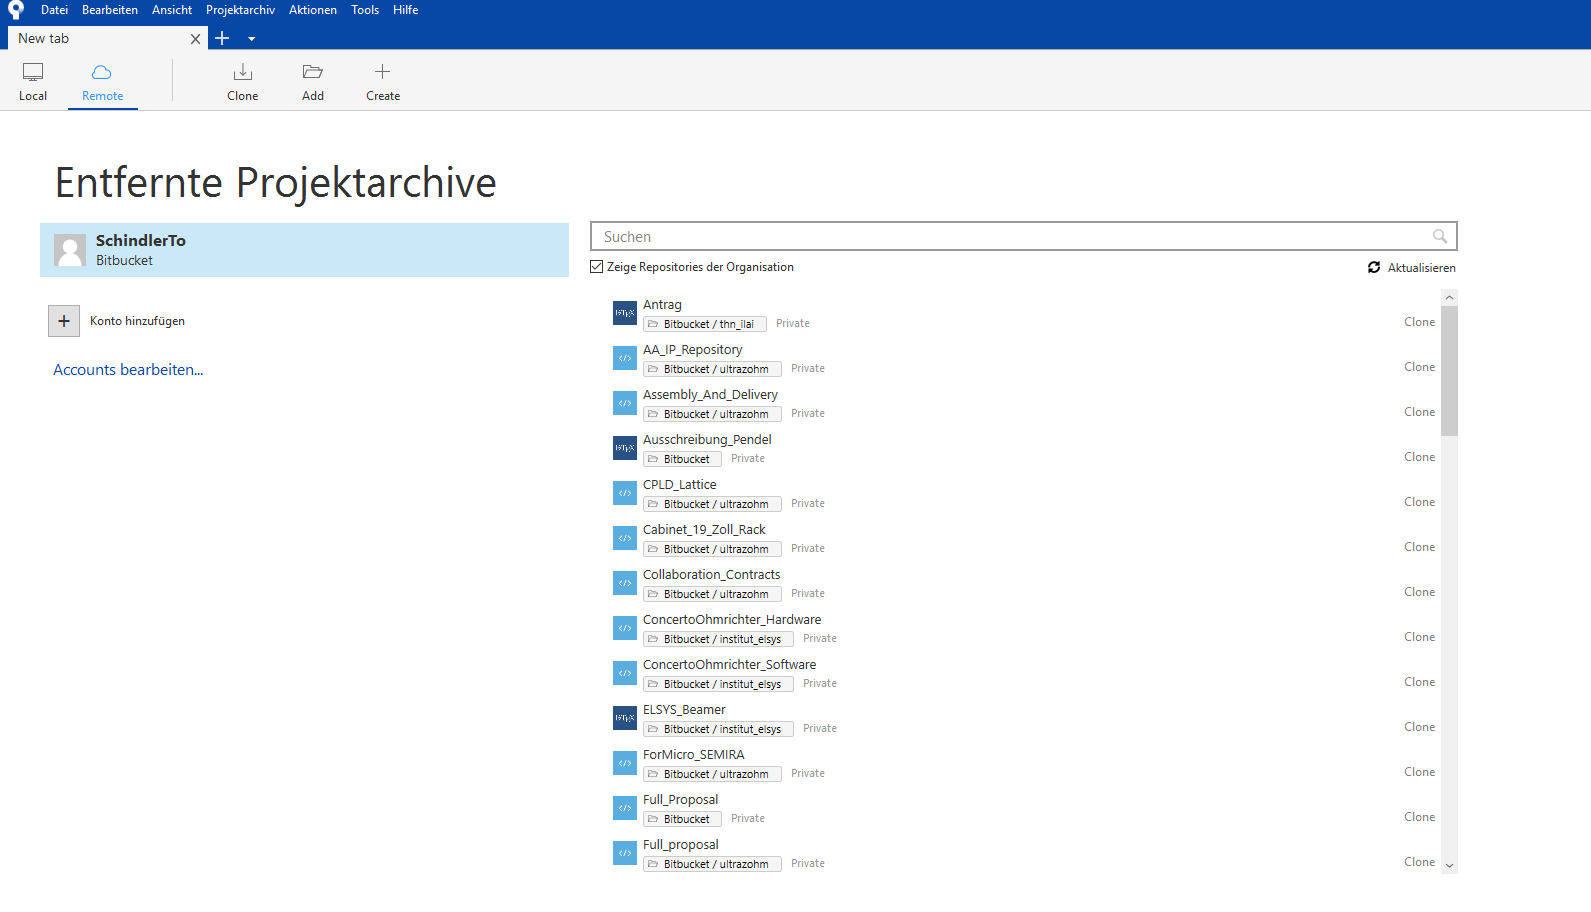
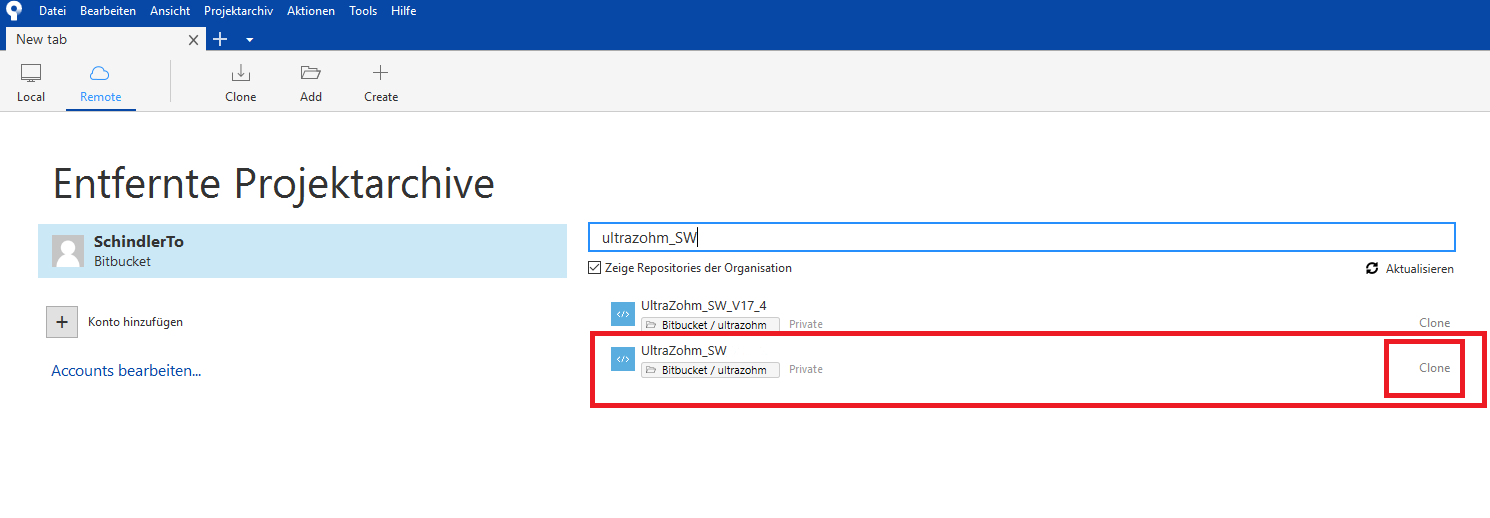
Click on clone to download the software to your local hard drive.
The dialog to clone the repository is opened and you can add the local path. It is recommended to use:
C:\UltraZohm\ultrazohm_sw
Under Advanced Options (Erweiterte Optionen) checkout the main branch.
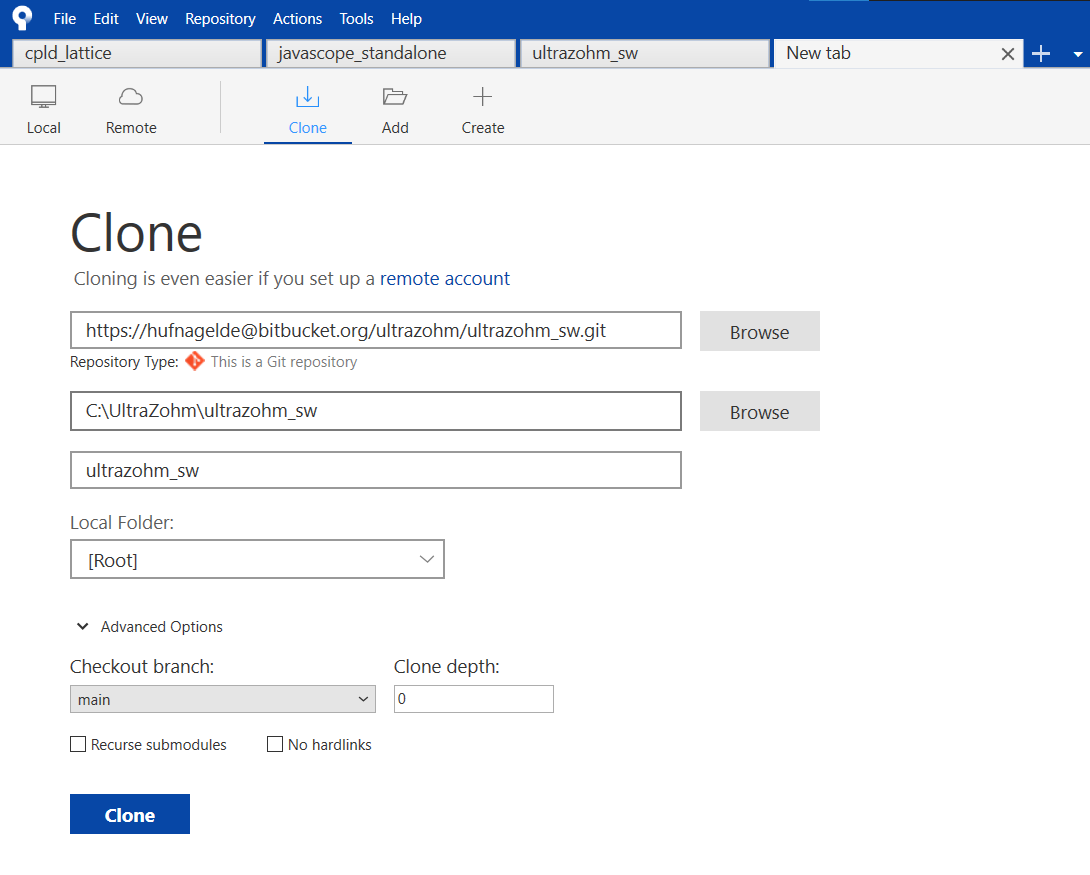
This will take some time, after the clone is complete, Sourcetree and the repository is ready to use.
You can and should change the language to English with Tools--> Options which is highly recommended or the specific git commands will be translated!

Sourcetree known issues#
Note
Sourcetree installation with version 3.3.8 does not create a desktop link to the program. To create a desktop shortcut, navigate to the install path which is:
C:Users\USERNAME\AppData\Local\SourceTree
Where USERNAME is the name of your Windows user account. Note that the path might be a hidden folder.
To create a shortcut right-click the sourcetree.exe and click create desktop shortcut.
Sourcetree git-flow#
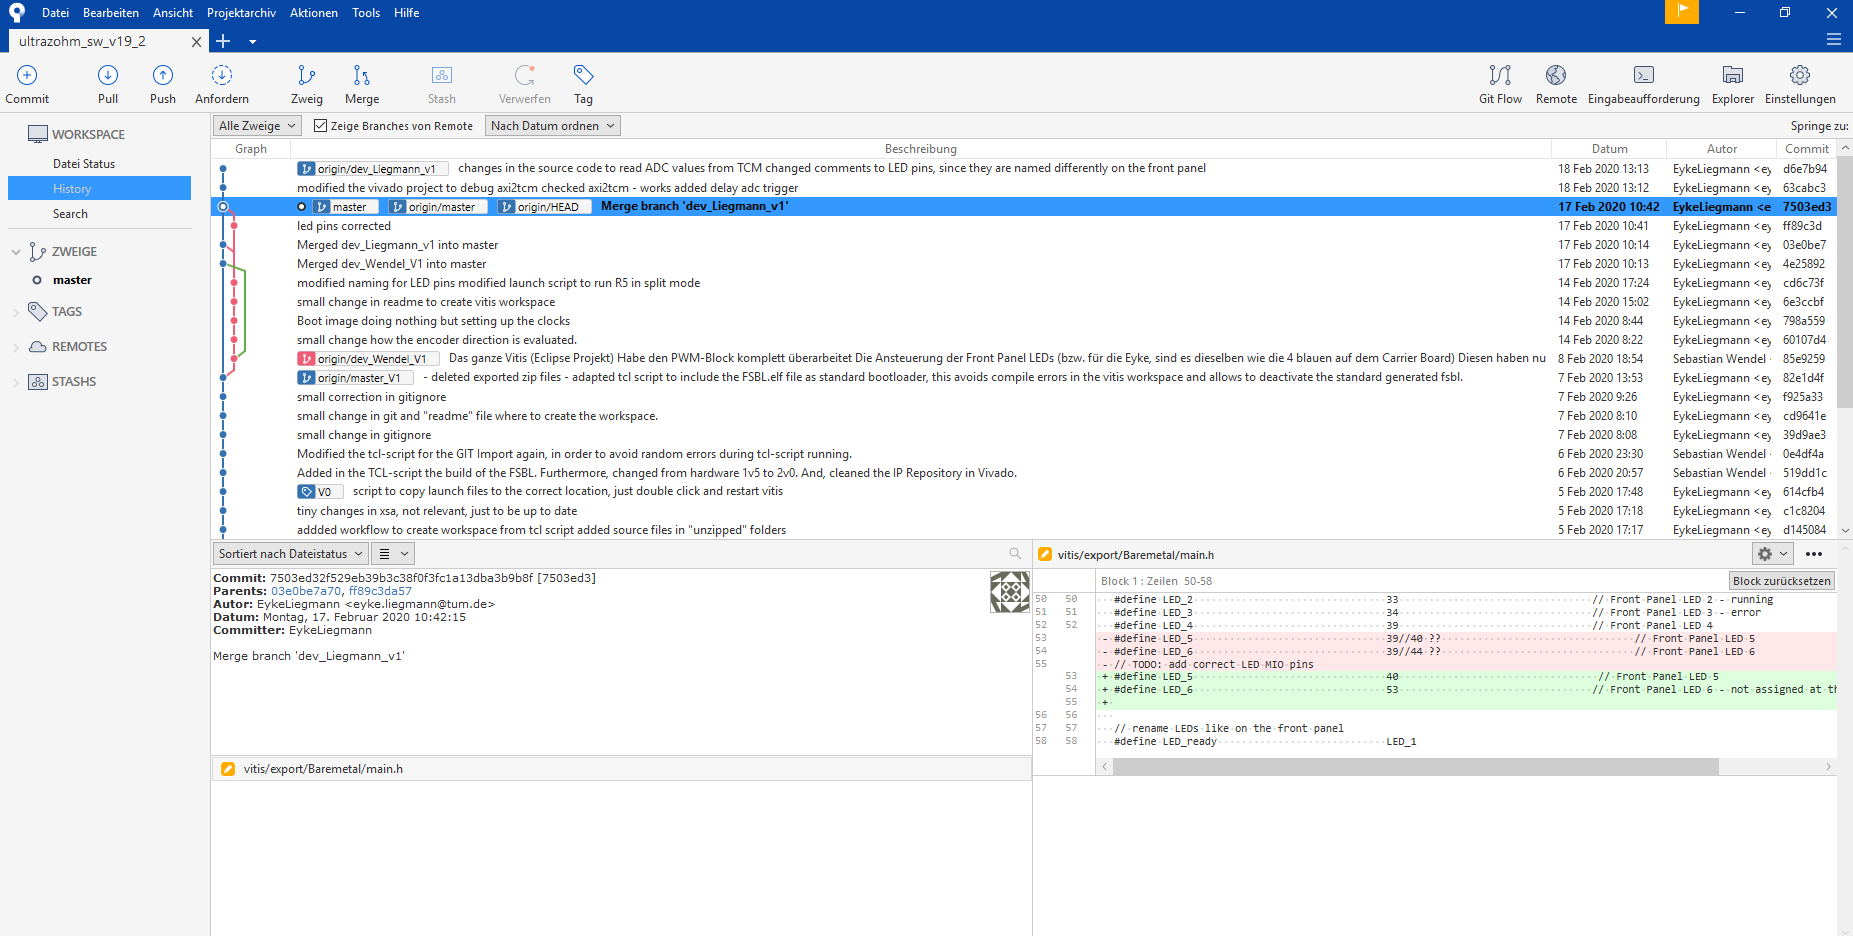
We use the git-flow workflow as a branching model for the ultrazohm_sw repository.
Git-flow is integrated in Sourcetree and straightforward for users.
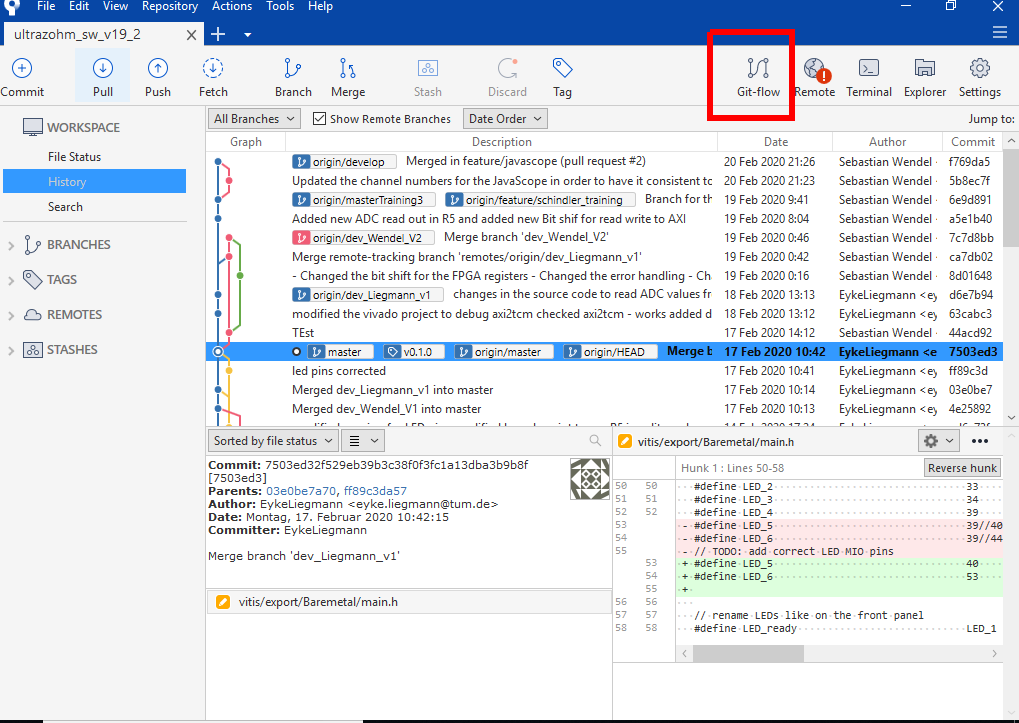
To use git-flow for the first time click the git-flow icon in Sourcetree.
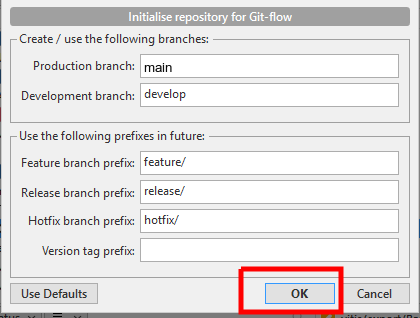
A window pops up which asks you to initialize the repository for git-flow. Just click ok.
Warning
Change master to main. Do not change the other default settings!
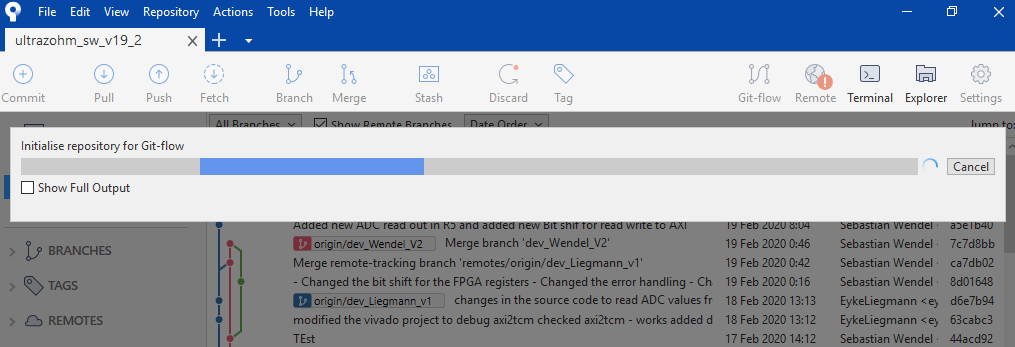
Git-flow is initialized in the repository (takes a few moments).
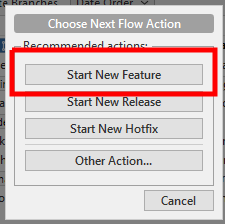
Click again on the git-flow icon in Sourcetree, you are prompted to choose a git-flow action.
The only relevant action for users is Start New Feature - click it.
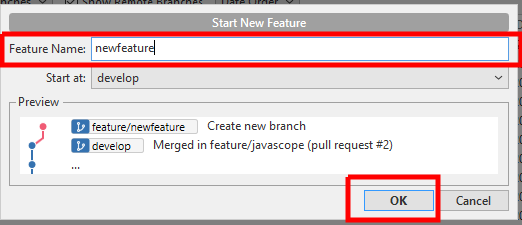
You are asked to give a name for the feature, enter an expressive name, and click ok. Naming:
featurenameis a feature branch withfeaturenamereferring to what feature is developed - e.g.oversamplingif the feature is about oversampling
Warning
do not change start at: develop to anything else.
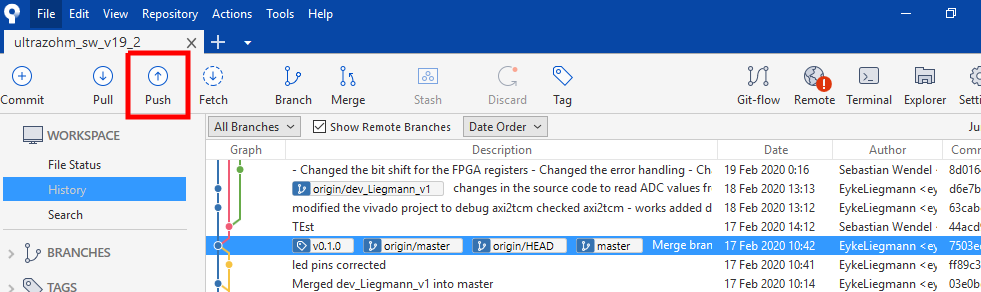
The feature branch is now created on your local machine and you can start working. If you want to push the new branch to the remote repository just click push.
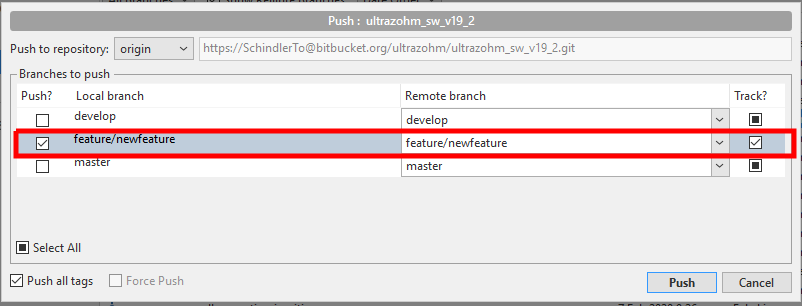
You are asked which branches should be pushed to the remote repository. Select your feature branch and click push.
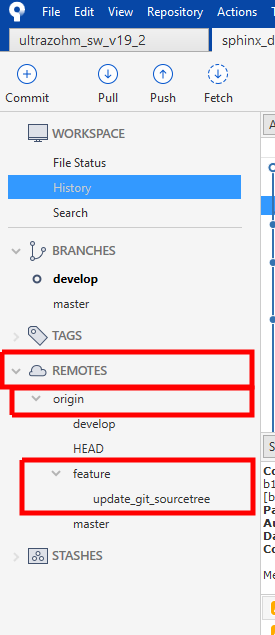
To see the remote branches, unfold remotes, origin and feature (small arrow). After you pushed your branch it will be visible here, if not, fetch the remote.