UltraZohm Setup#
Requirements#
Installed Xilinx toolchain (Vivado and Vitis)
Installed Java
Vivado license
Installed git
Bitbucket account
(Optional) Sourcetree
Aim#
Set up the physical connections of the UltraZohm
Generate the bitstream with Vivado
Generate the Vitis workspace
Program the UltraZohm
Debug the UltraZohm
Connect the Javascope to the UltraZohm
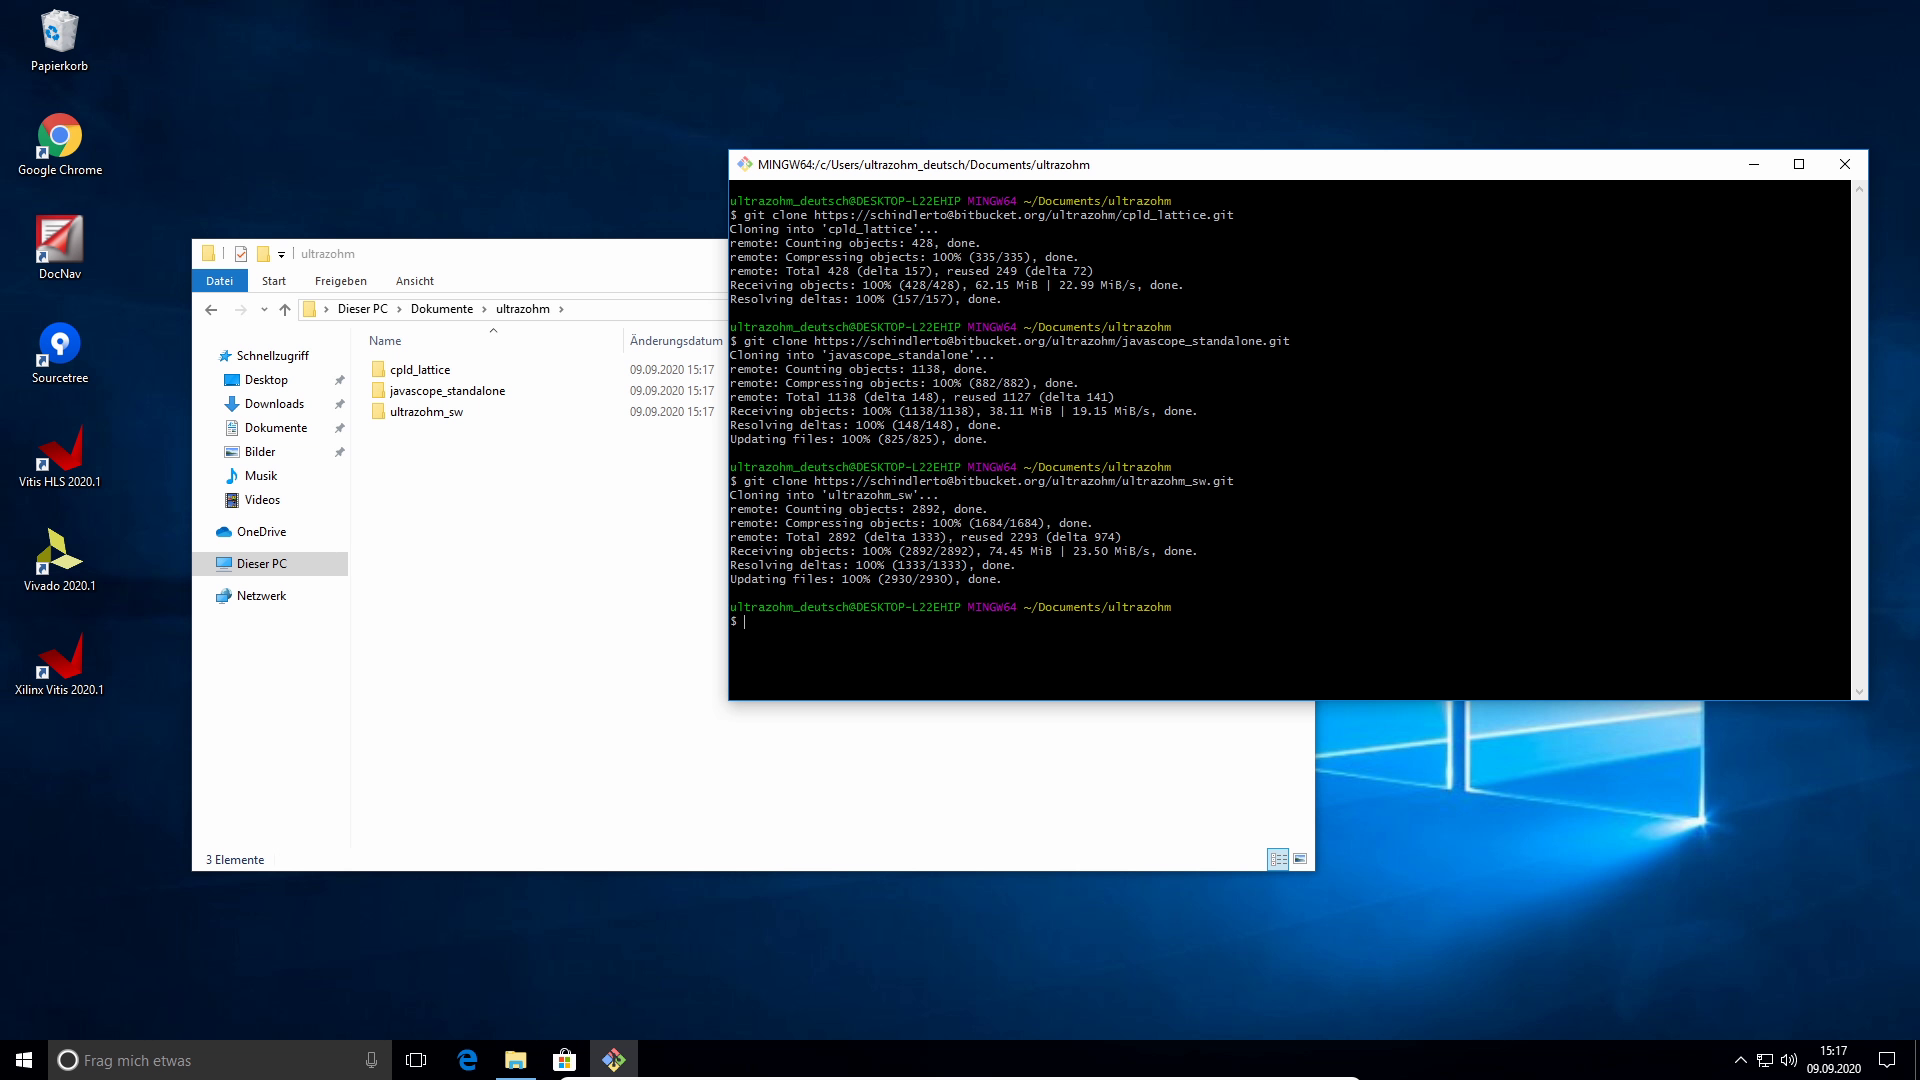
Clone the UltraZohm repositories#
Create a folder
ultrazohmUse Git Bash or a terminal to clone the repositories
git clone https://bitbucket.org/ultrazohm/ultrazohm_sw.git
After executing the git clone command, the following directory structure exists.
./ultrazohm/
    ultrazohm_sw
Generate the Bitstream with Vivado#
Open the block design#
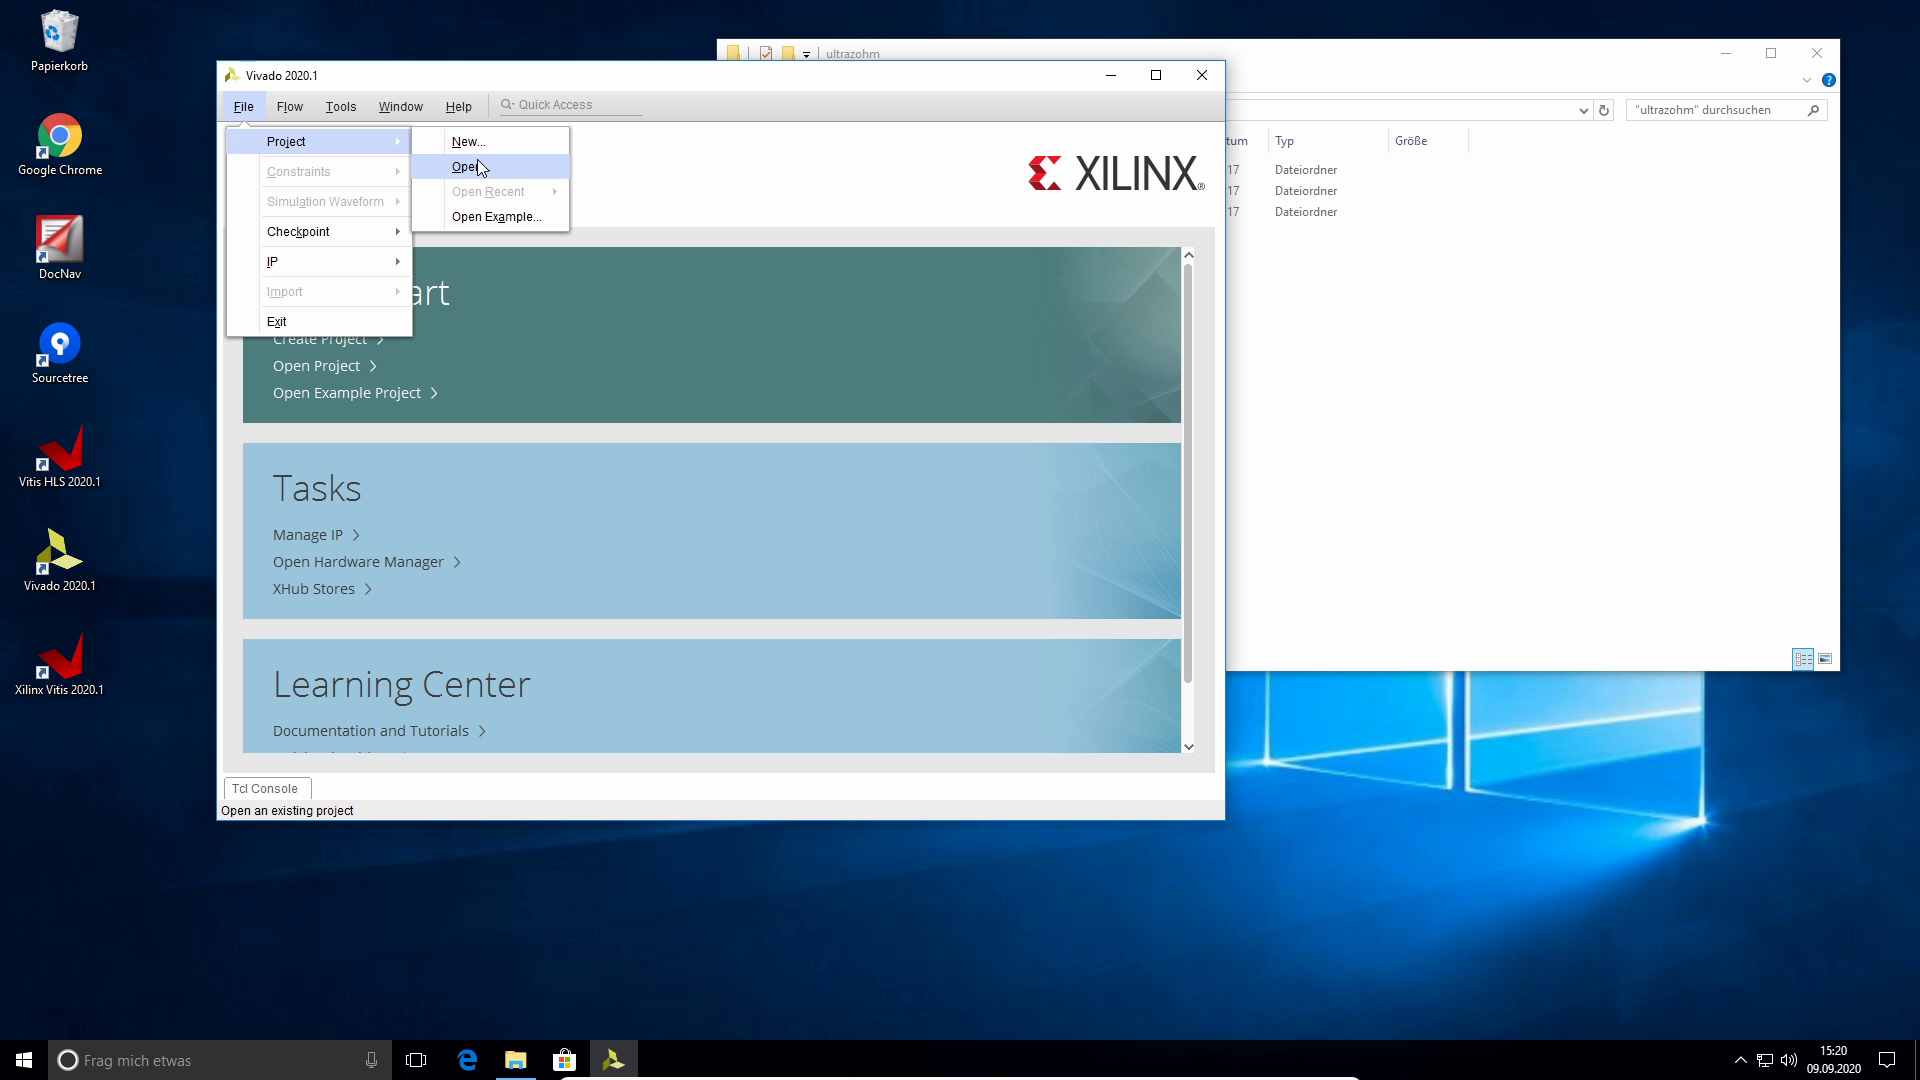
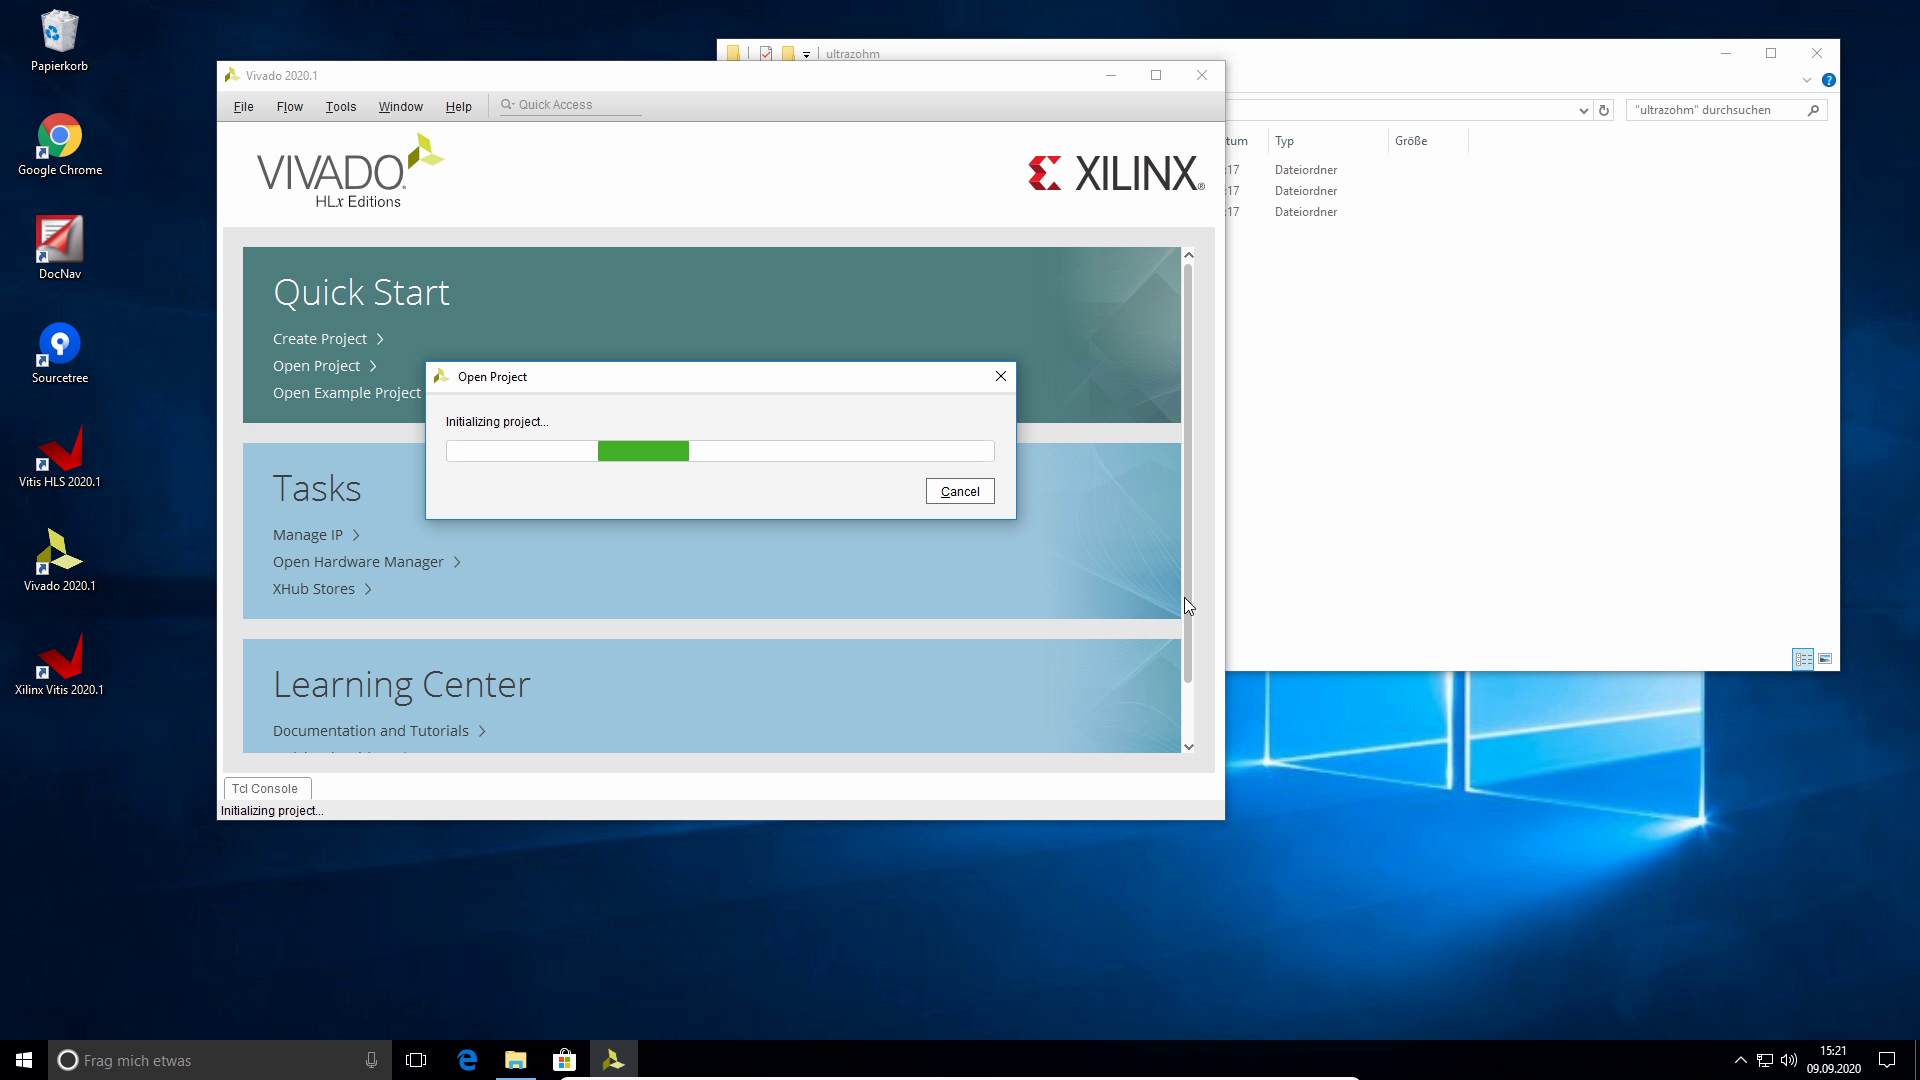
To generate the bitstream in Vivado, open Vivado by double-clicking it.
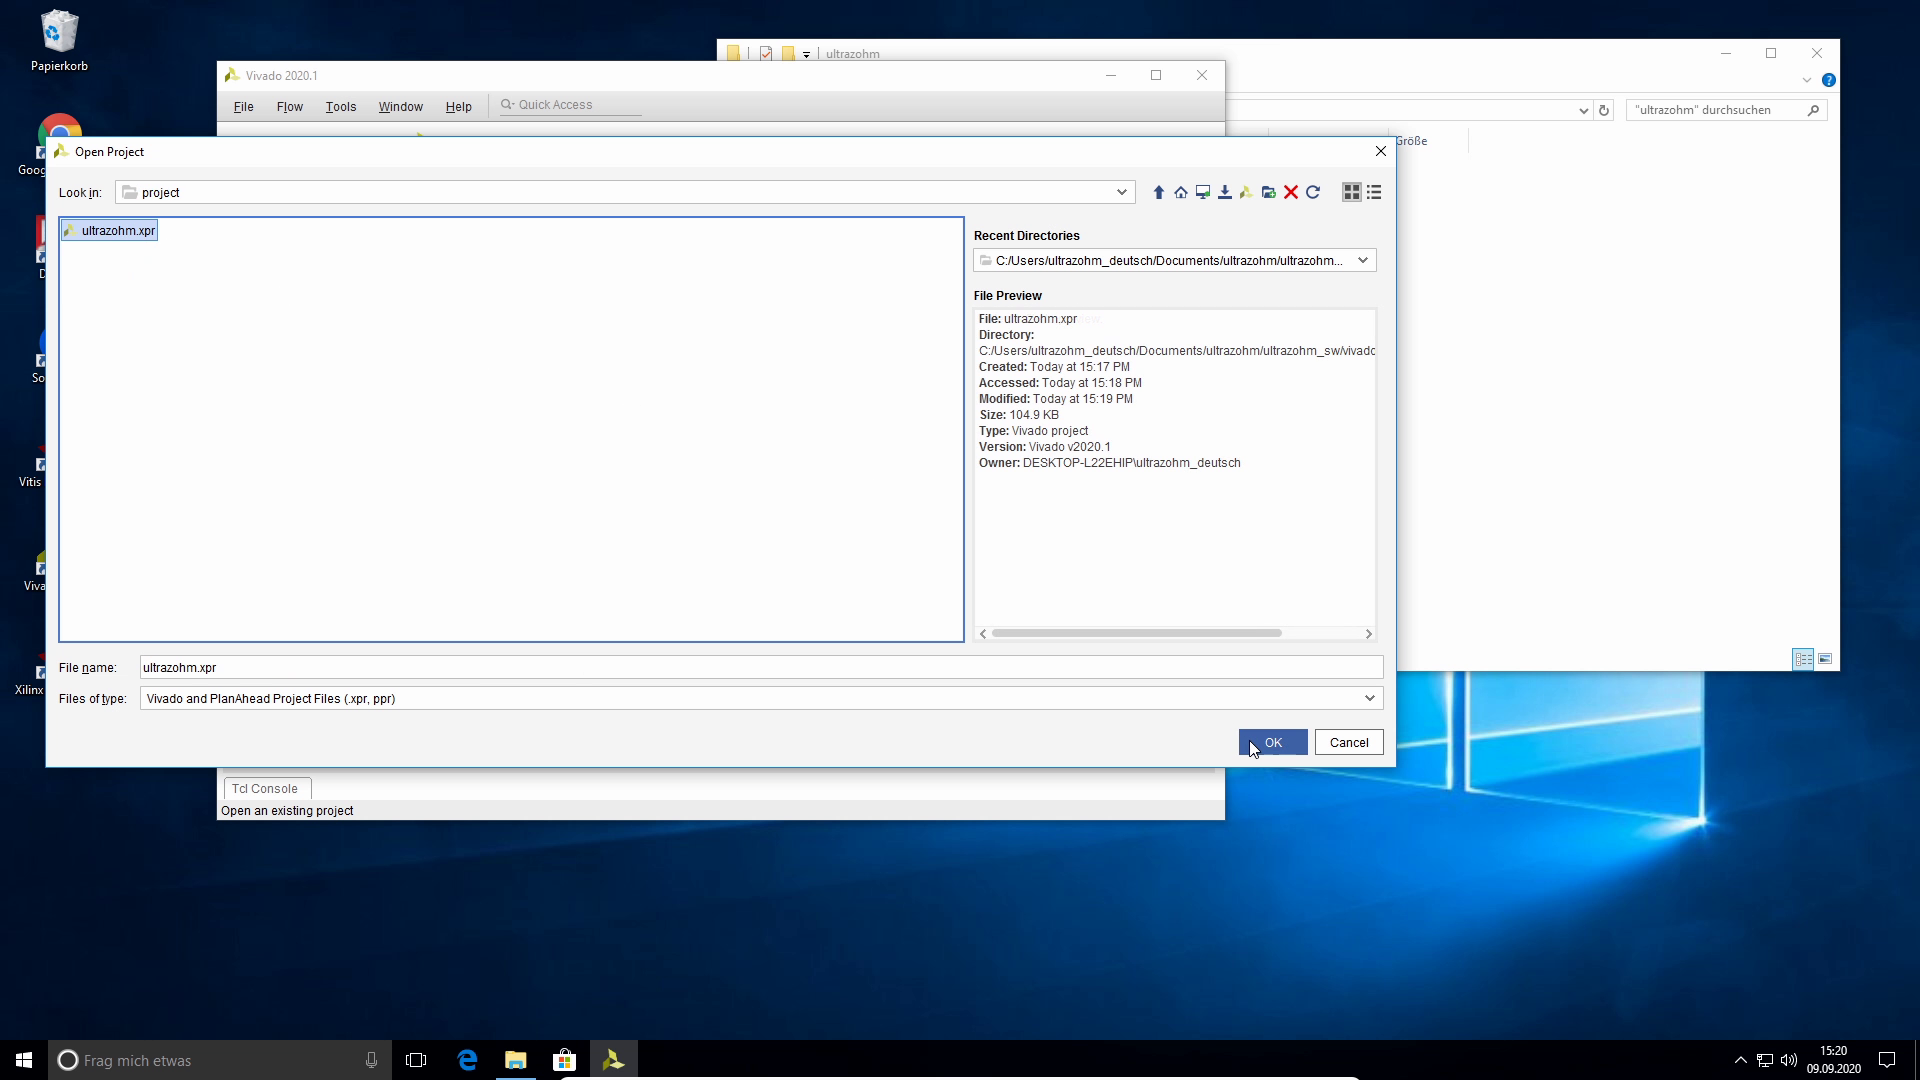
Open the project in
File -> Project -> OpenChoose the file
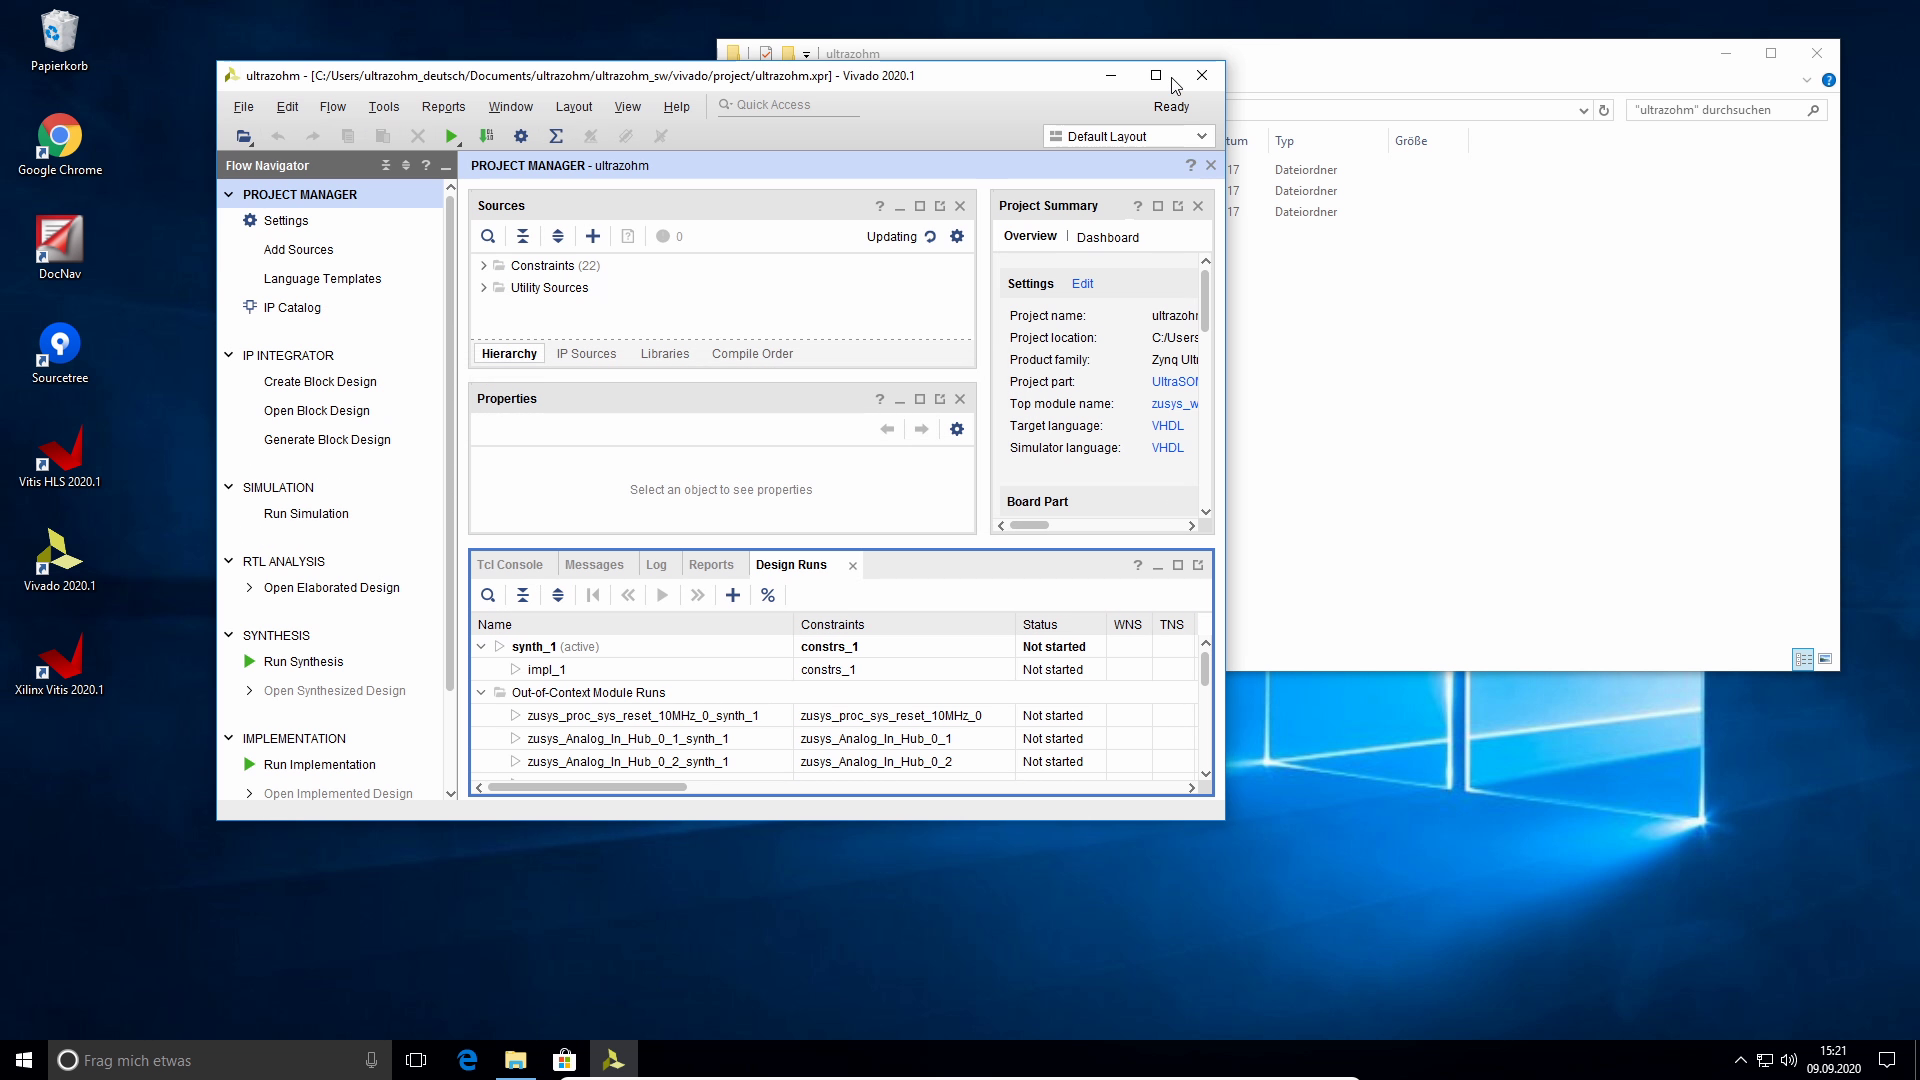
~/ultrazohm/ultrazohm_sw/vivado/project/ultrazohm.xprThe project initializes
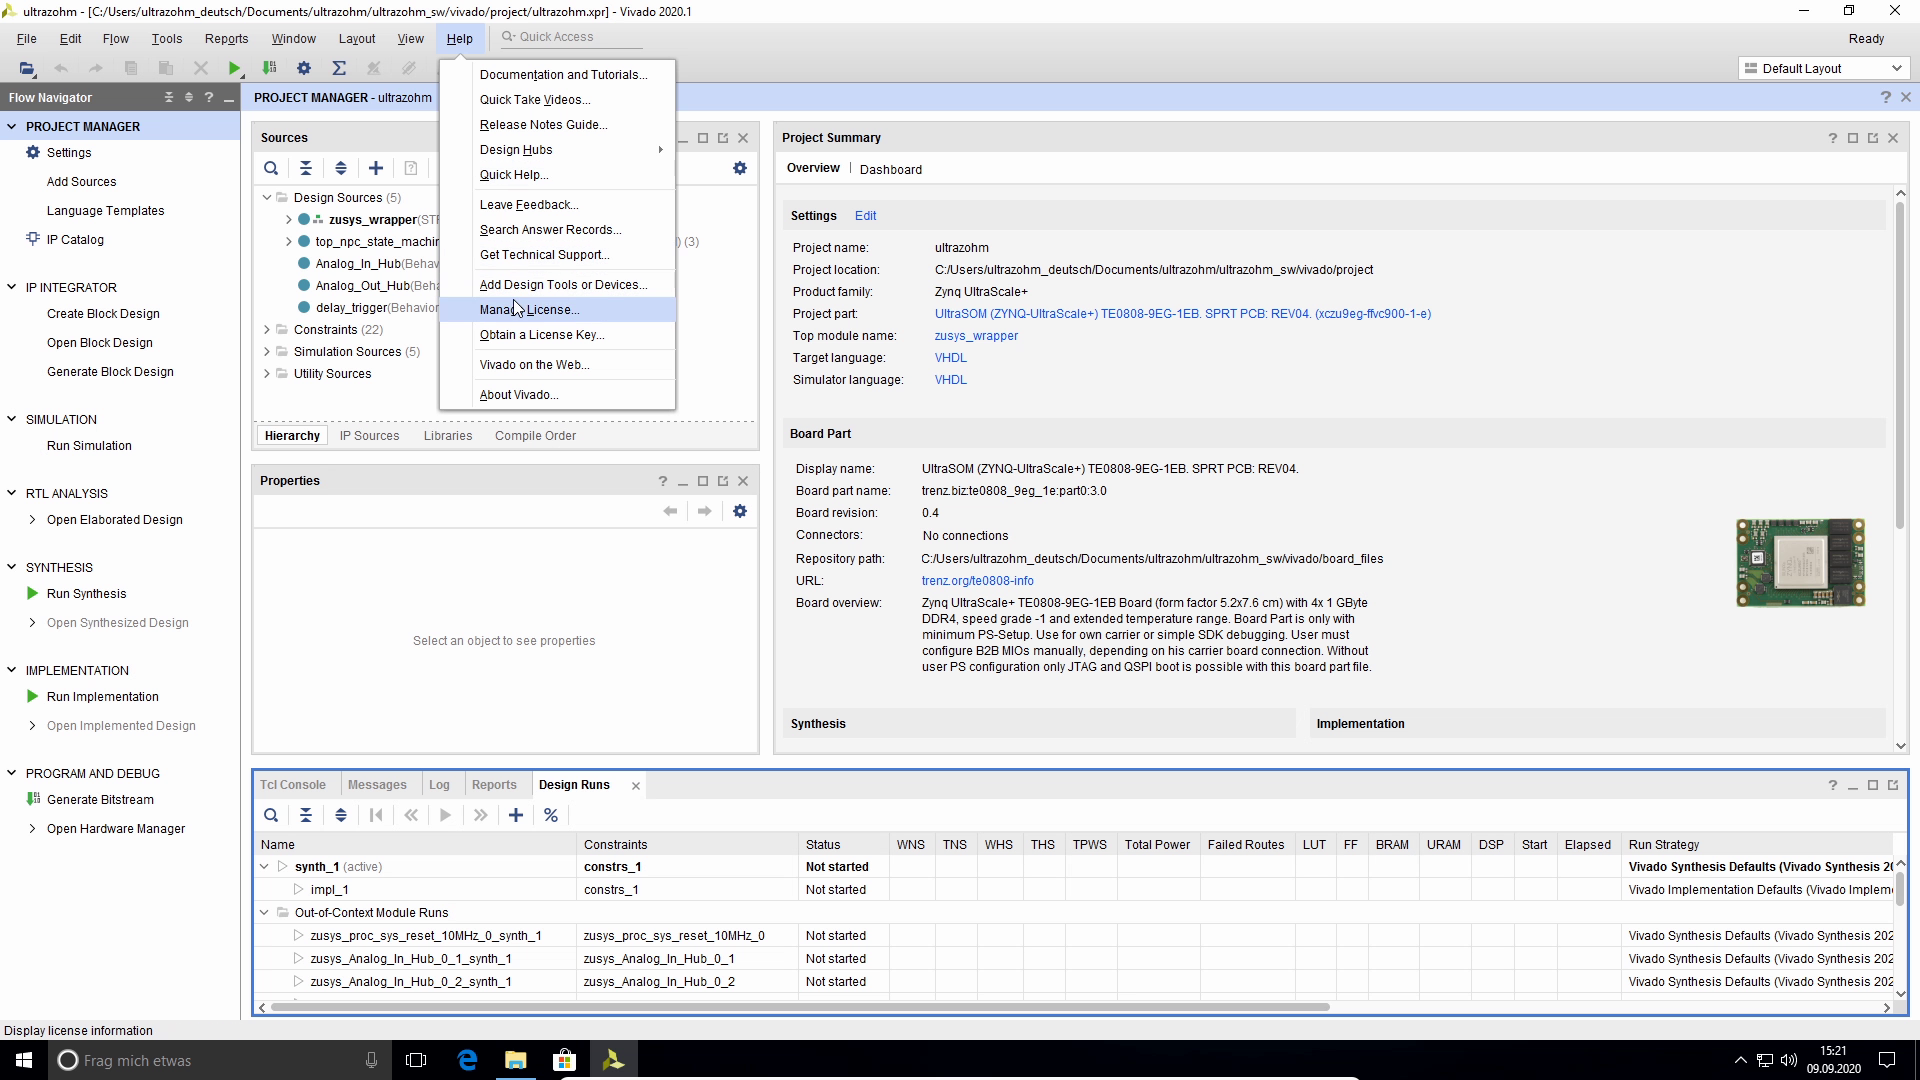
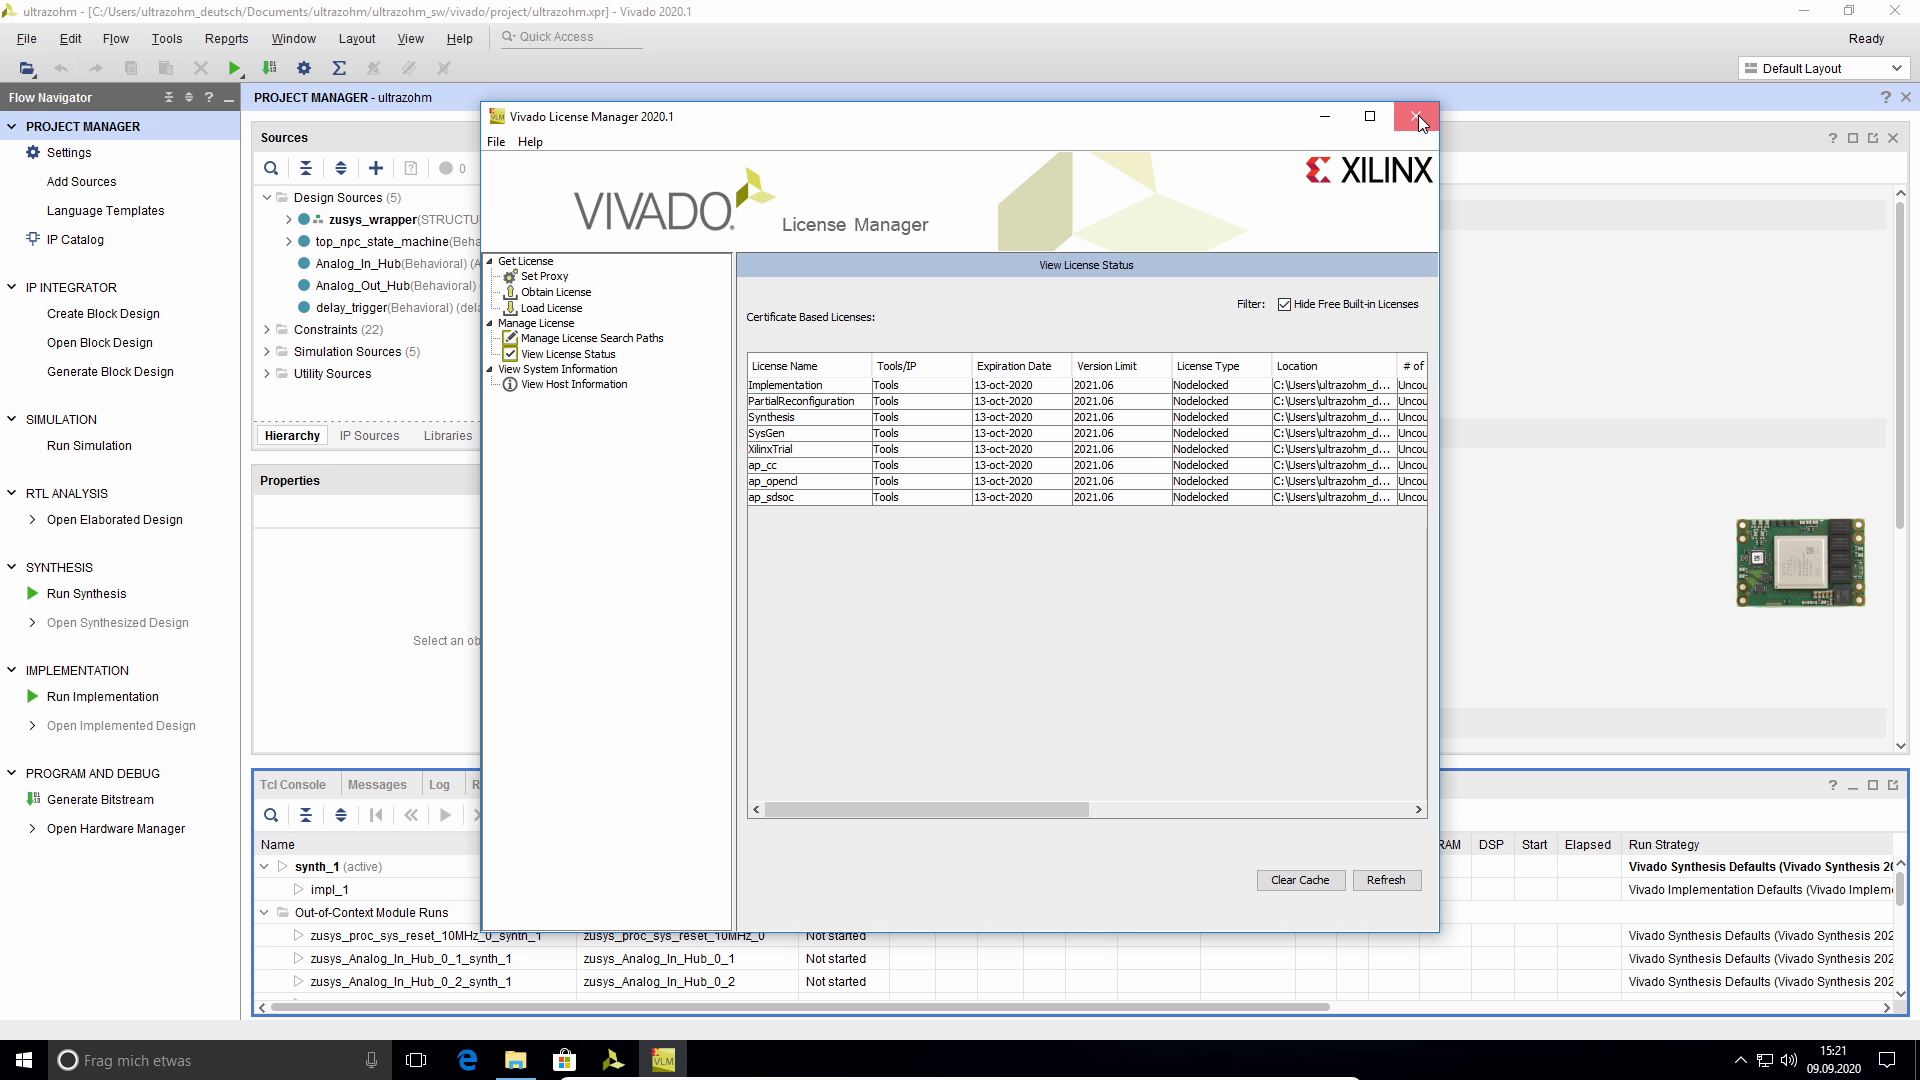
Check if a valid Vivado license exists in
Help -> Manage License -> View License StatusClick
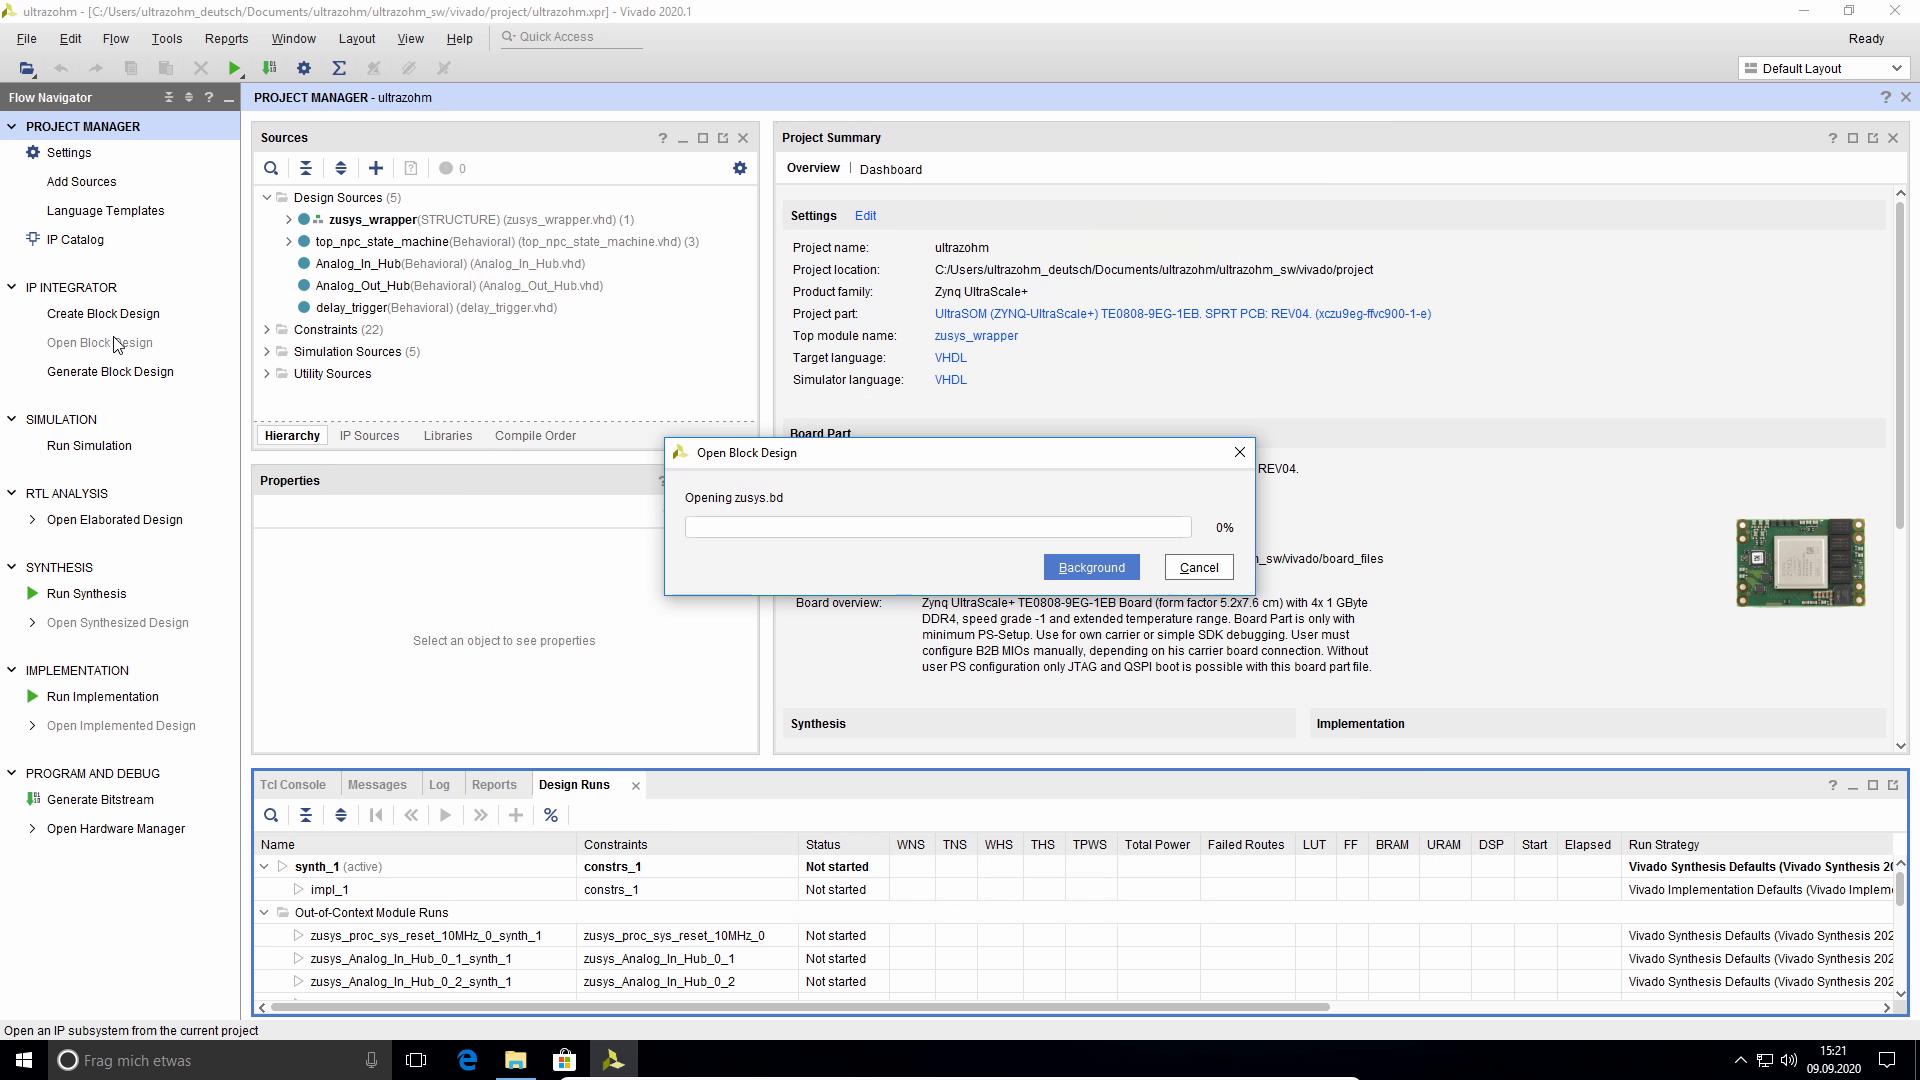
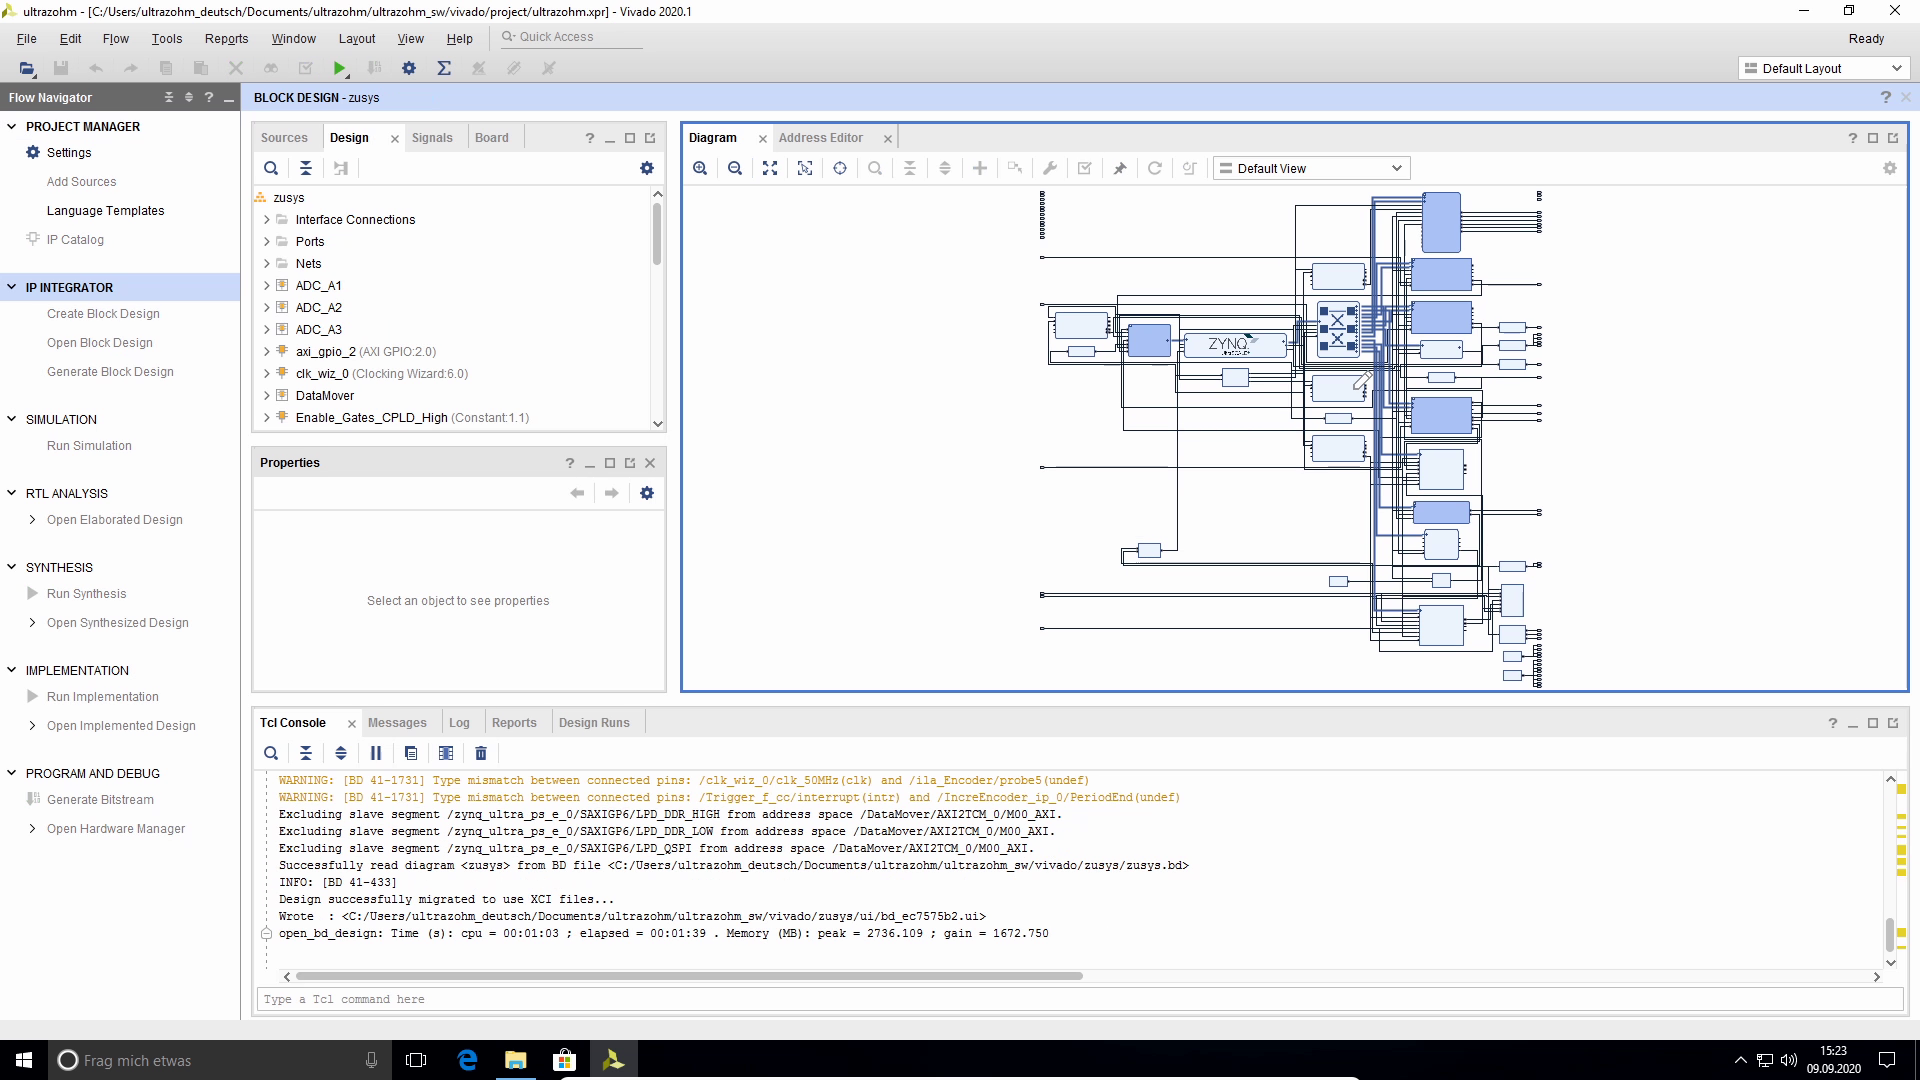
Open Block DesignThe Block Design is opened (takes several minutes)
Generate Bitstream#
Click on
Generate BitstreamClick
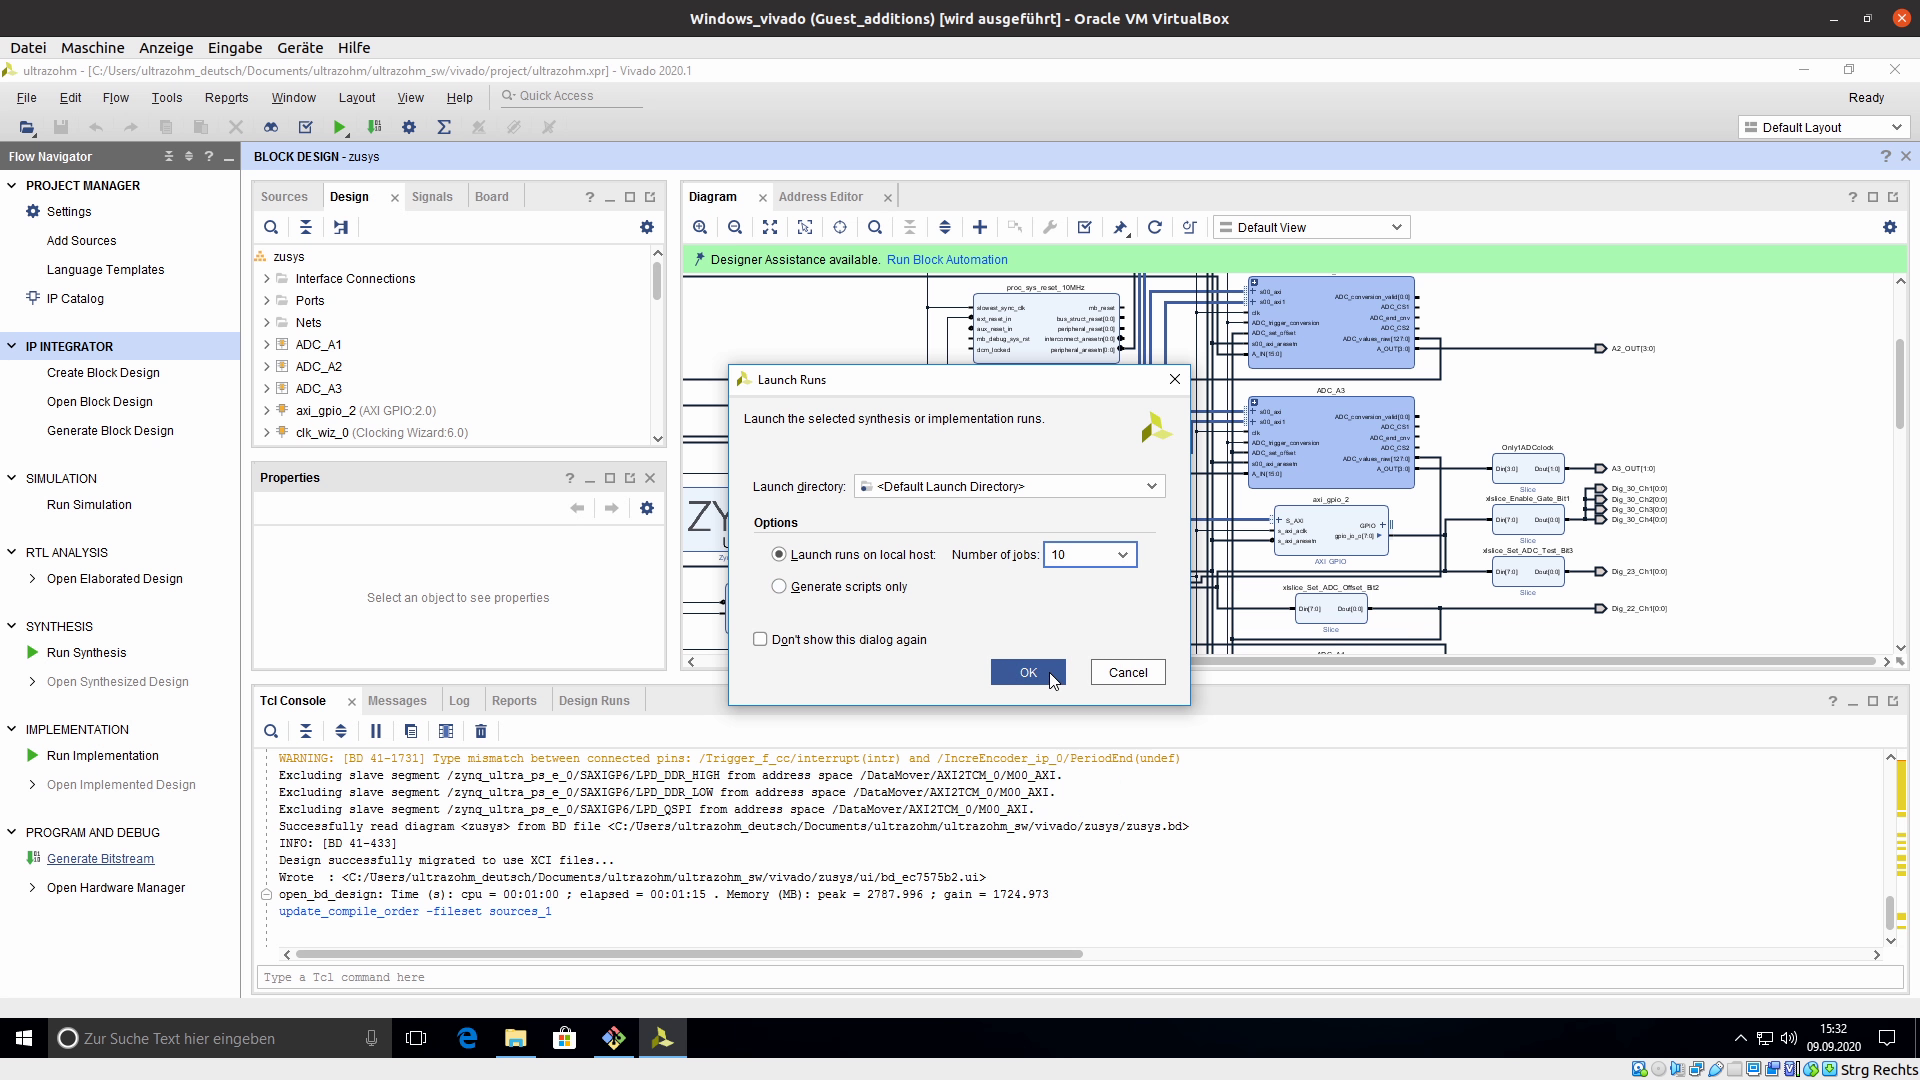
Yesto launch synthesis and implementationChoose the number of CPU jobs/cores that should be used by Vivado (leave a few unused, e.g., for your OS etc.)
Launch the run(s) by clicking
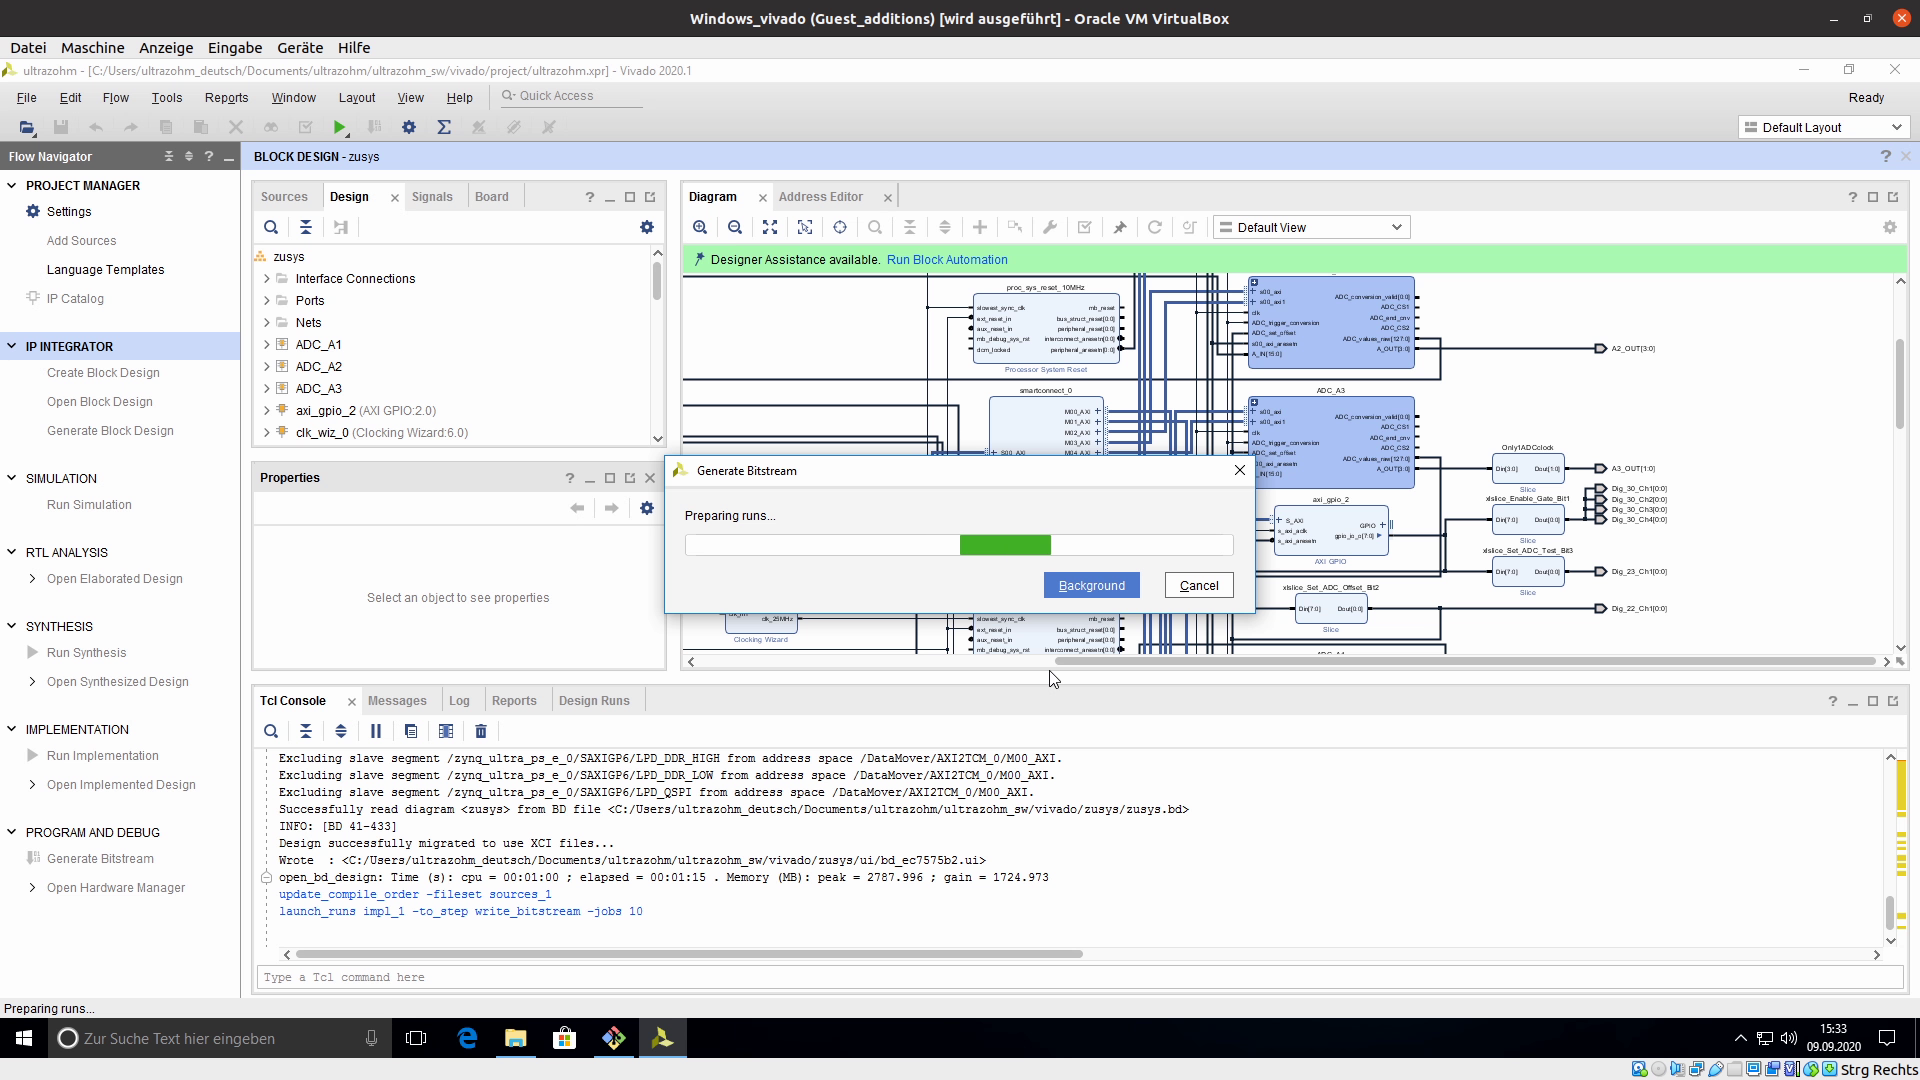
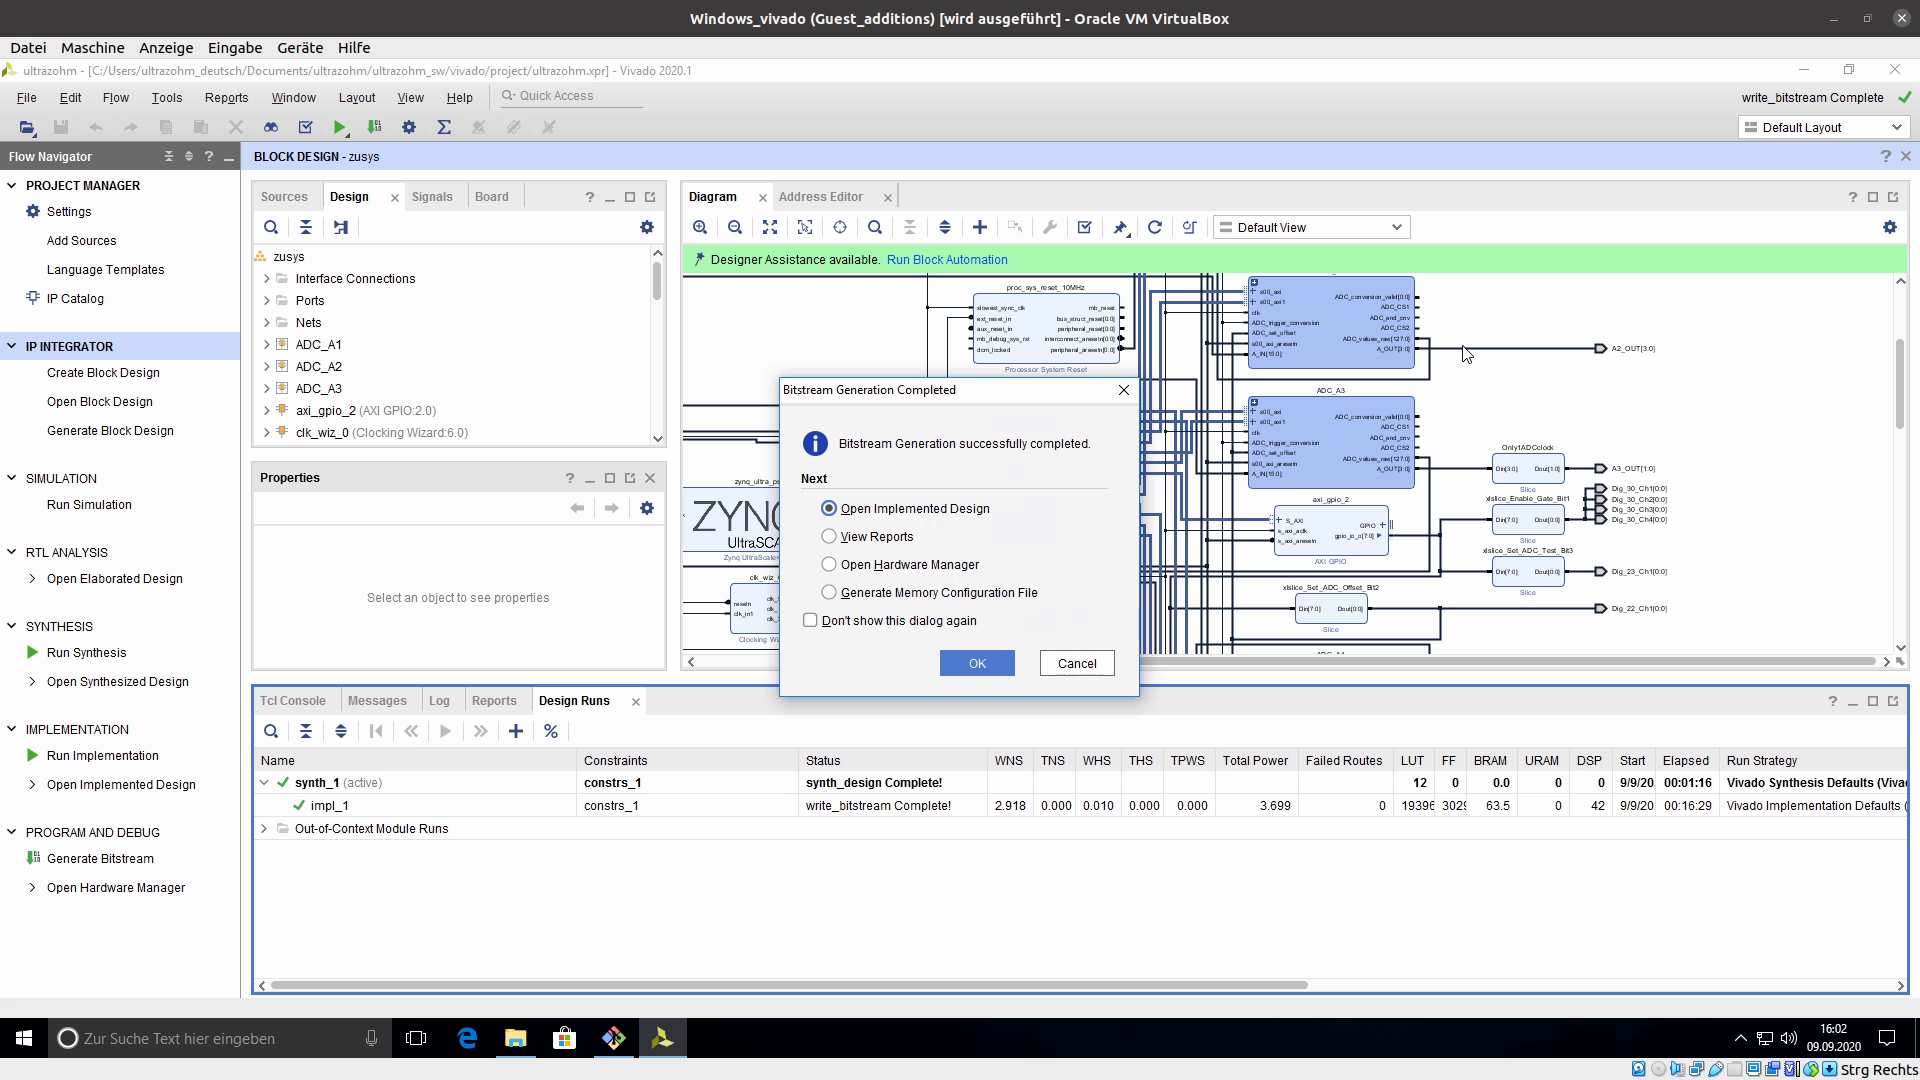
OKThe bitstream is generated. This takes 20 to 60 minutes, depending on your PC!
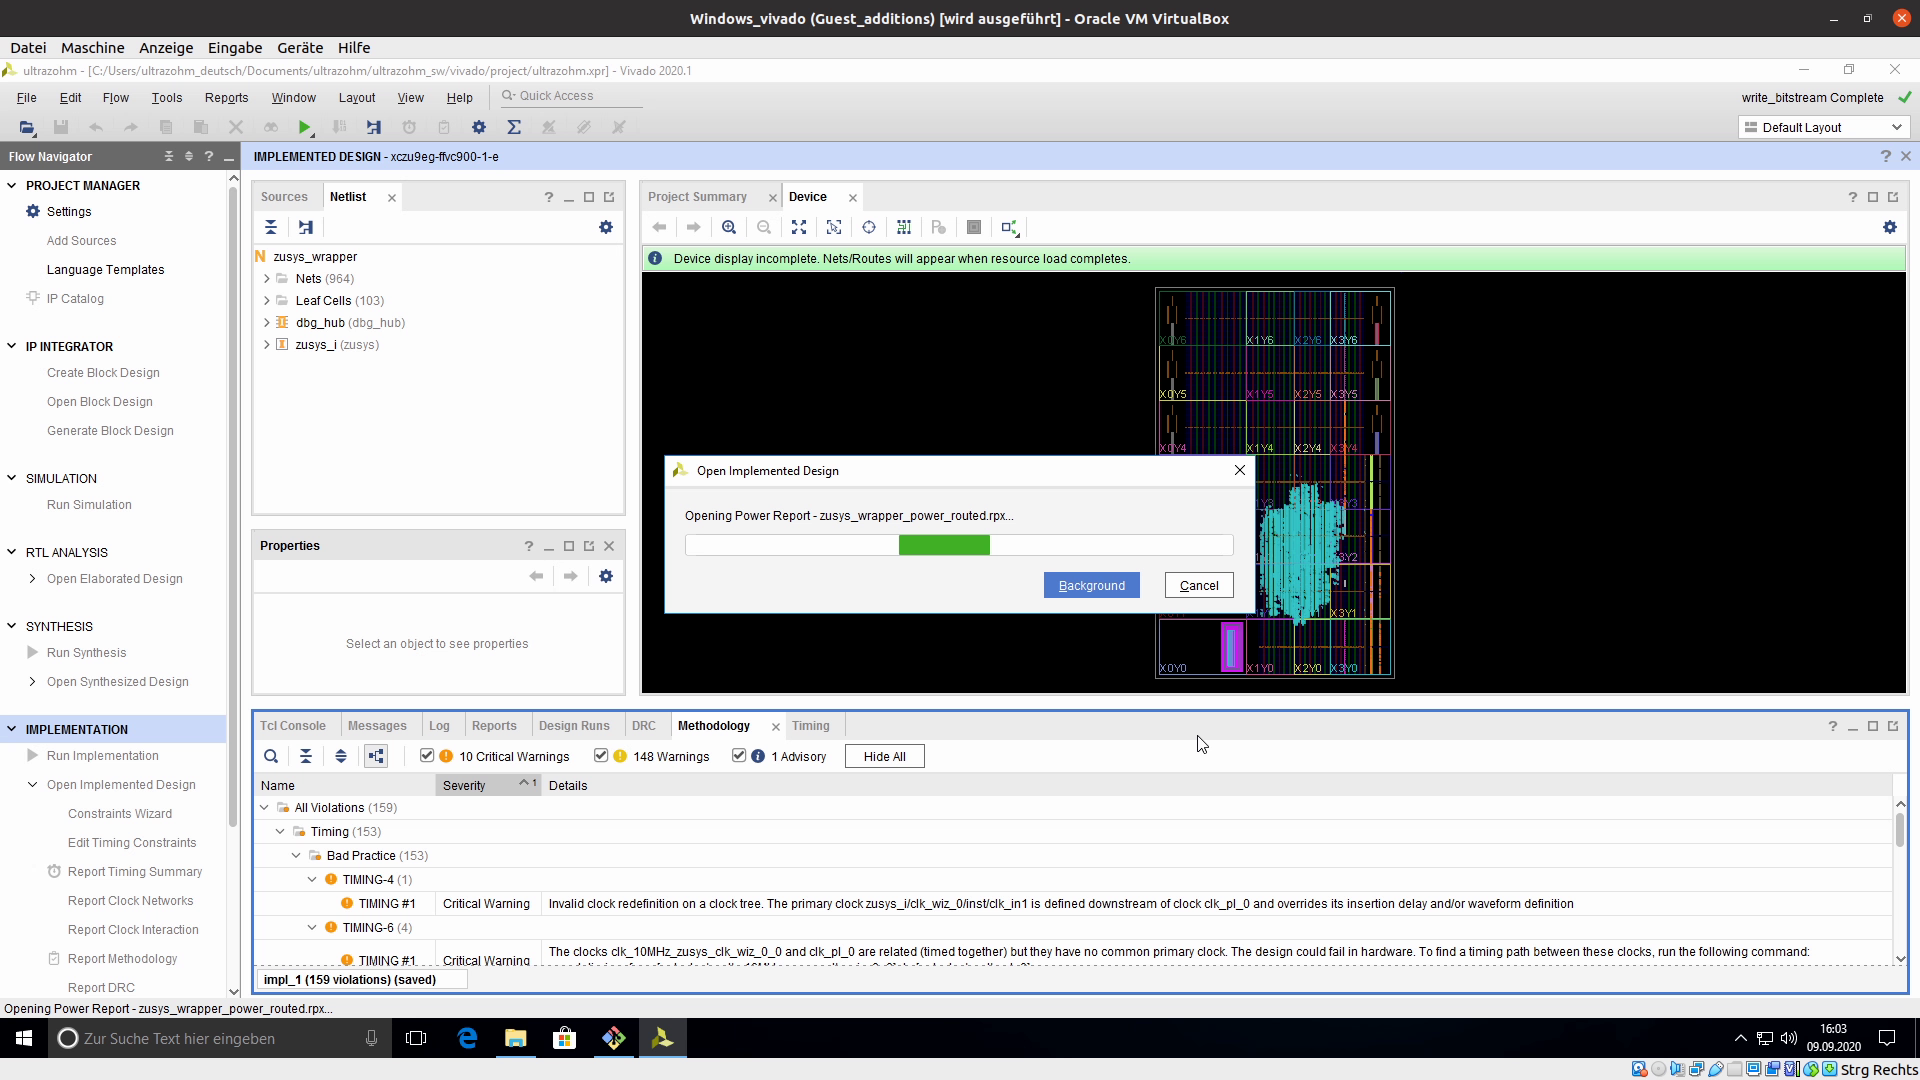
Open the implemented design after the bitstream generation is completed
Note
More CPU jobs decrease the time Vivado needs to generate the bitstream. However, Vivado requires more RAM for a higher number of jobs. If you run out of RAM and your OS writes to the disk (paging file or swap), decrease the number of jobs!


Export Bitstream via Tcl script#
A Tcl script can be added to the Vivado icons to automate the process of exporting the bitstream since it is a common task.
Tools -> Custom Commands -> Customize CommandsClick on the plus and enter a name, e.g., export_xsa
Click on
Source Tcl filePath:
~/ultrazohm/ultrazohm_sw/tcl_scripts/vivado_export_xsa.tclClick OK
Export Bitstream manually (deprecated method)#
Show steps (collapsed by default)
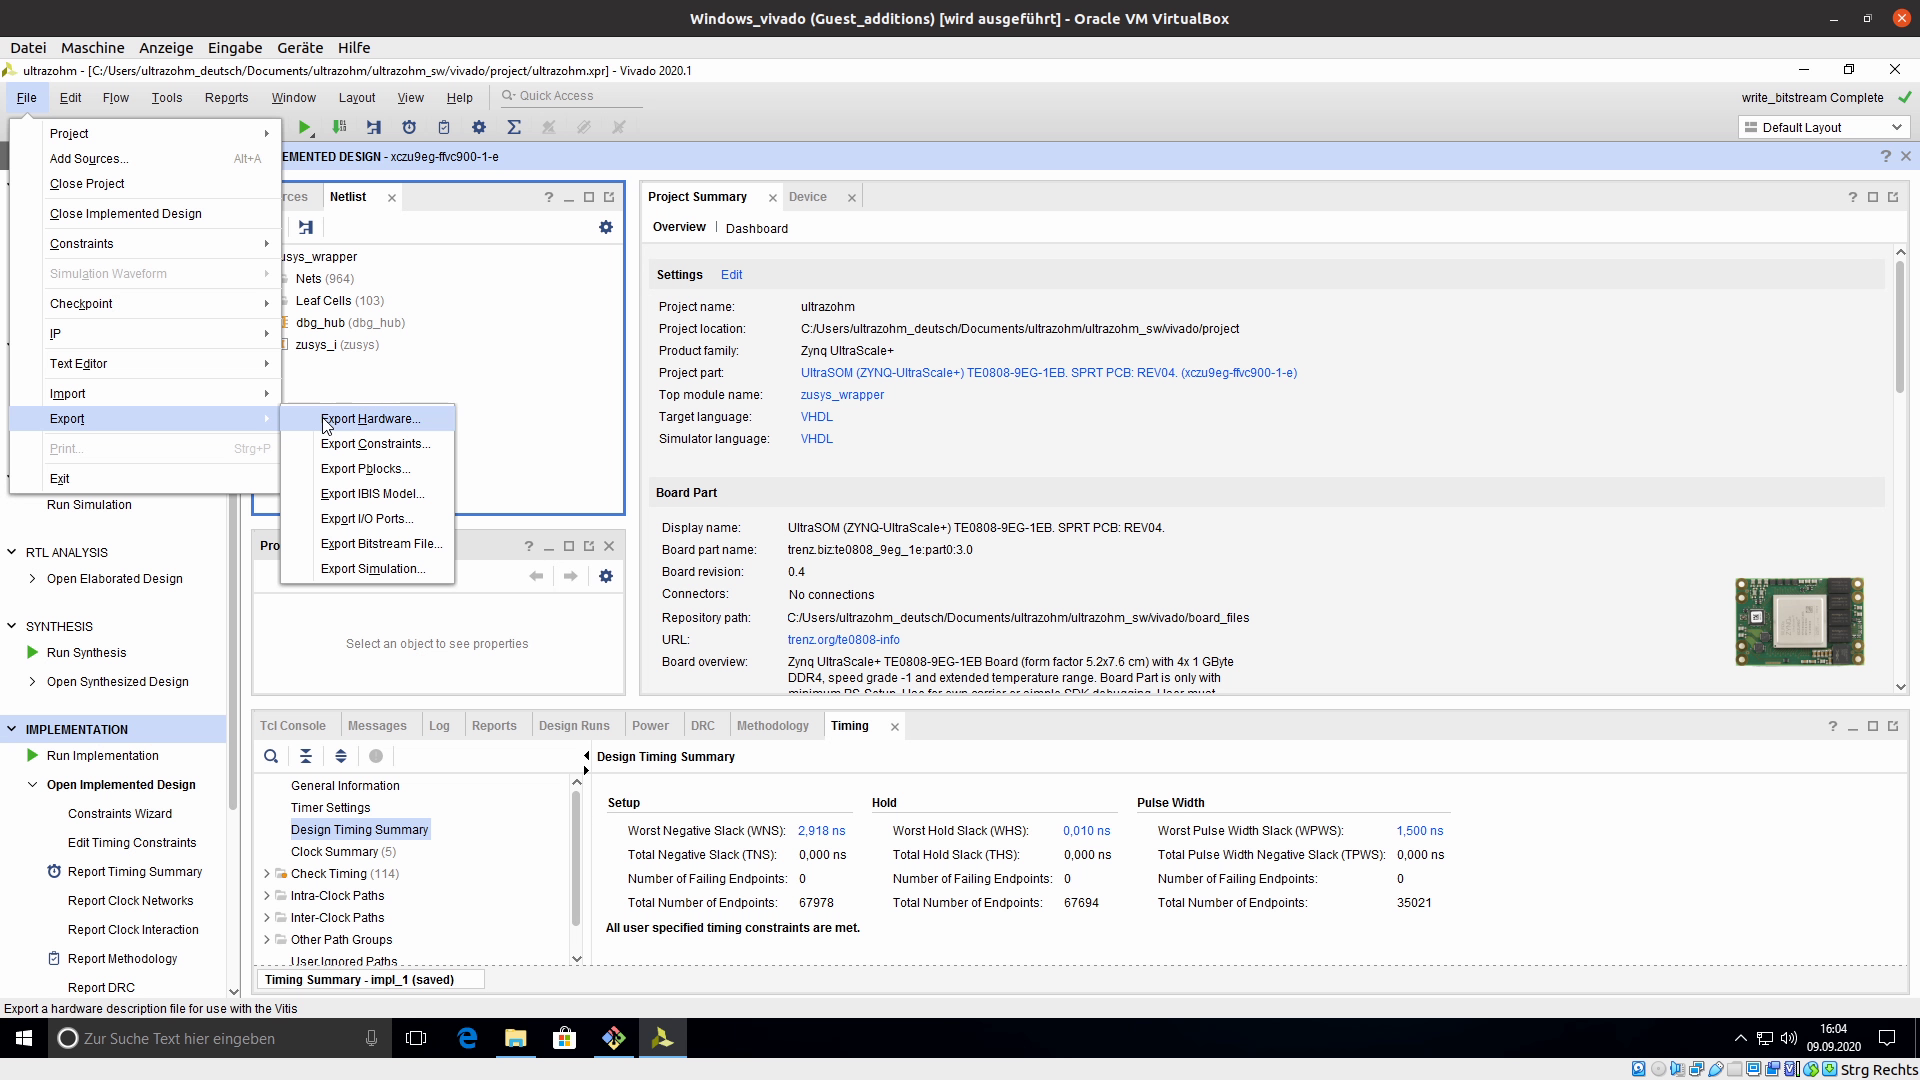
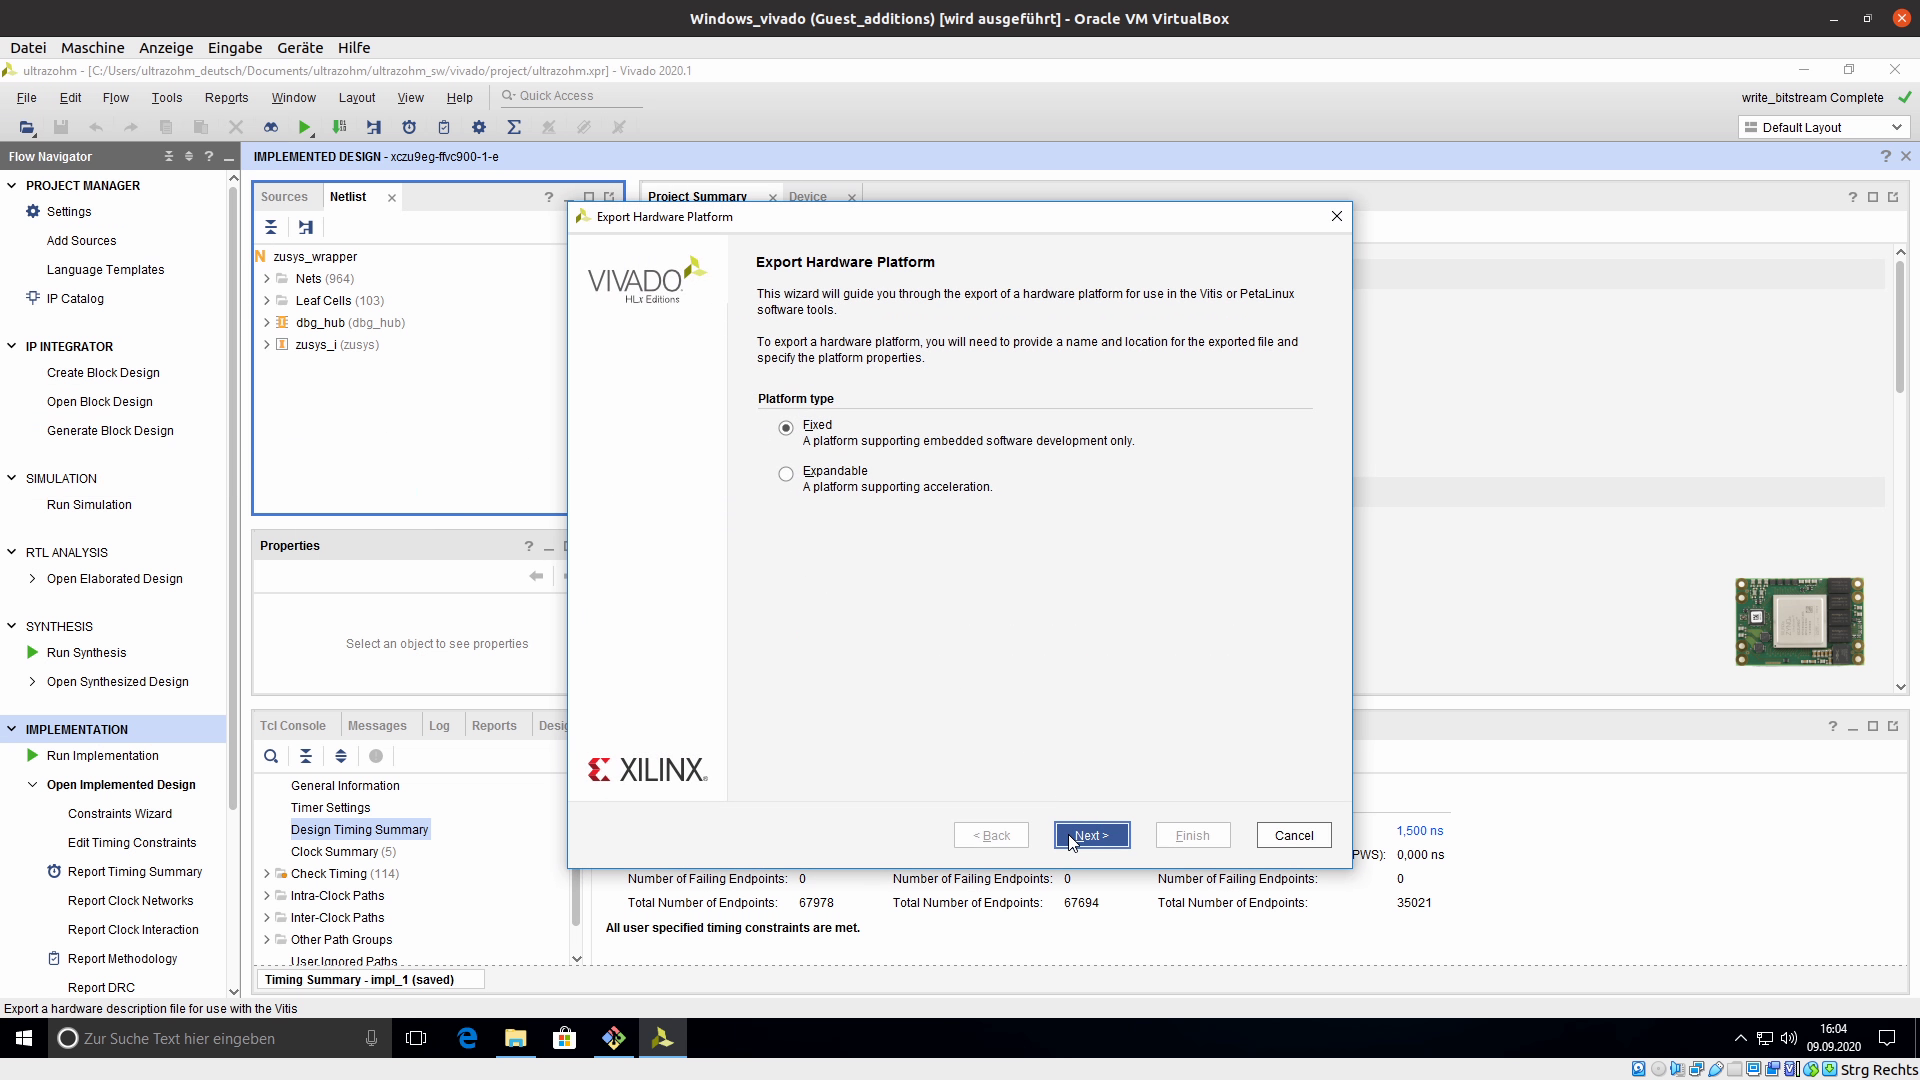
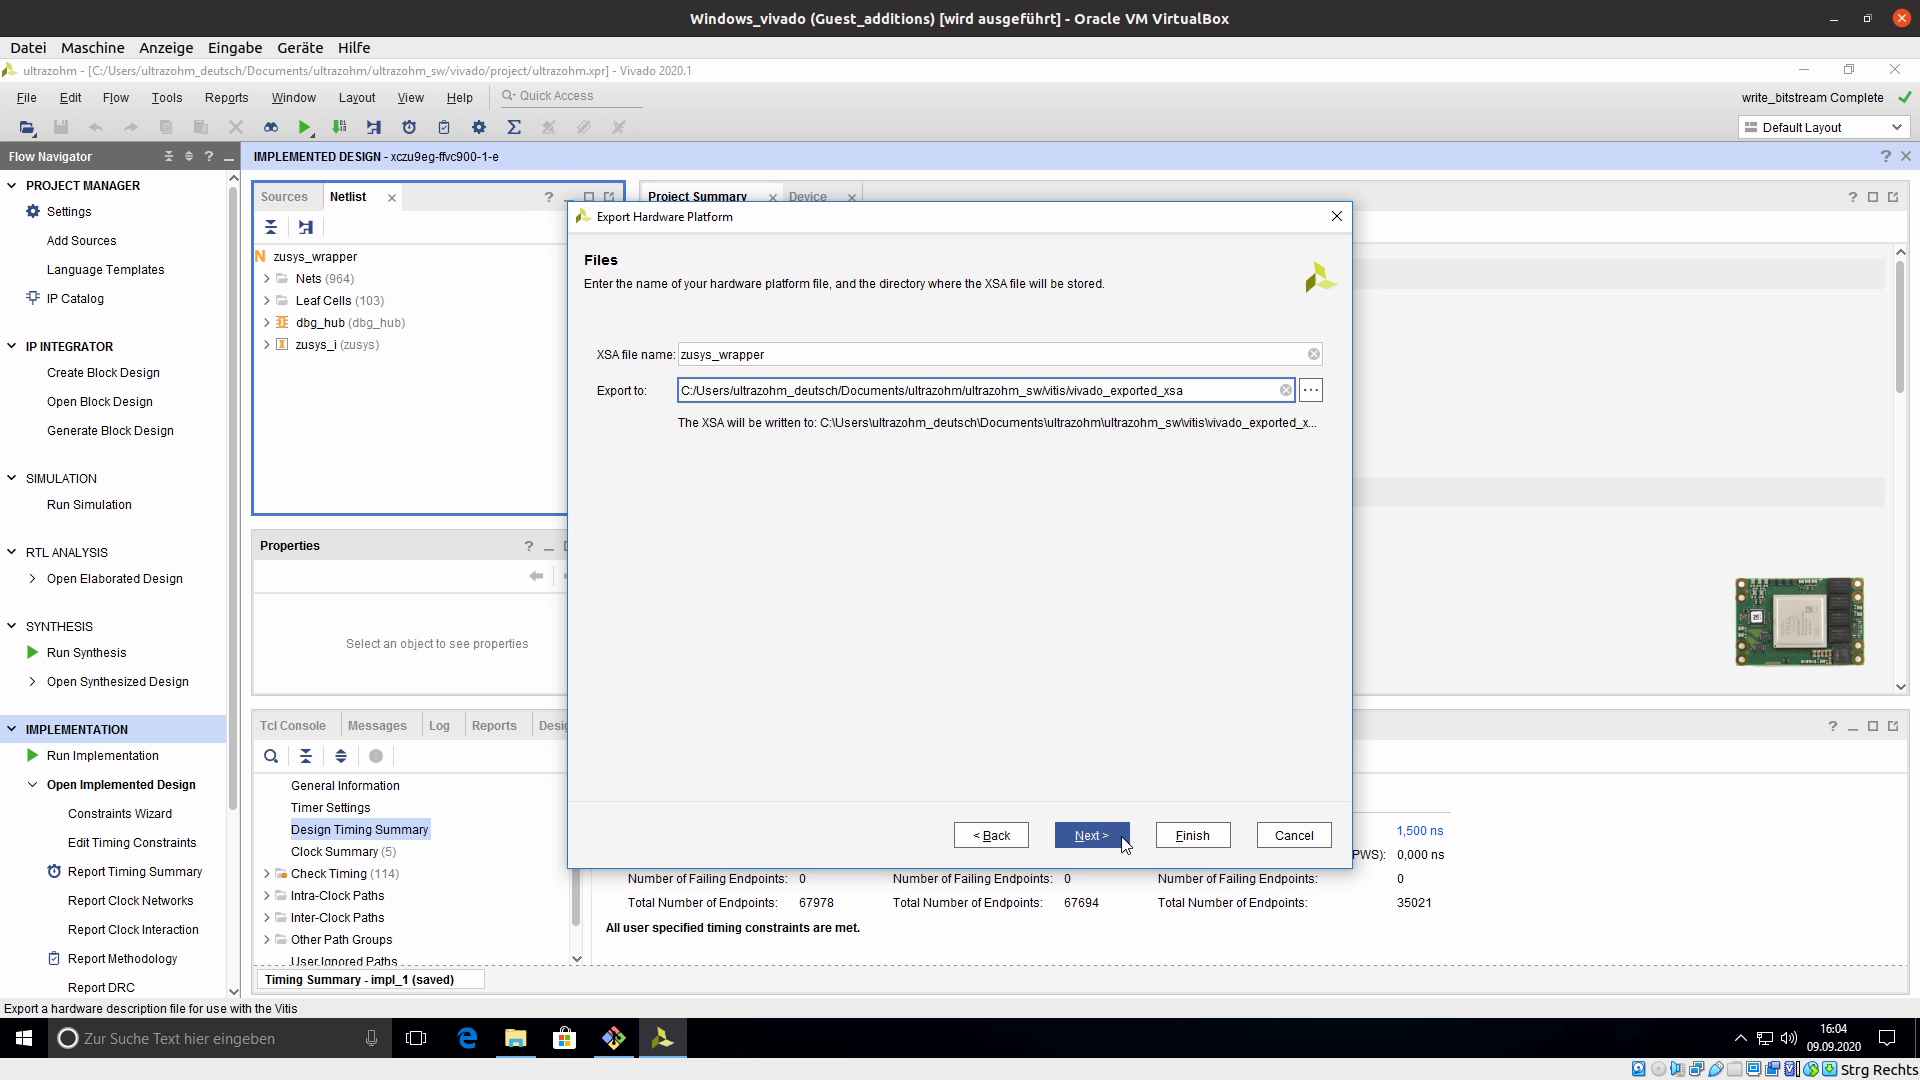
Export the bitstream in
File -> Export -> Export HardwareChoose
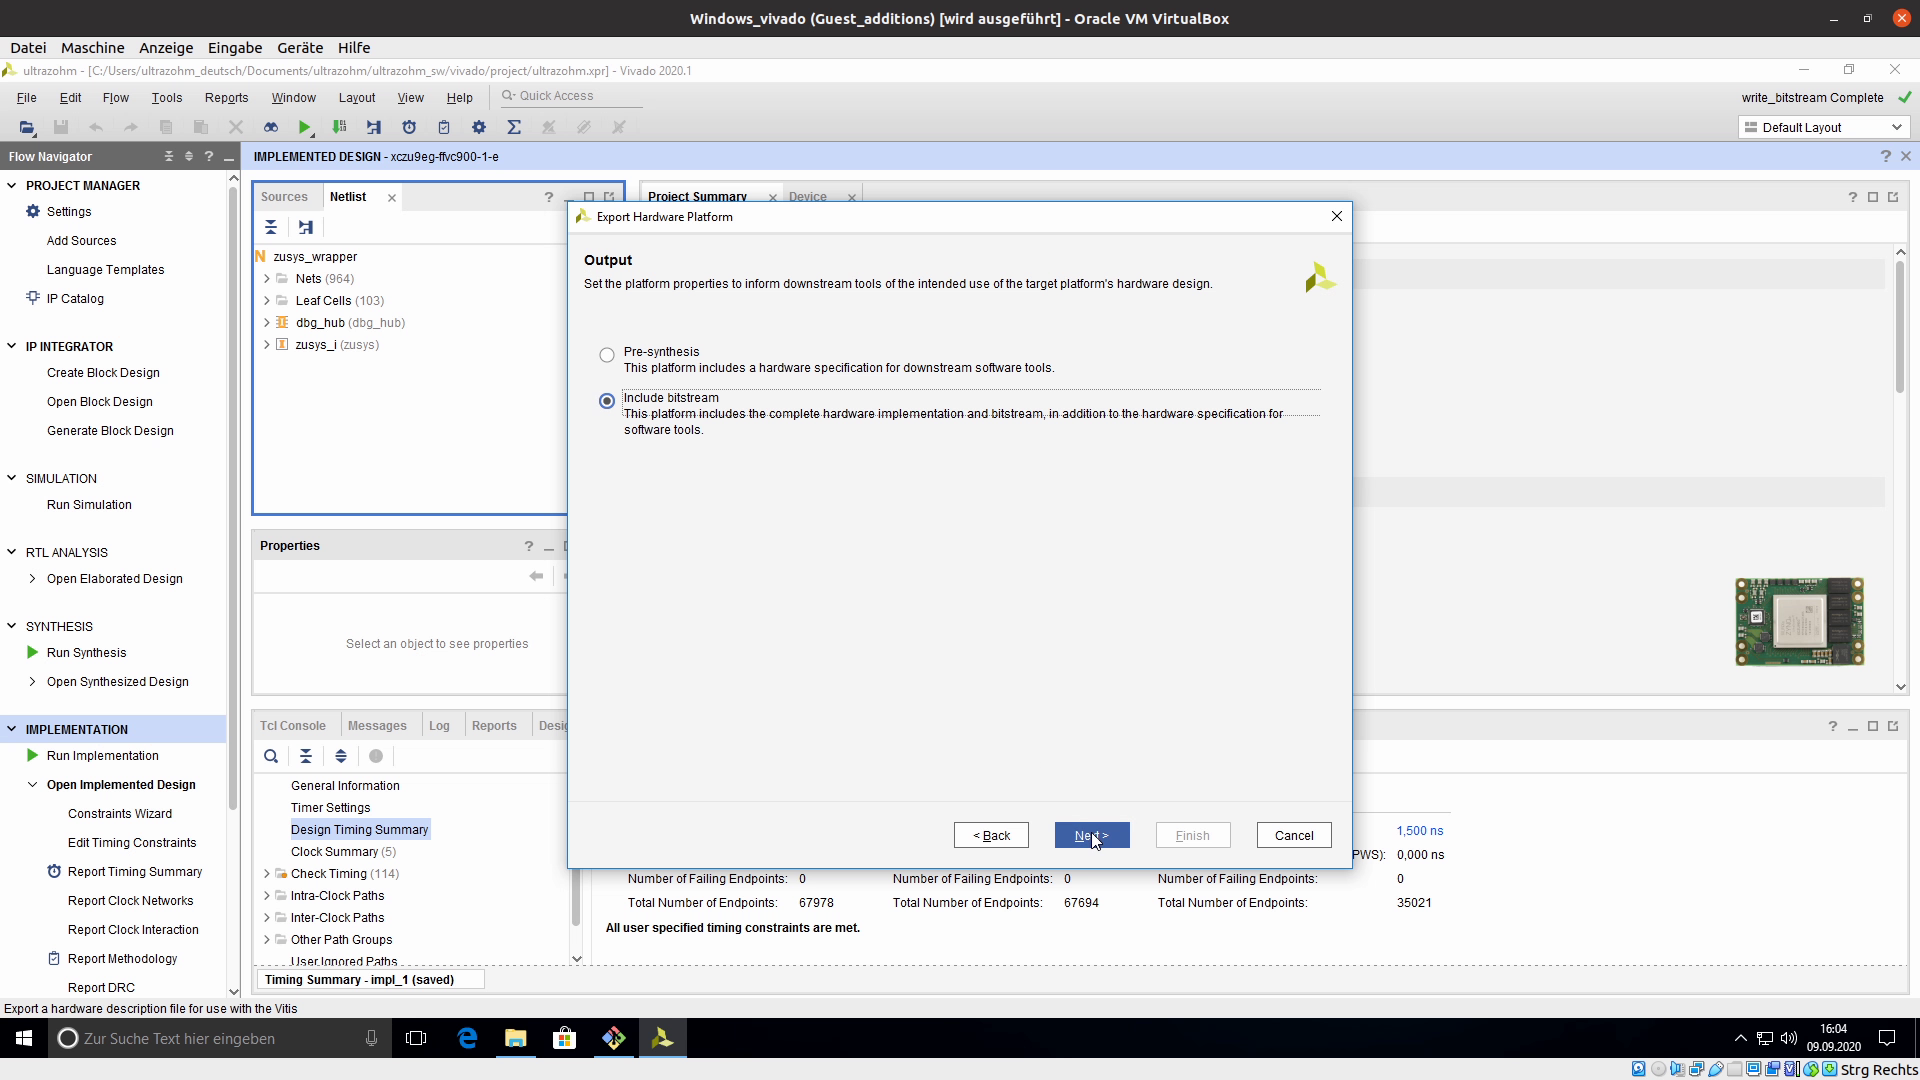
FixedChoose
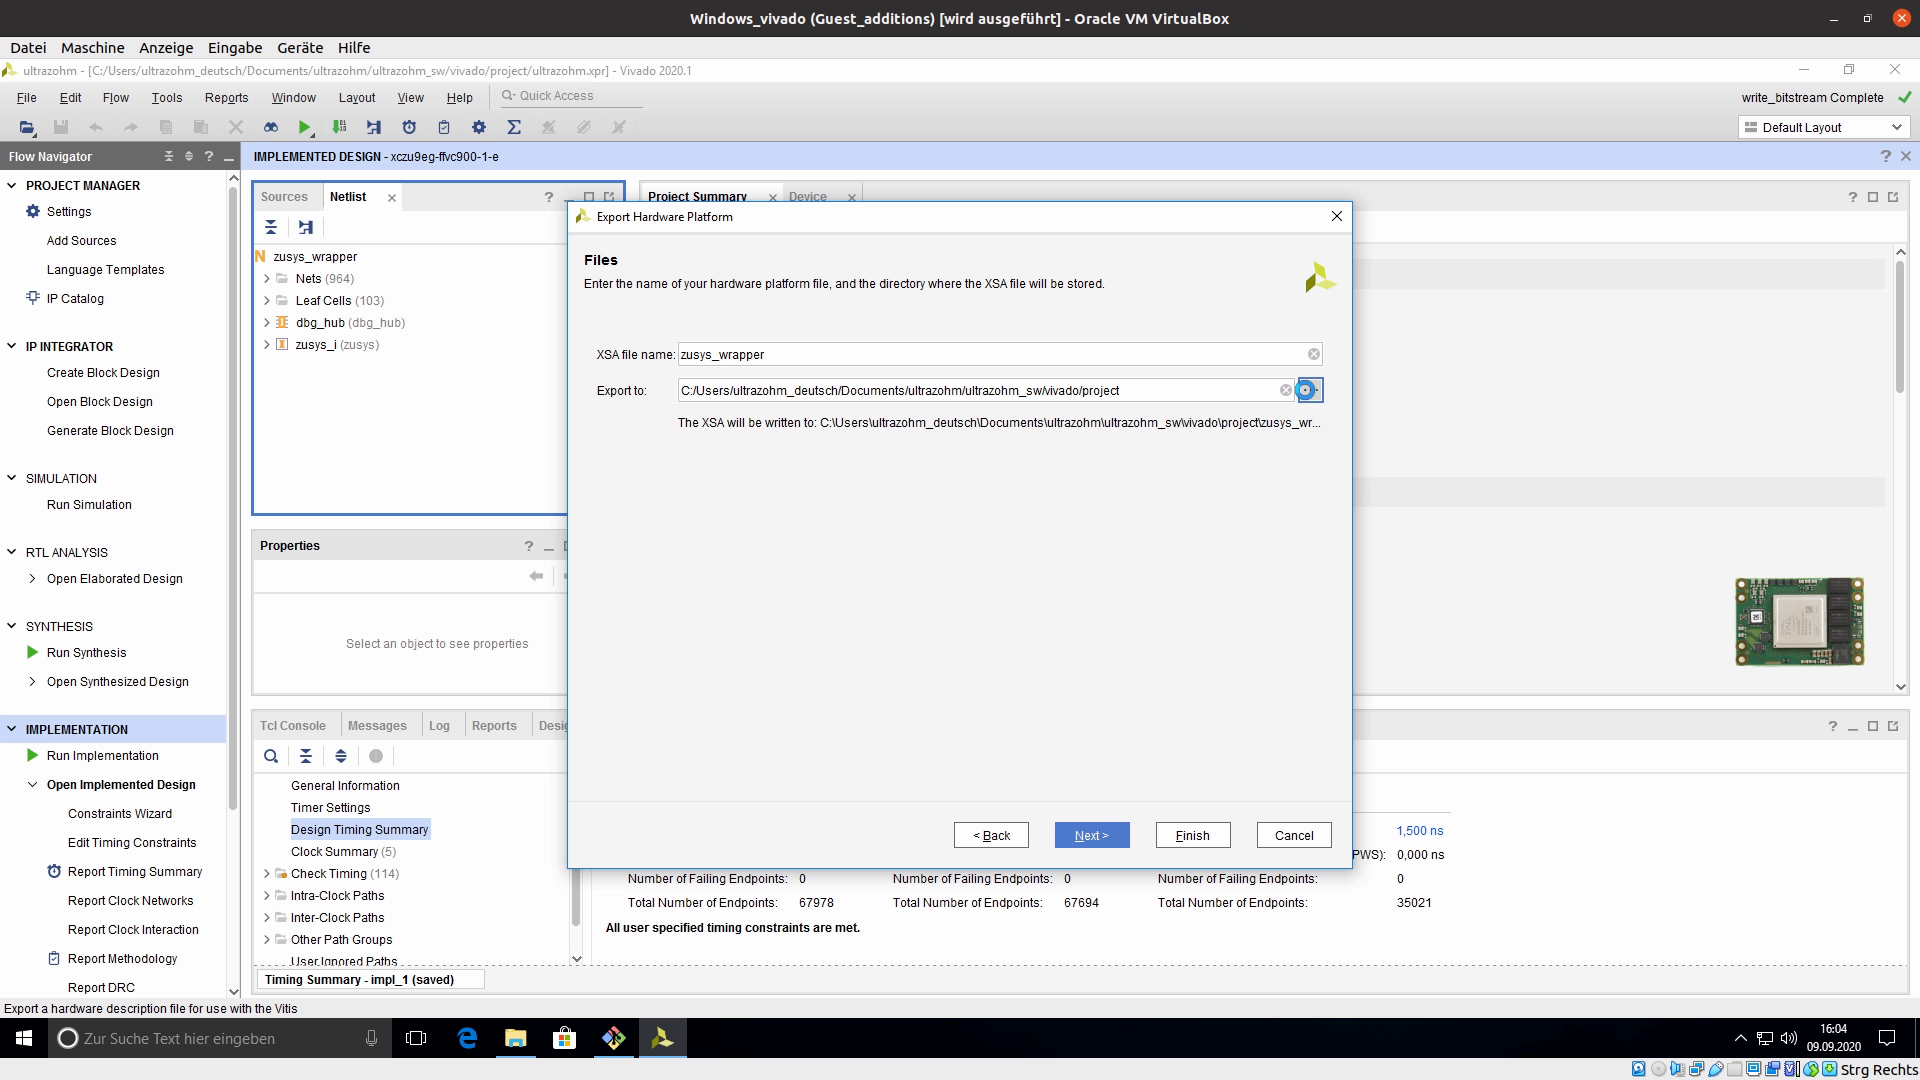
Include bitstreamChoose the path to which the bitstream will be exported
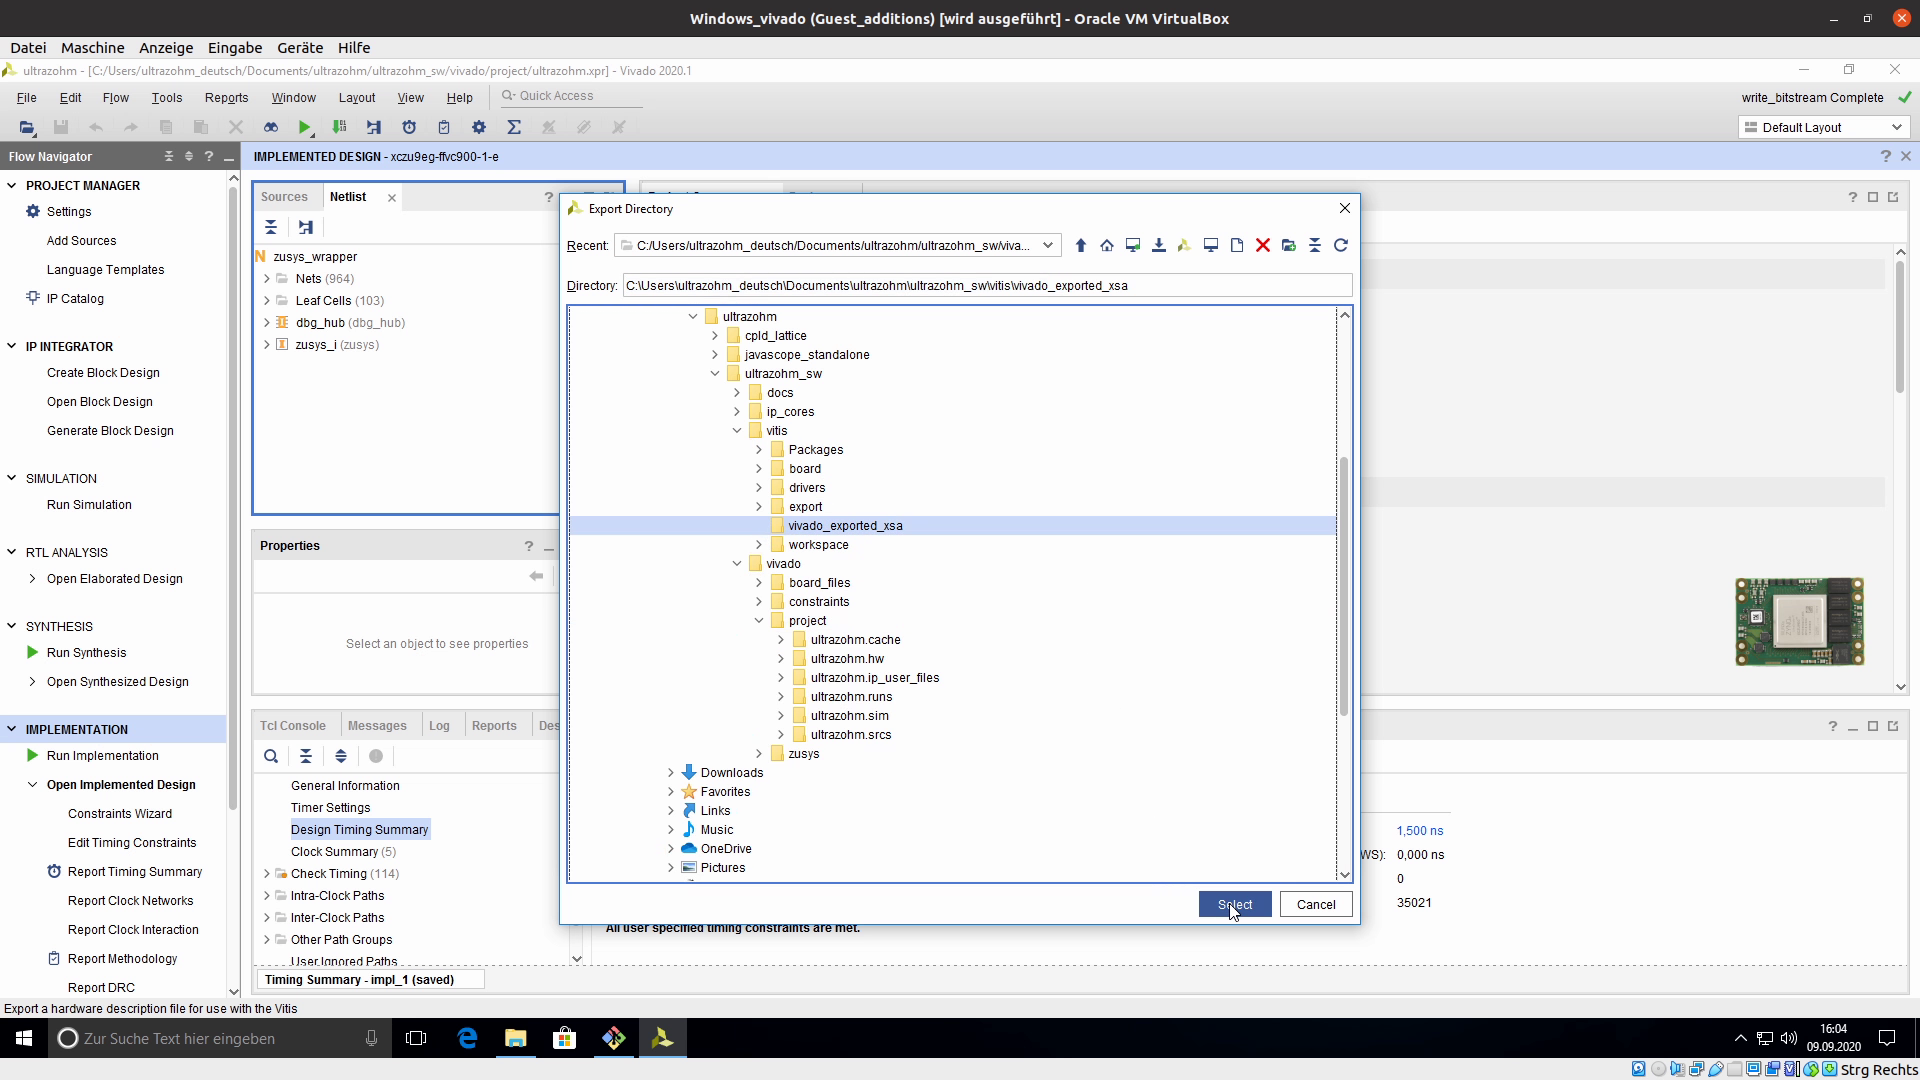
Path:
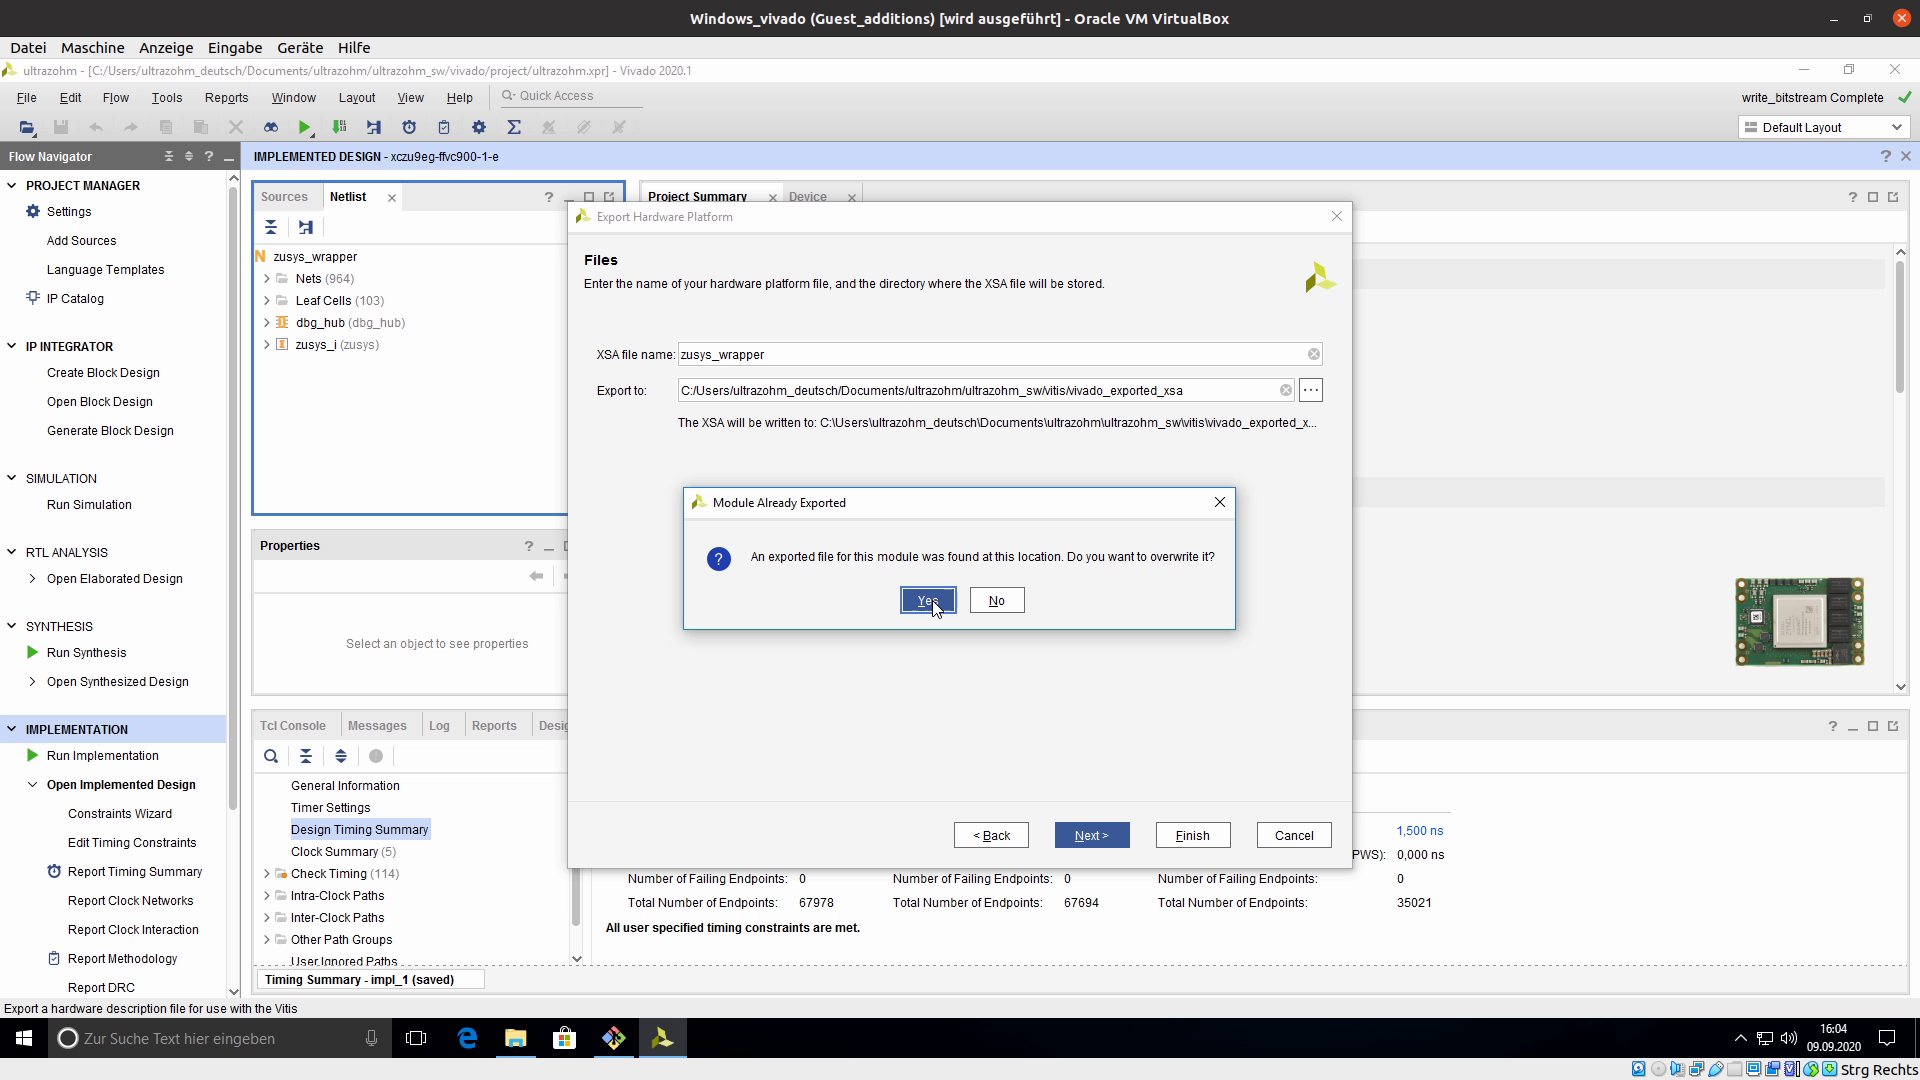
~/ultrazohm/ultrazohm_sw/vitis/vivado_exported_xsaOverride the existing file
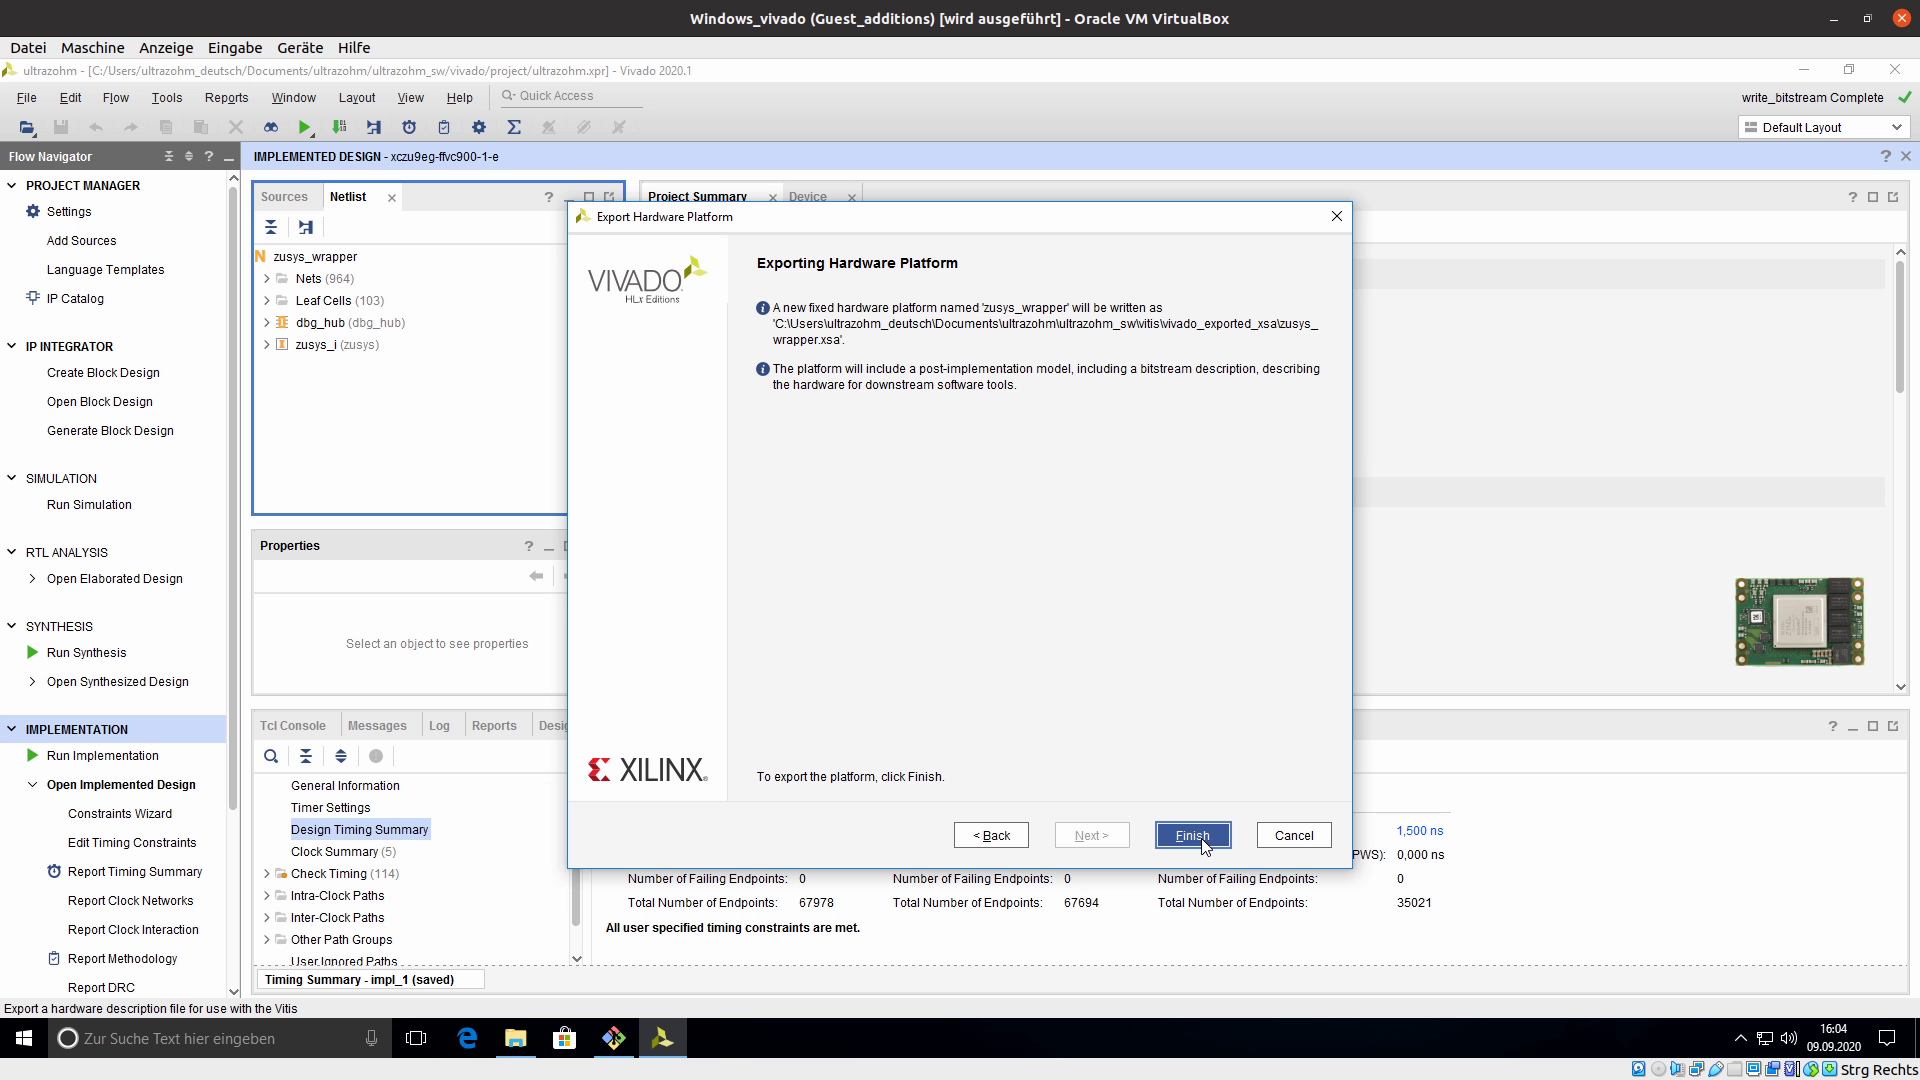
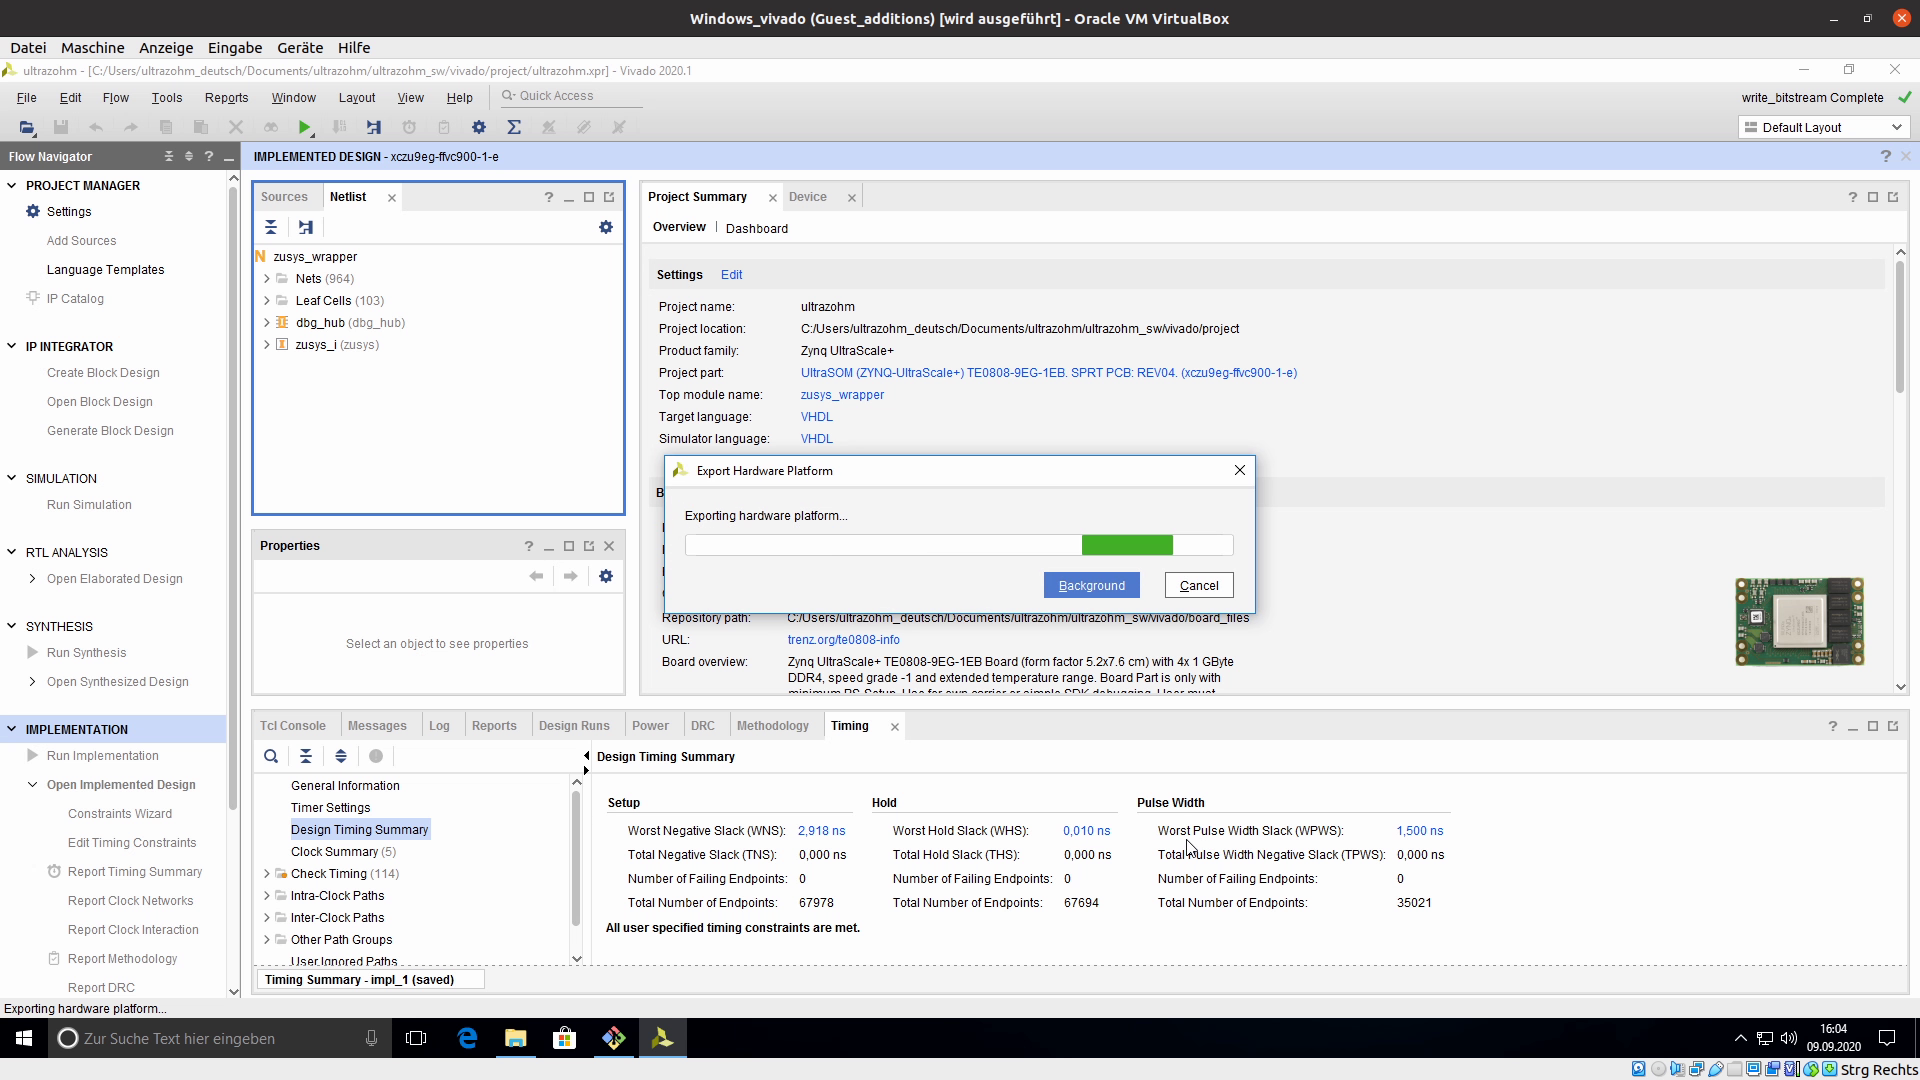
Vivado exports the file
Generate the Vitis workspace#
See pictures below for all steps!
Navigate to
~/ultrazohm/ultrazohm_sw/vitis/software/Baremetal/src/uzCheck that the configuration in
uz_global_configuration.hmatches your setup (see Global configuration for details)
Important
You might have to adjust the UltraZohm version in uz_global_configuration.h by setting the define UZ_HARDWARE_VERSION to your version (e.g., 2U, 3U, 4U, …)
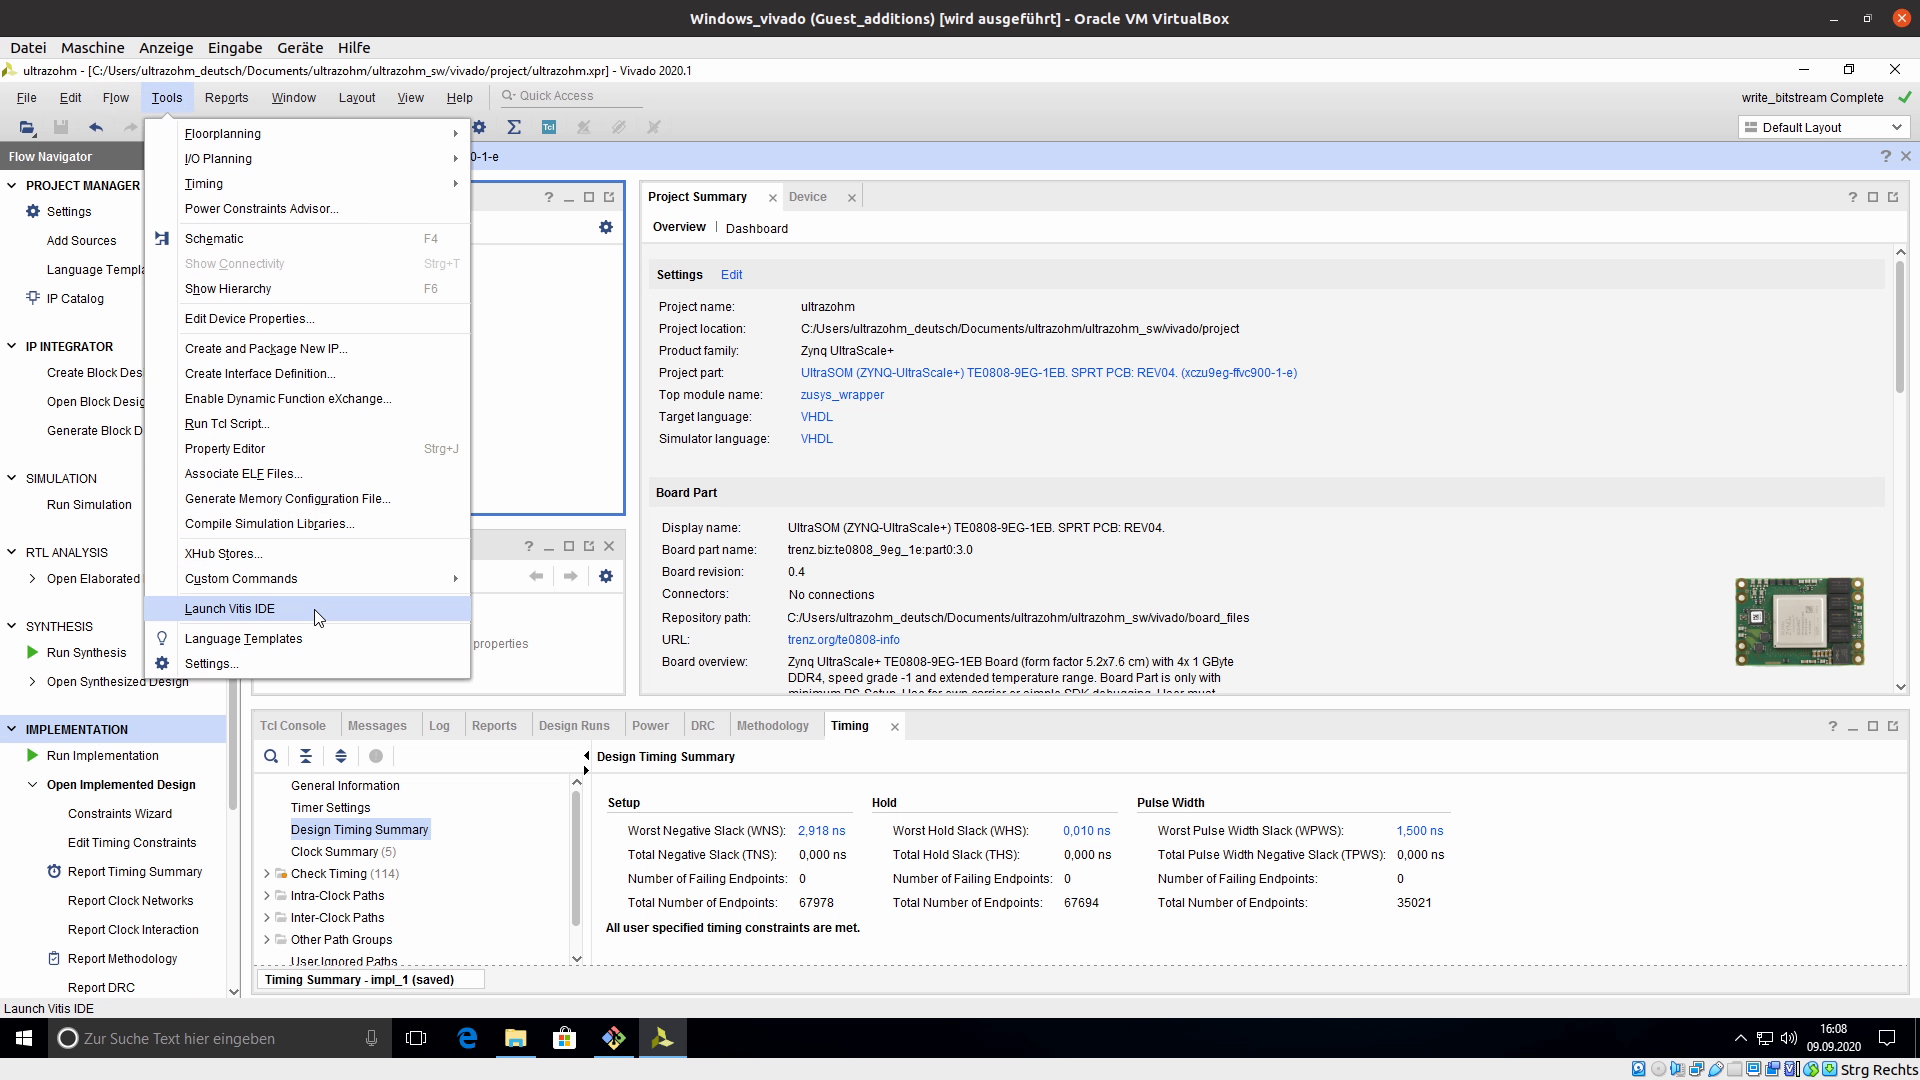
Open Vitis or launch Vitis from Vivado (
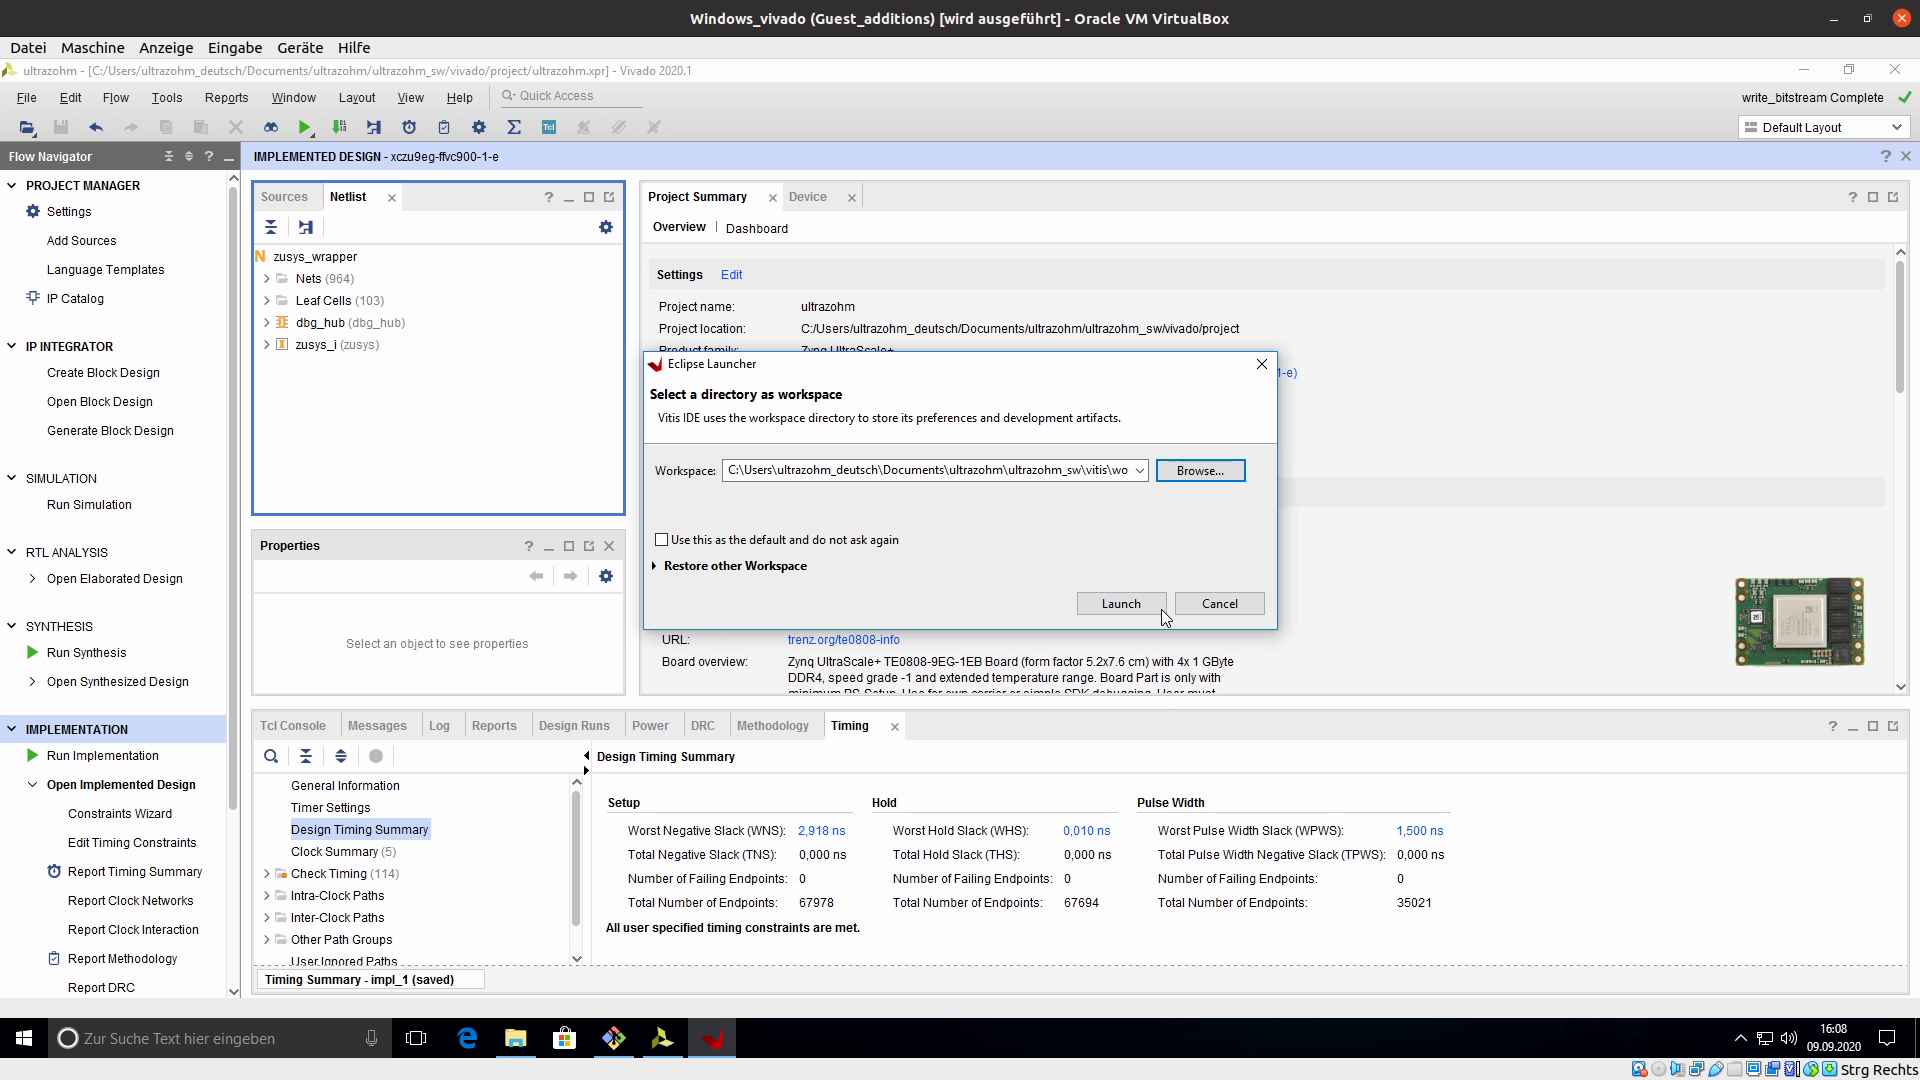
Tools -> Launch Vitis IDE)Choose the workspace
Path:
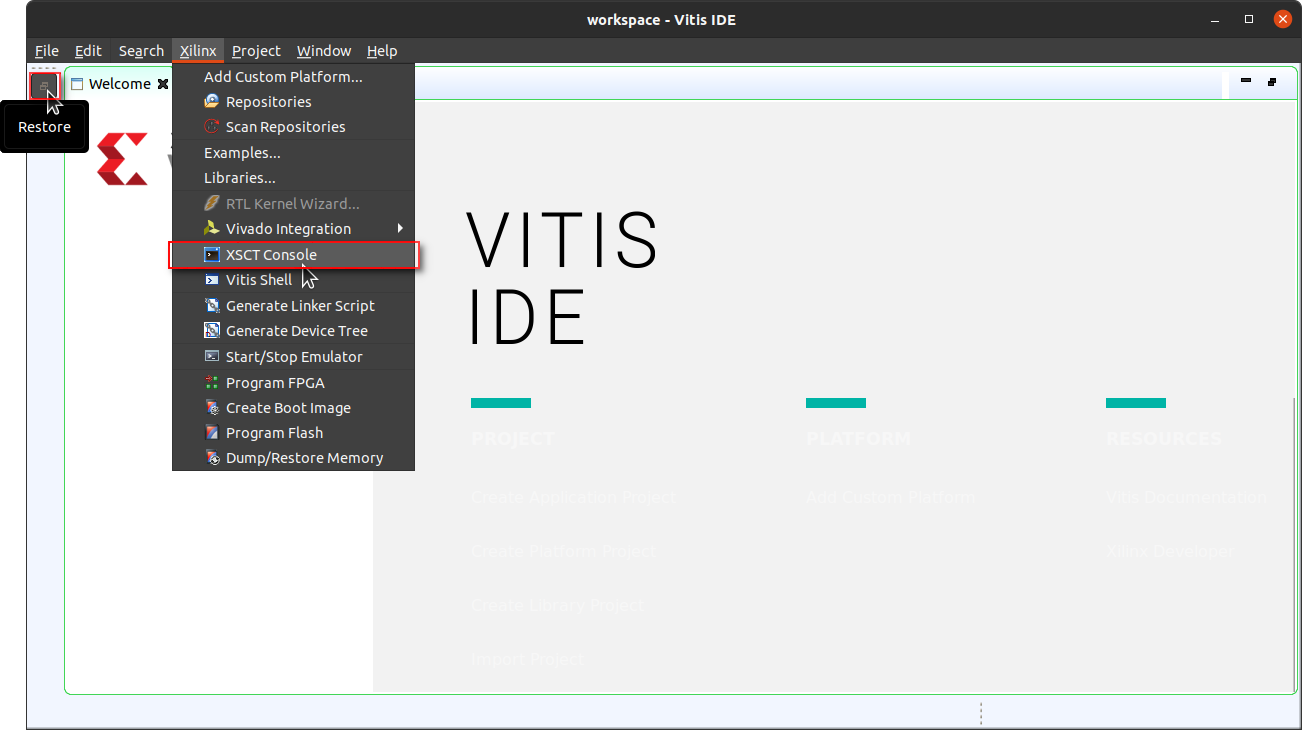
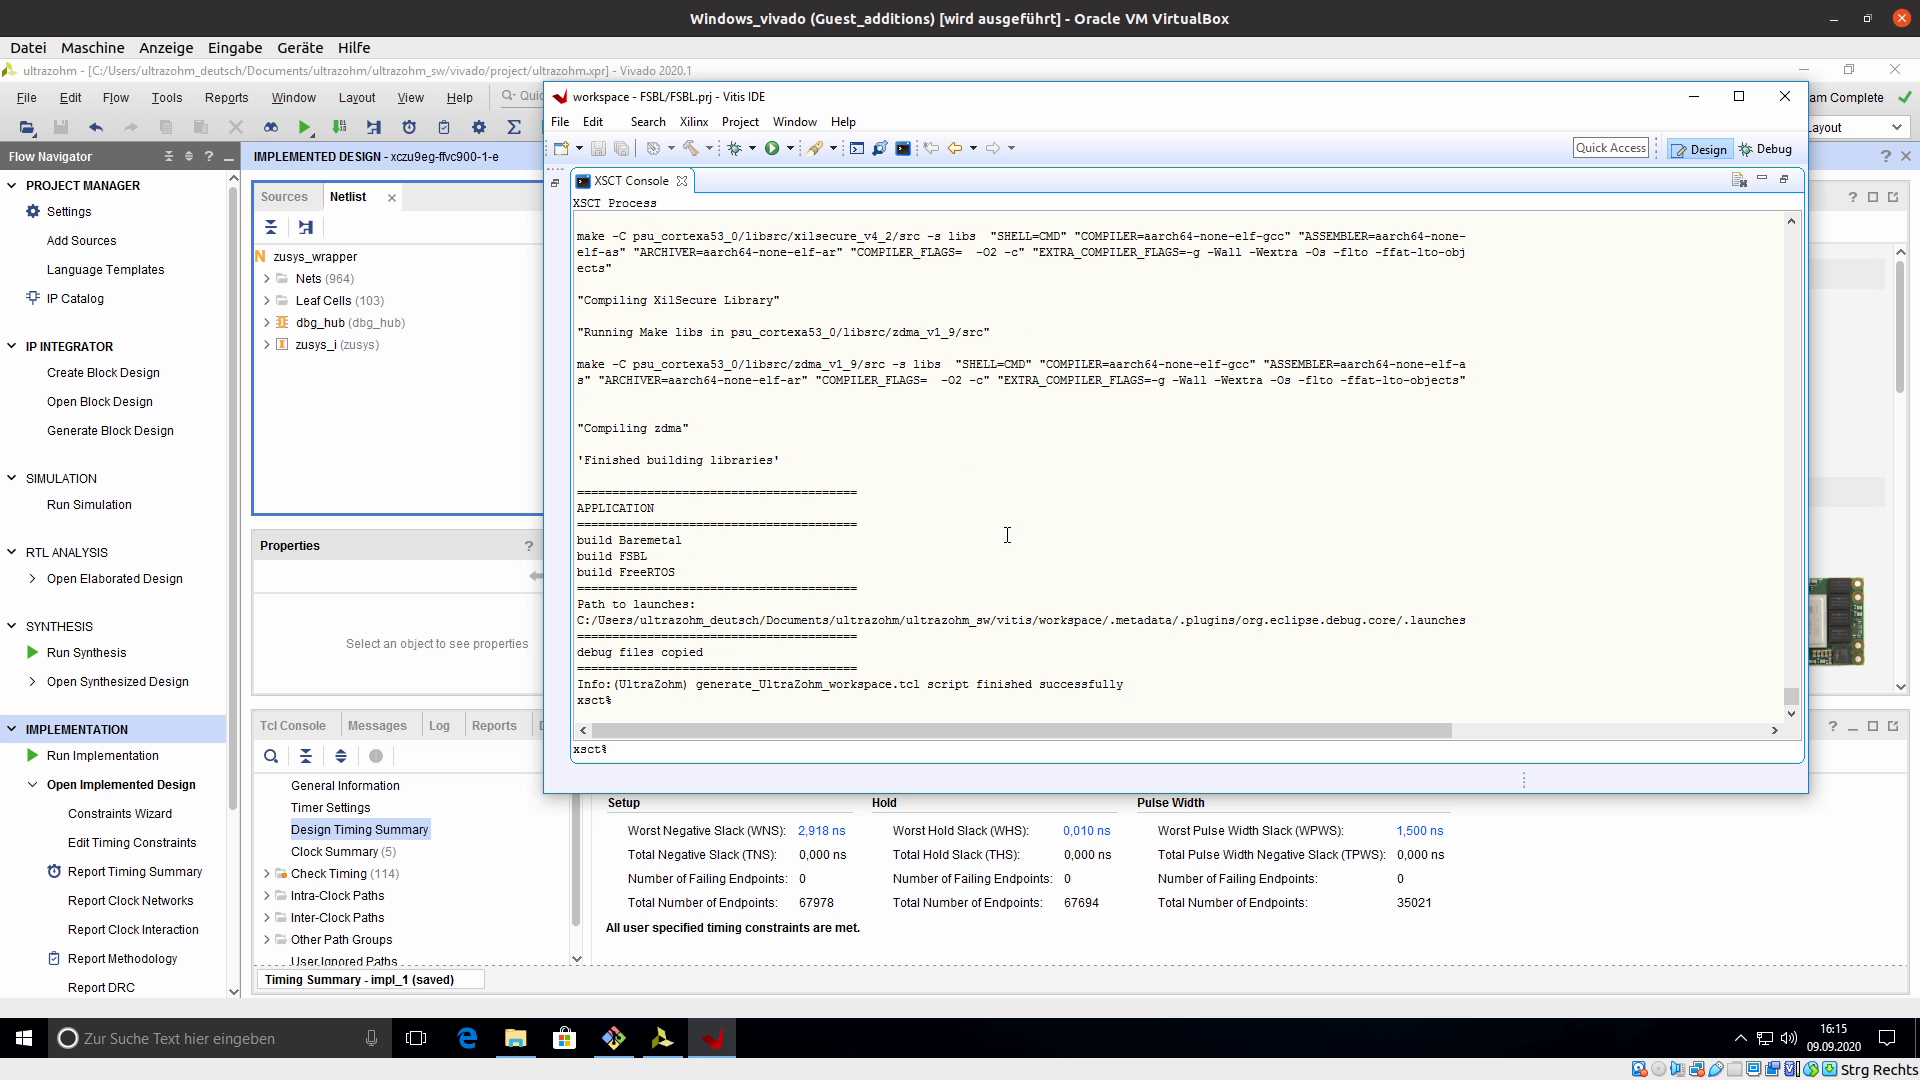
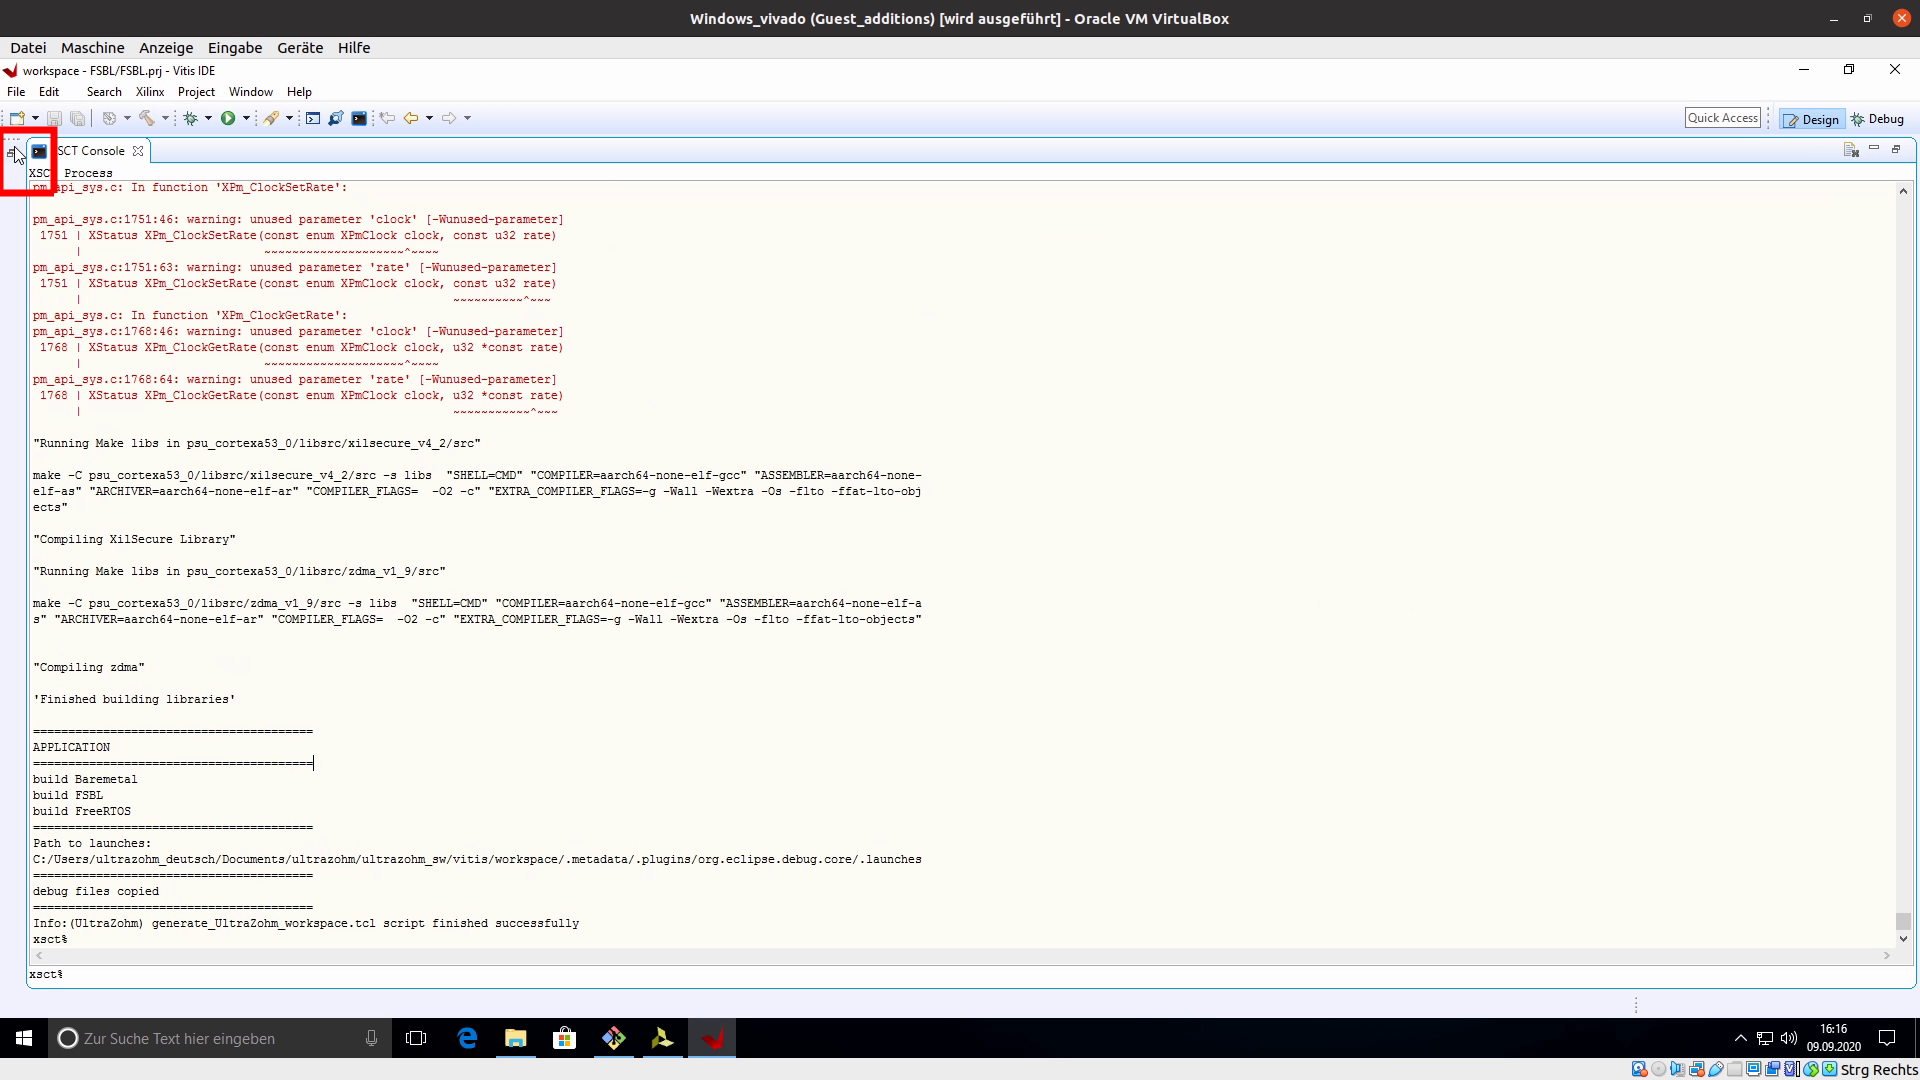
~/ultrazohm_sw/vitis/workspaceOpen the XSCT Console in Vitis:
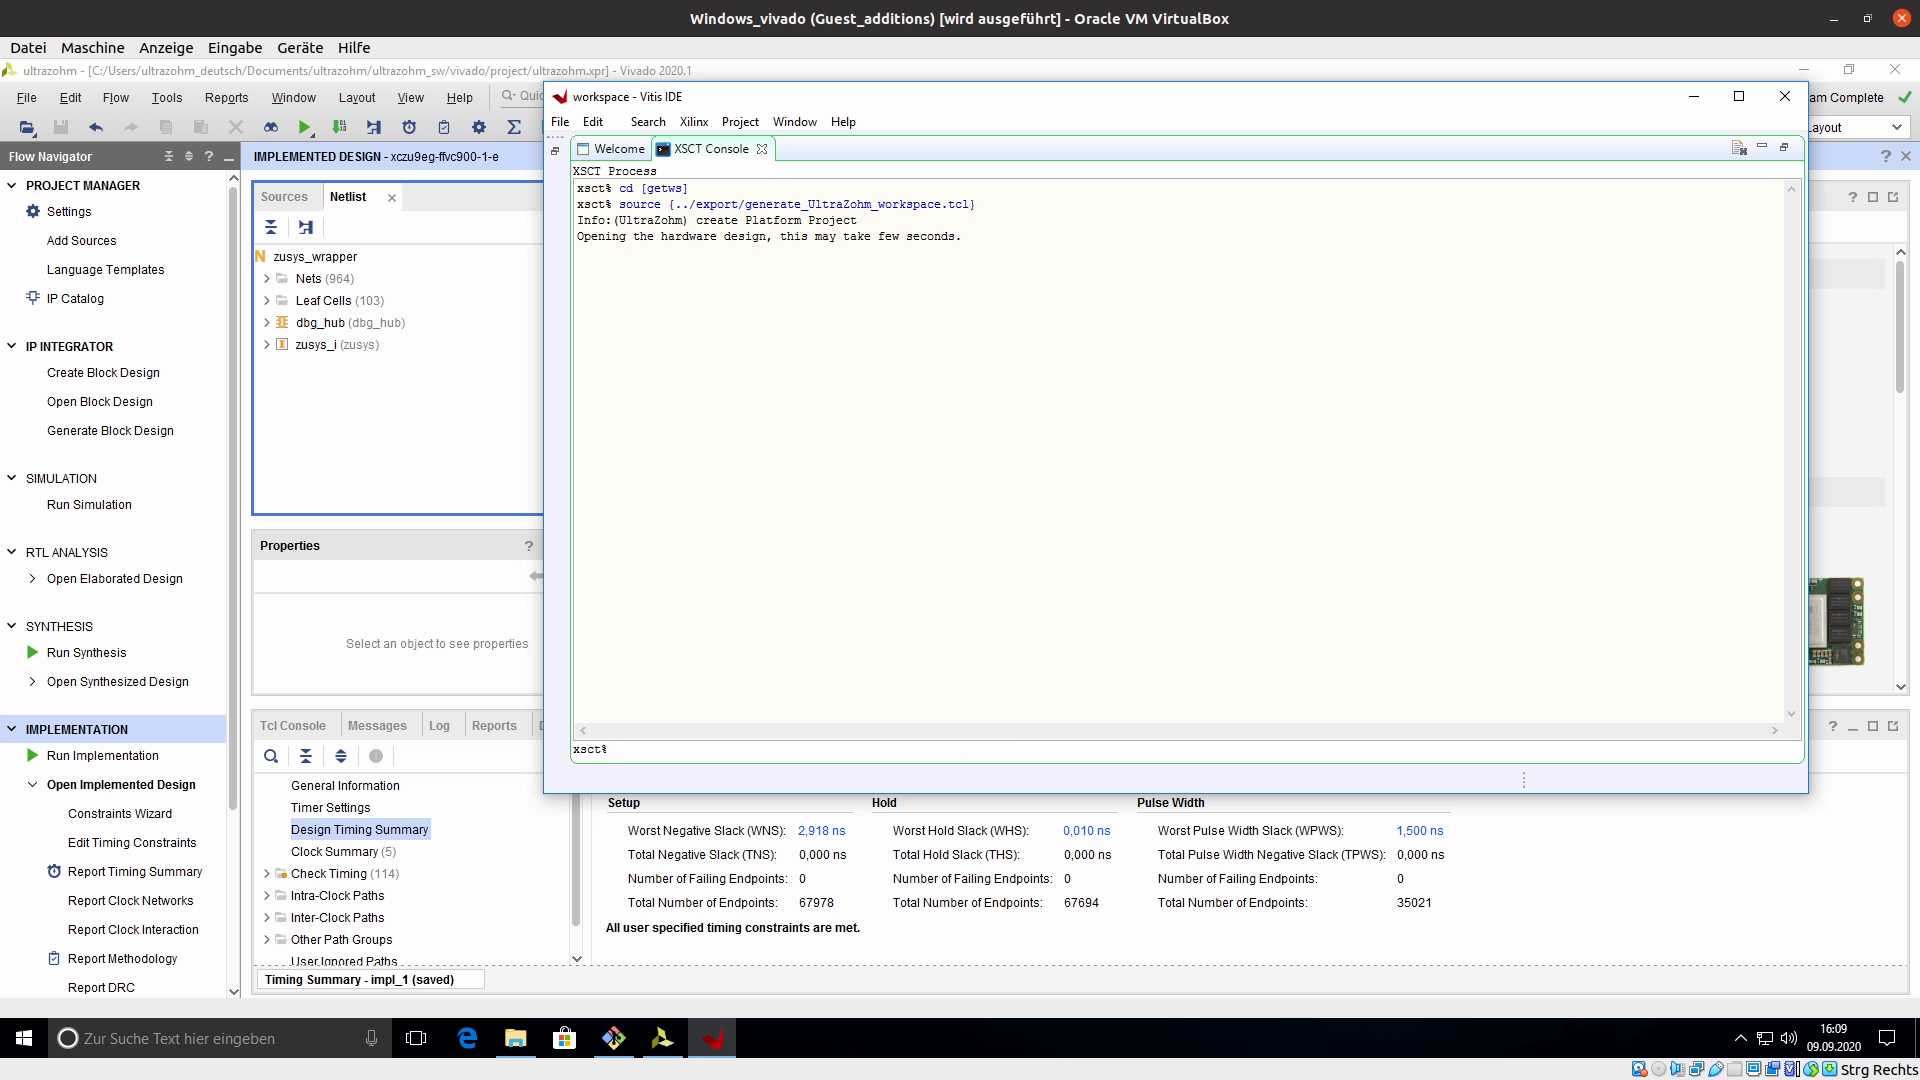
Windows -> Show view... -> XSCT ConsoleType the following commands
cd [getws]
source {../../tcl_scripts/vitis_generate_UltraZohm_workspace.tcl}
The script runs for several minutes
The script displays generate_UltraZohm_workspace.tcl script finished…
Note
If the XSCT console is still not visible, press the restore button.
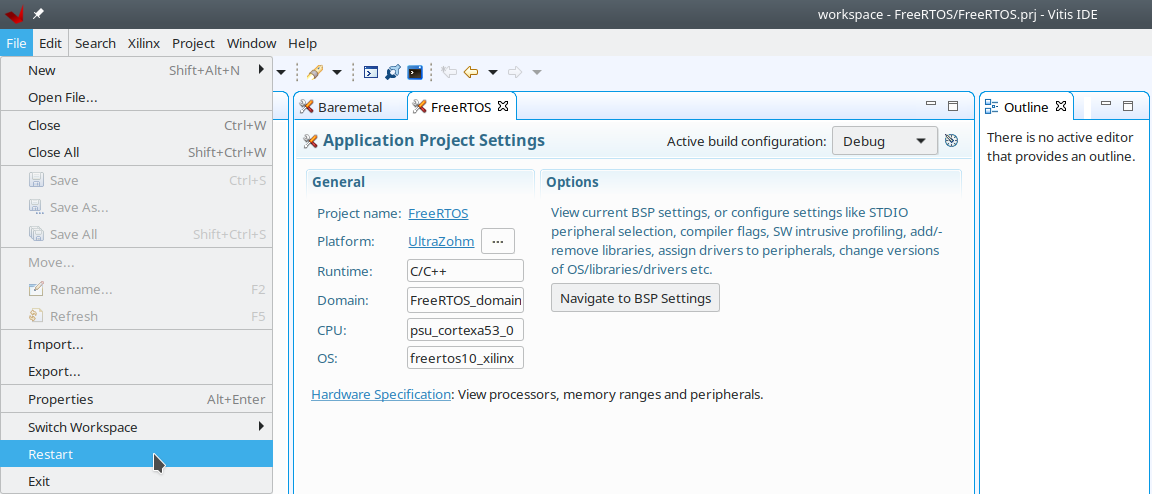
Note
After the script has finished and the workspace has been build, restart Vitis by clicking on File -> Restart .
This is recommended, because otherwise the pre-defined debug configurations are not visible.
This is only necessary after the initial build of the workspace.
For subsequent uses of the workspace, the debug configurations will be visible without additional steps.
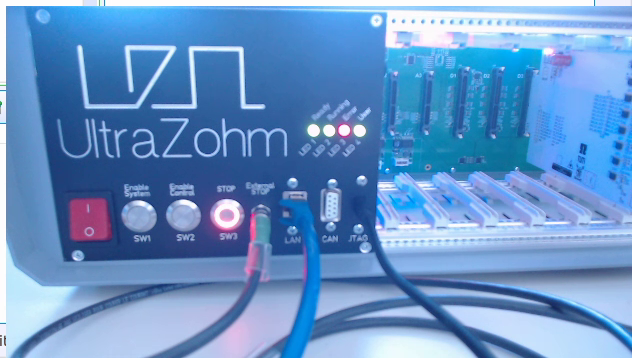
Physical Setup of the UltraZohm#
Connect the UltraZohm to 230V AC
Connect the Ethernet to your PC
Connect the USB (JTAG) to your PC
For UltraZohm Carrier Board 3v00: Plug an external stop or the external stop dummy into the front panel
For UltraZohm Carrier Board Rev04 and newer: An external stop / dummy is not required
Turn on the UltraZohm – NB: See here for important differences between an older (i.e., pre-Rev05) and newer (Rev05 ff.) system w.r.t. power-on/off
All four LEDs are turned on
Program UltraZohm (Debug)#
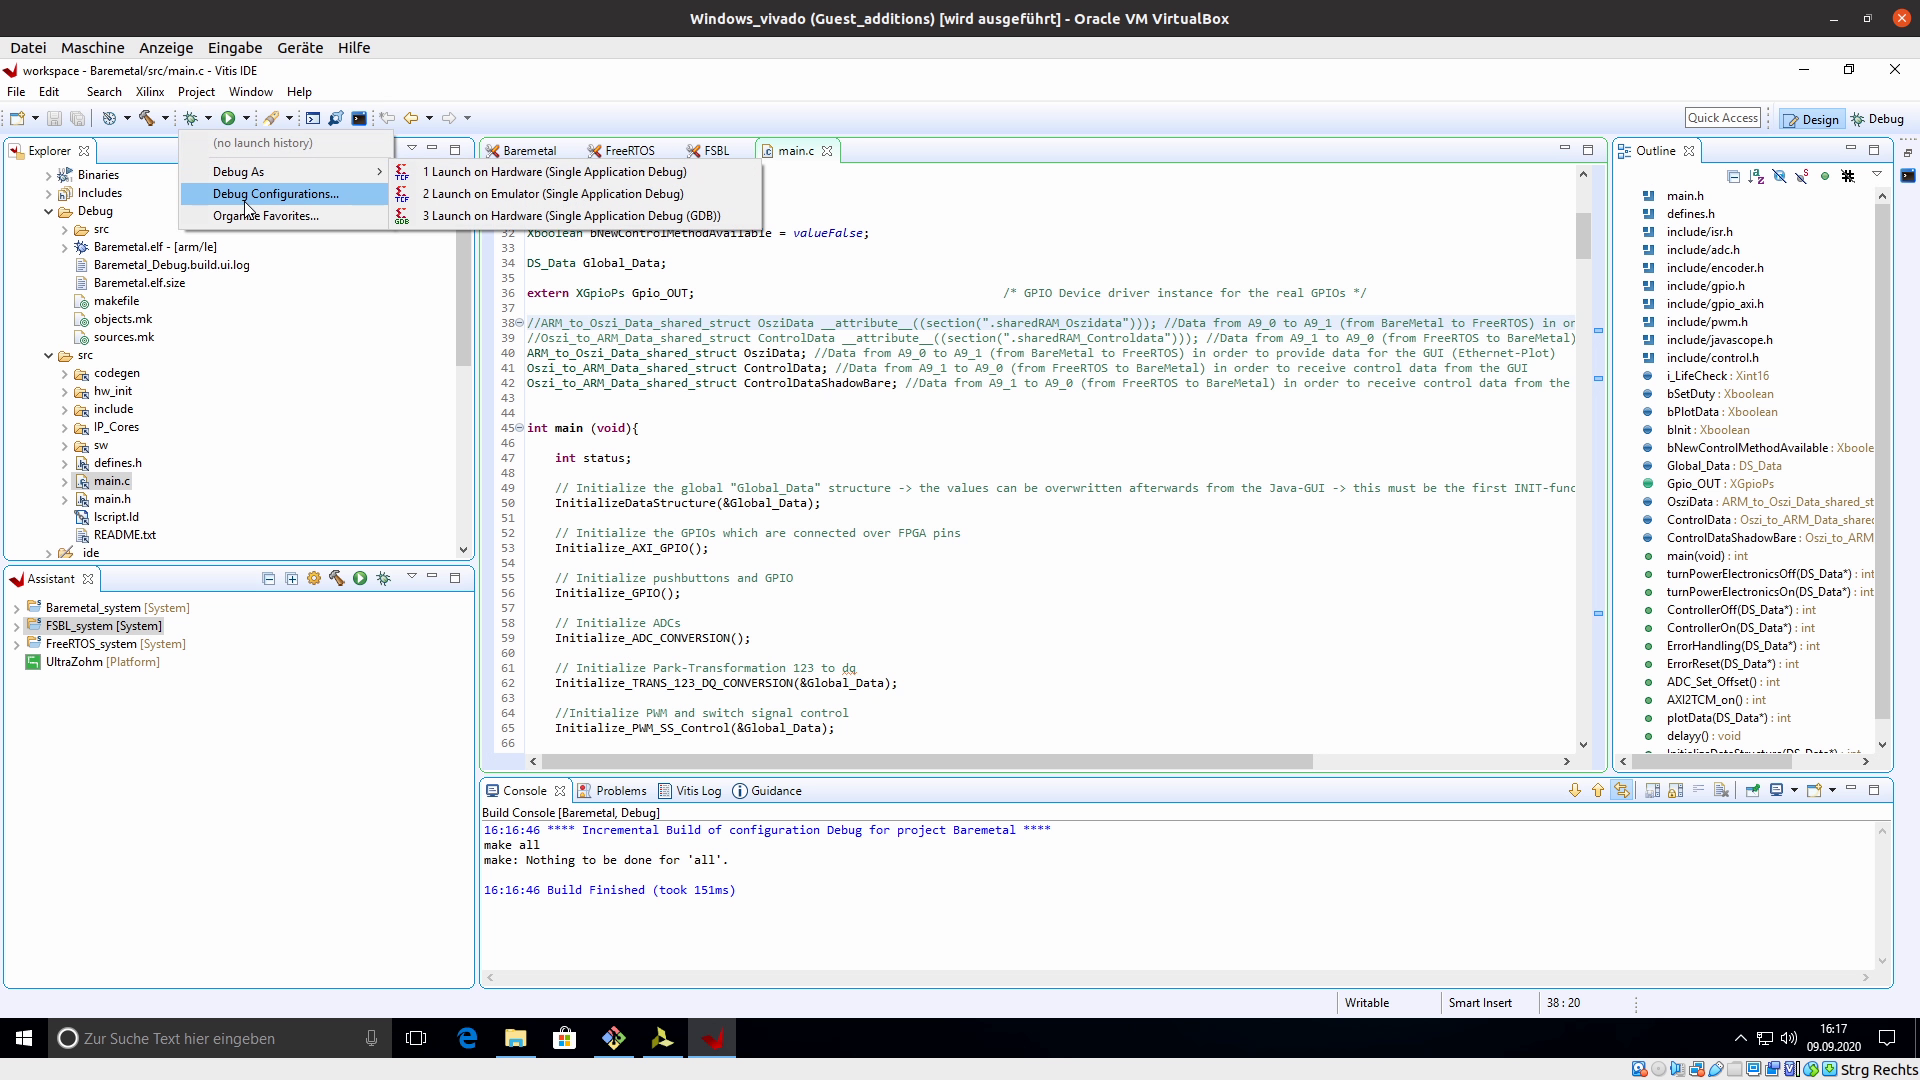
Click on the red-marked windows to see the design perspective in Vitis.
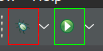
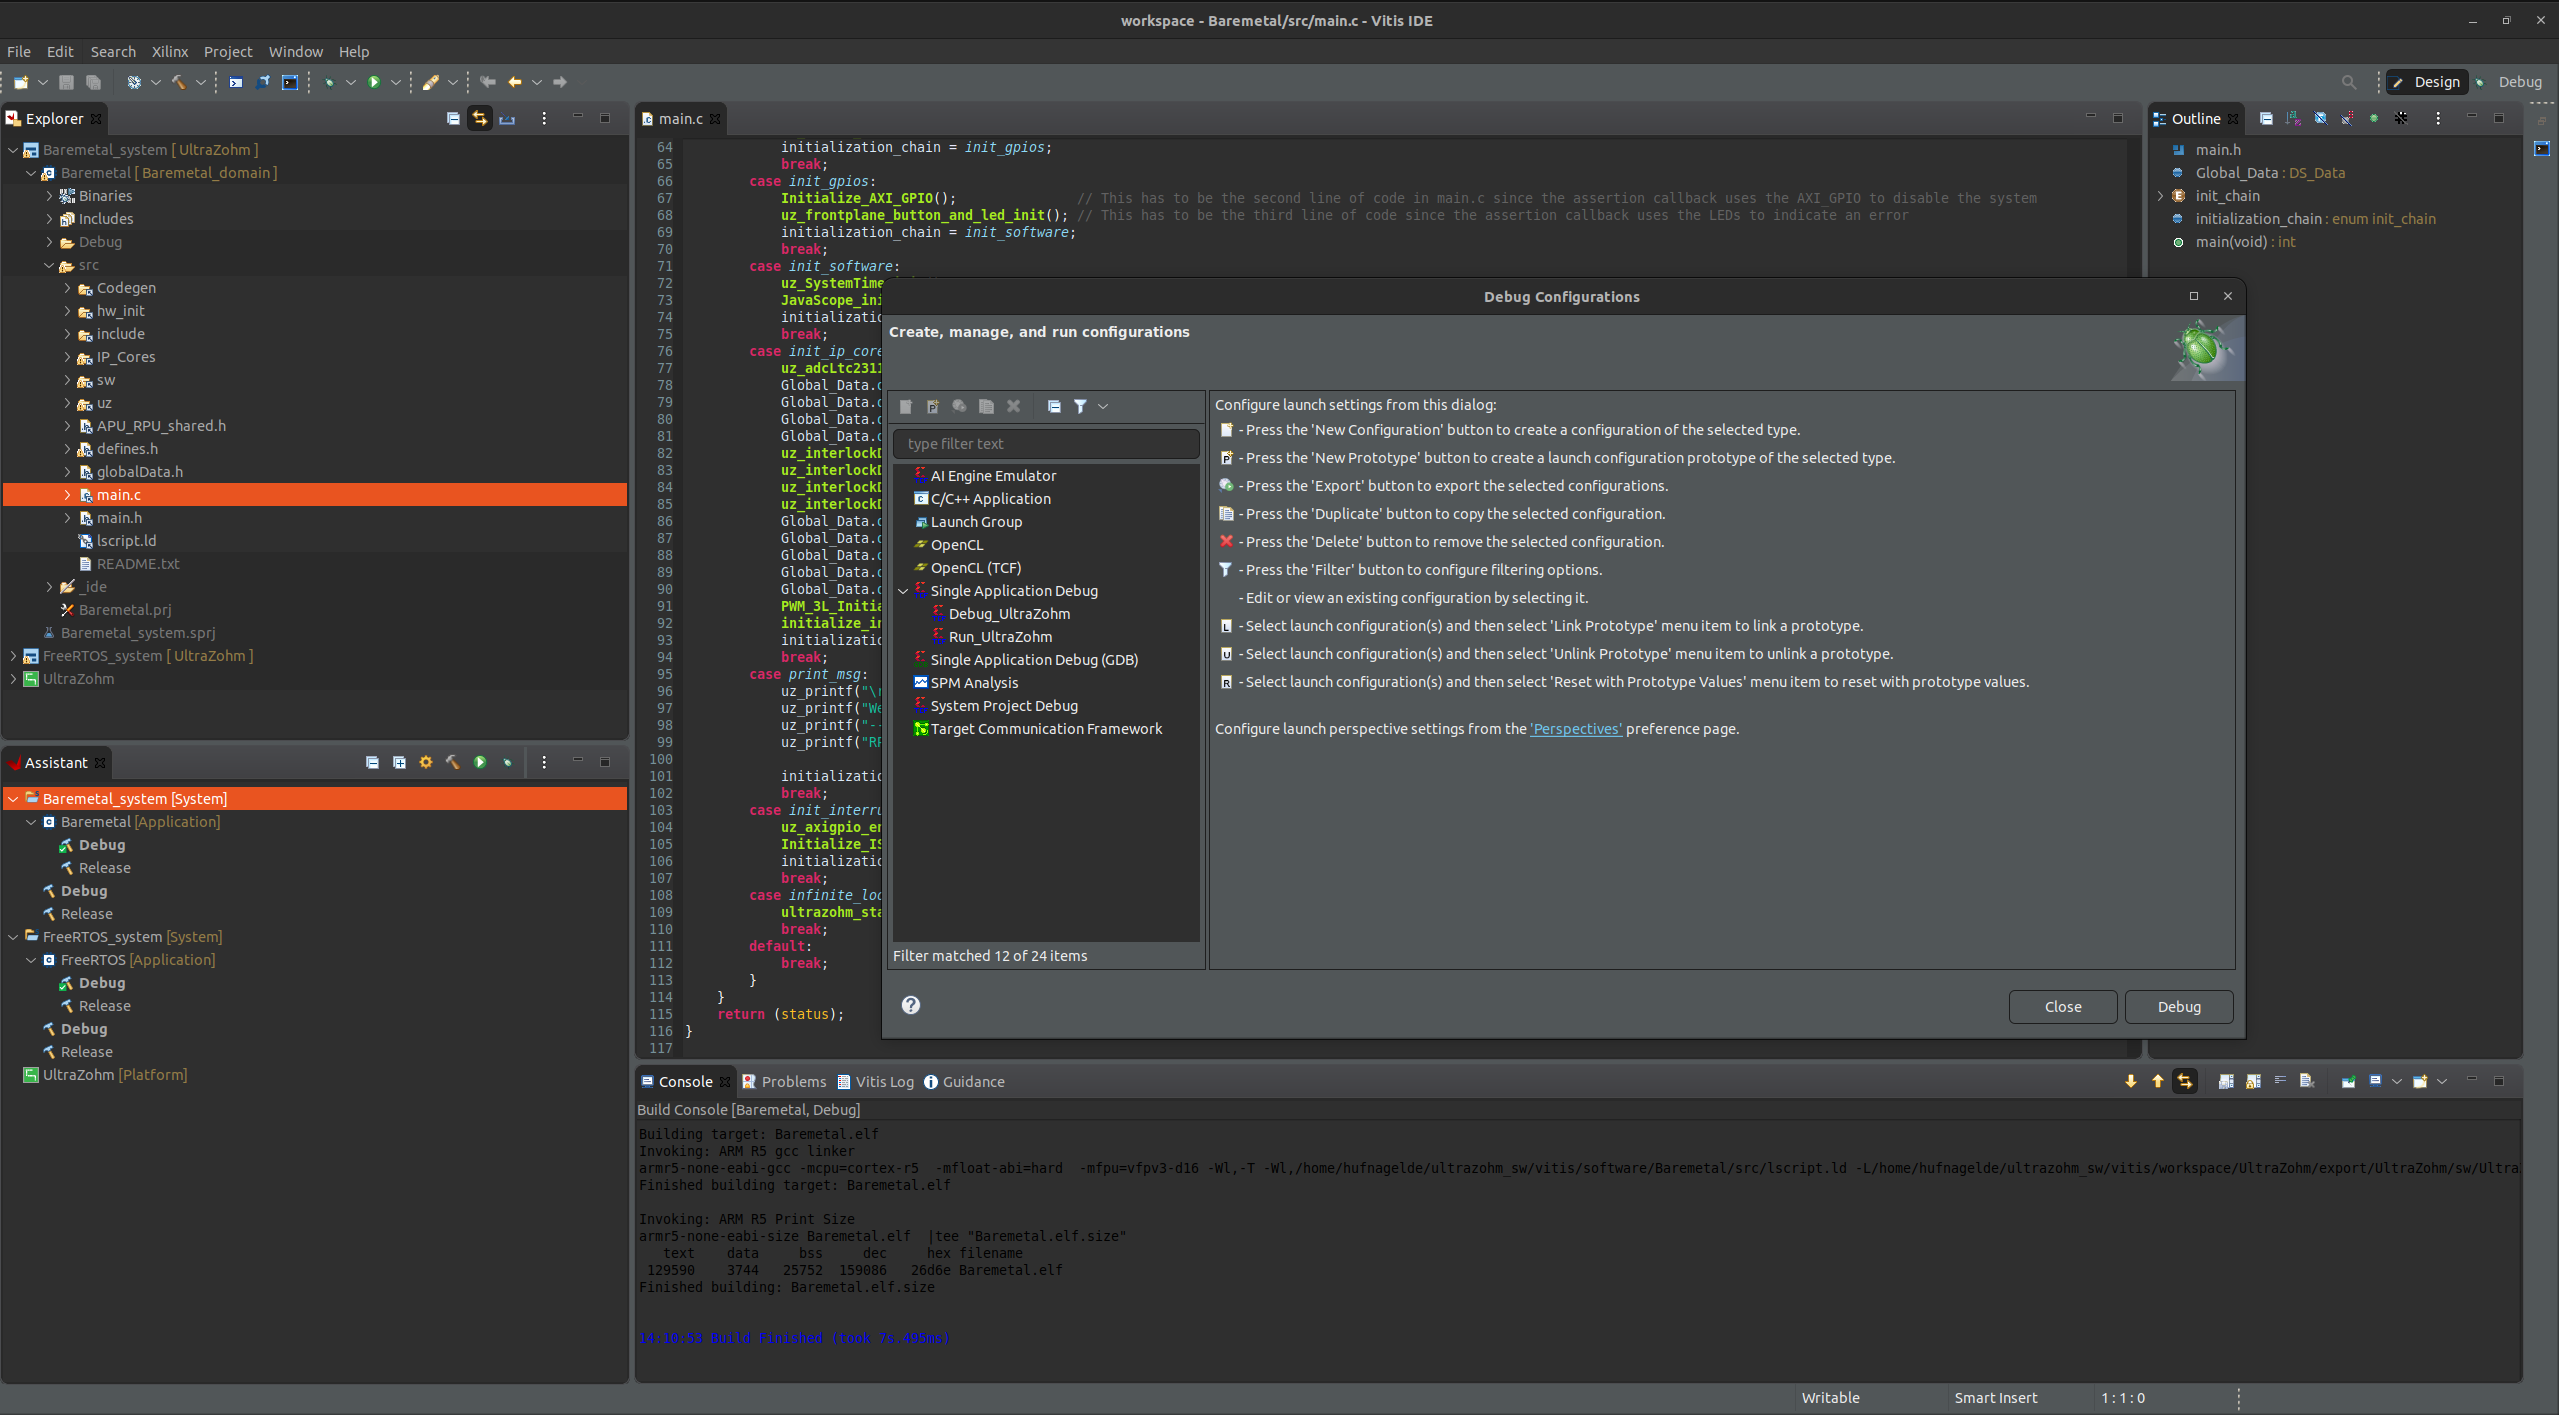
Click the arrow next to the debug-icon and choose
Debug Configurations.Choose the appropriate debug config. If the debug configurations are not visible, follow the advice here.
Note
There are two different debug configurations:
To debug the code and use breakpoints, click on the debug-icon (red) and select the
Debug_UltraZohmconfig.To run the code and ignore all breakpoints, click on the run-icon (green) and select the
Run_UltraZohmconfig.Vitis Programming Modes for more details about the different programming modes.
Click on
Debug.After the first debug run, it is sufficient to click the debug-icon.
Start all processors (click on the play button).
Javascope#
Setup the network settings of the Ethernet adapter that is connected to the UltraZohm
IP: 192.168.1.1
Subnet-Mask: 255.255.255.0
See JavaScope
Go to the folder
Start the Javascope