Create new Project#
Note
In the UltraZohm software, vitis_generate_UltraZohm_workspace.tcl takes care of this, see Tcl Scripts for more information.
Here you can find a nice tutorial on how to get started with Vitis.
Workspace configuration#
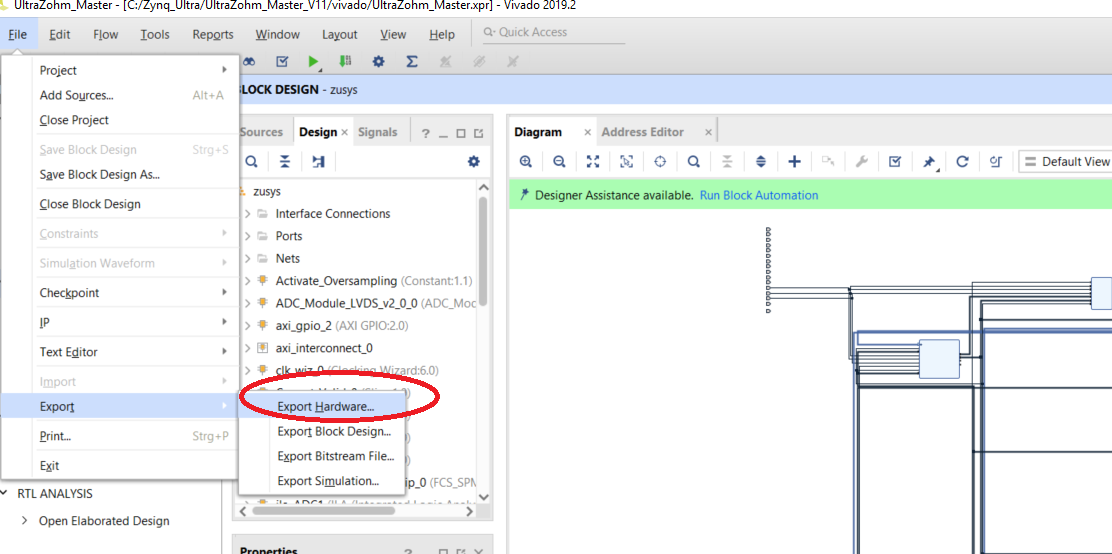
Export the hardware file
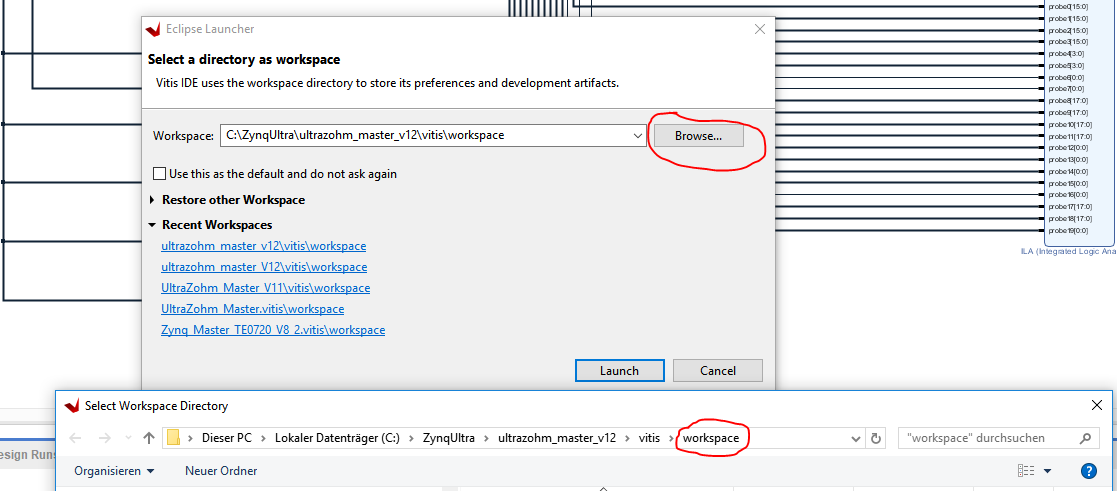
Define the Vitis workspace
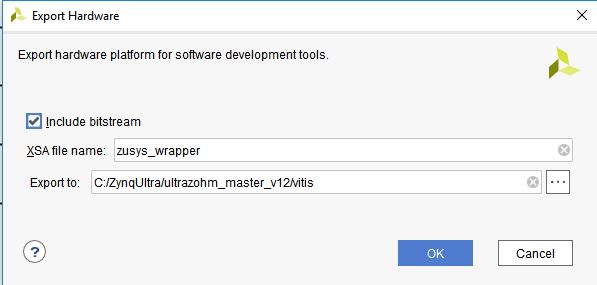
A file “zusys_wrapper.xsa” will be created which describes the hardware description on the FPGA and includes the Bitstream (in older versions/before Vitis/with SDK, this was called “zusys_wrapper.hdf”)
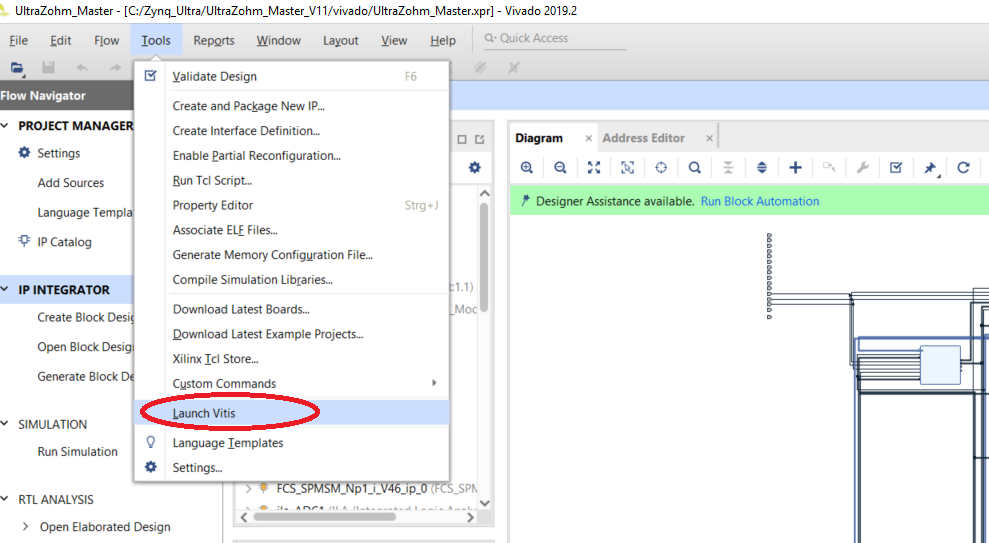
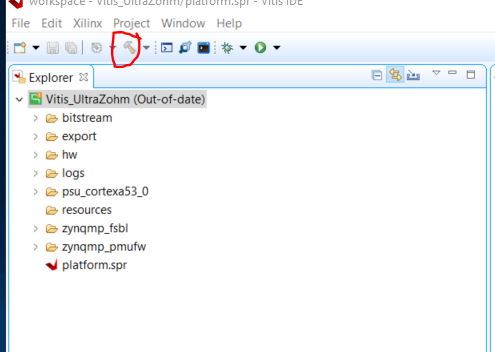
Start Vitis, which was formerly the SDK
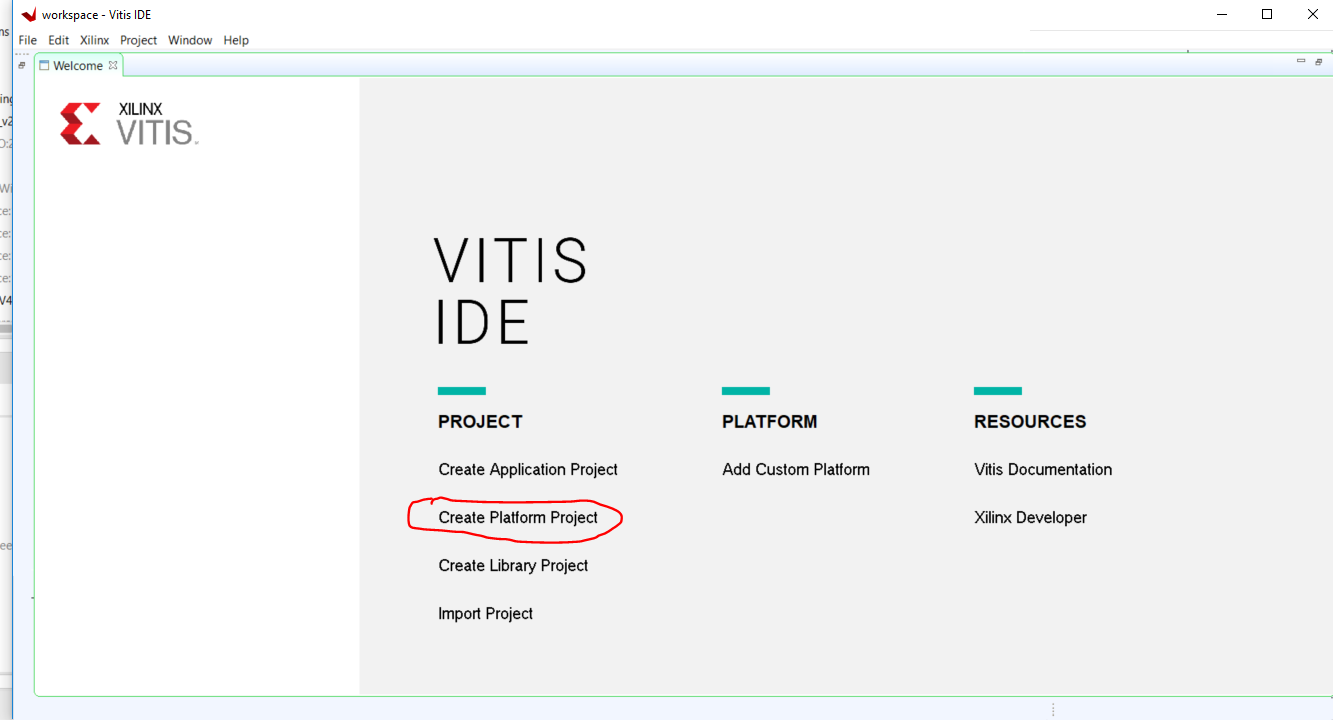
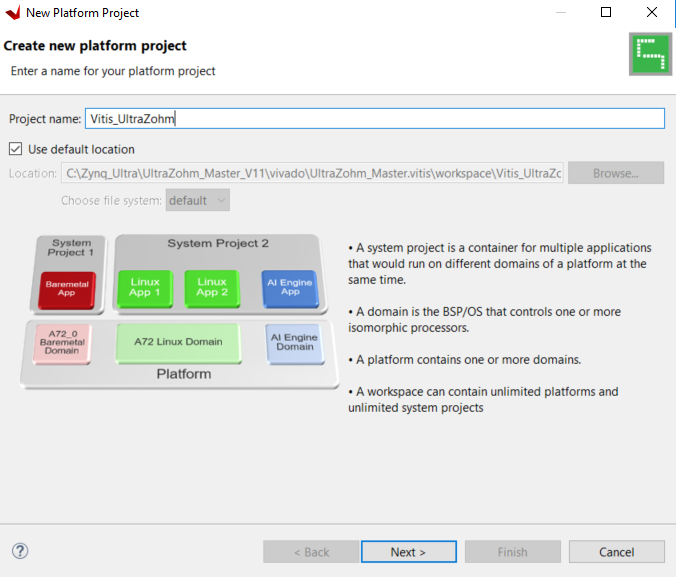
The Platform Project#
Create a “Platform Project”
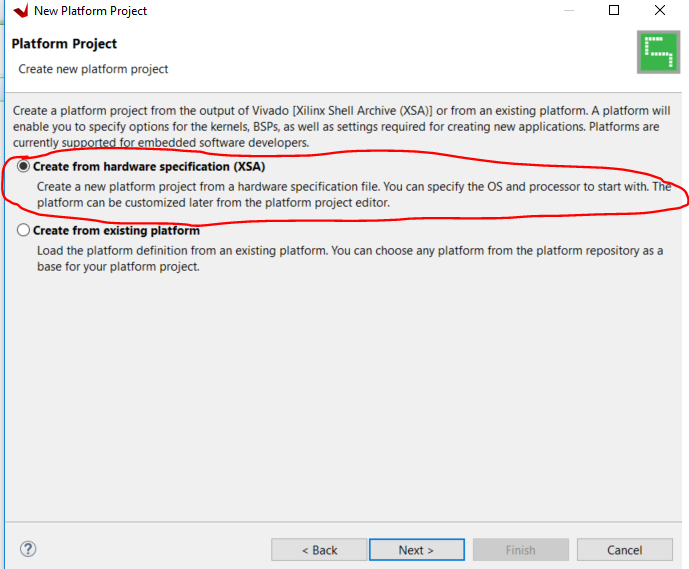

Activate the creation of a Boot Image
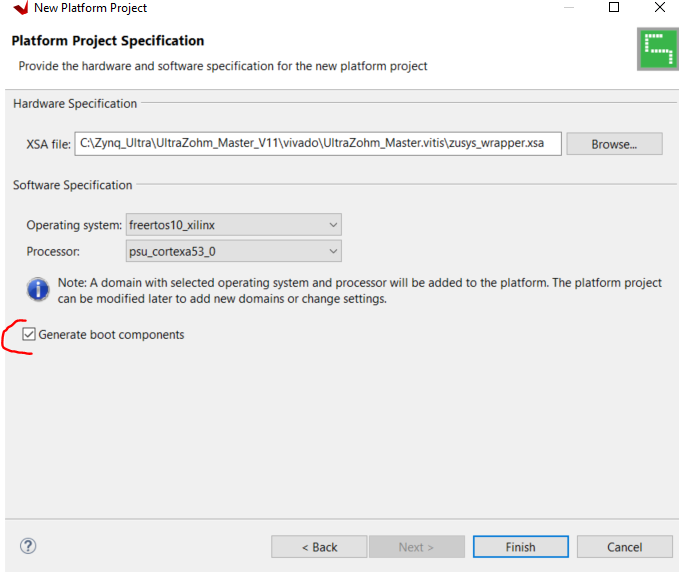
Afterwards, you have the Platform project ready. You have to do this only once.
Add the lwIP (Ethernet/IPvX) library
Right-click on the FreeRTOS BSP
Modify BSP settings
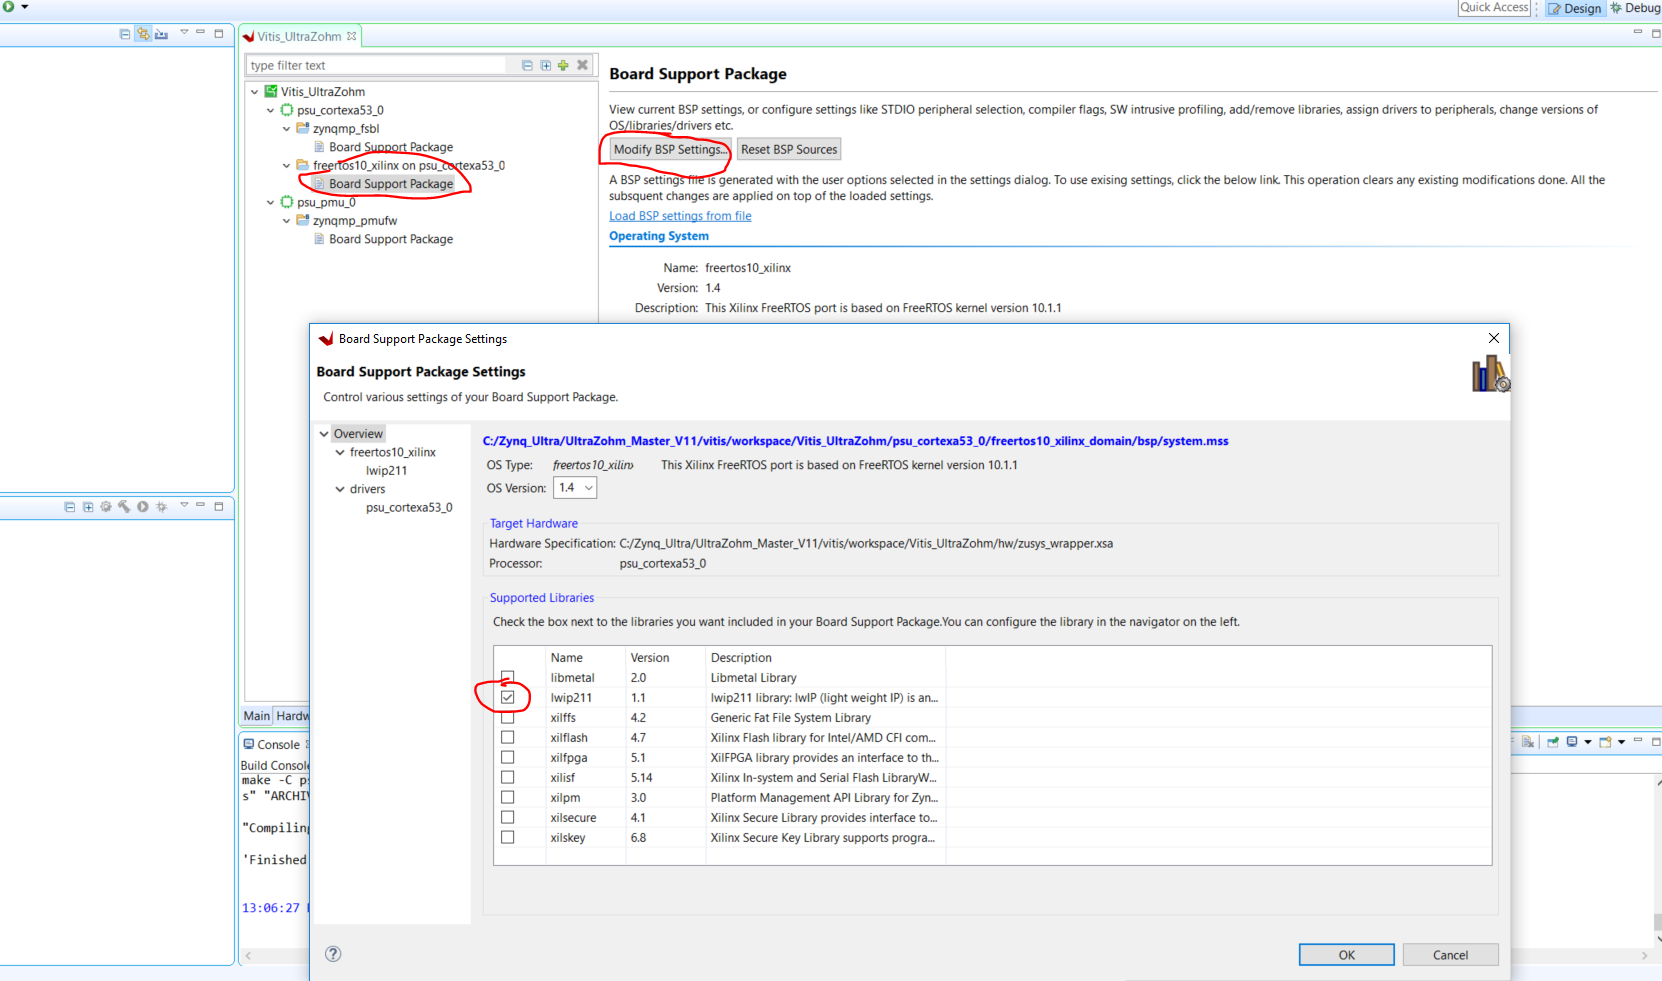
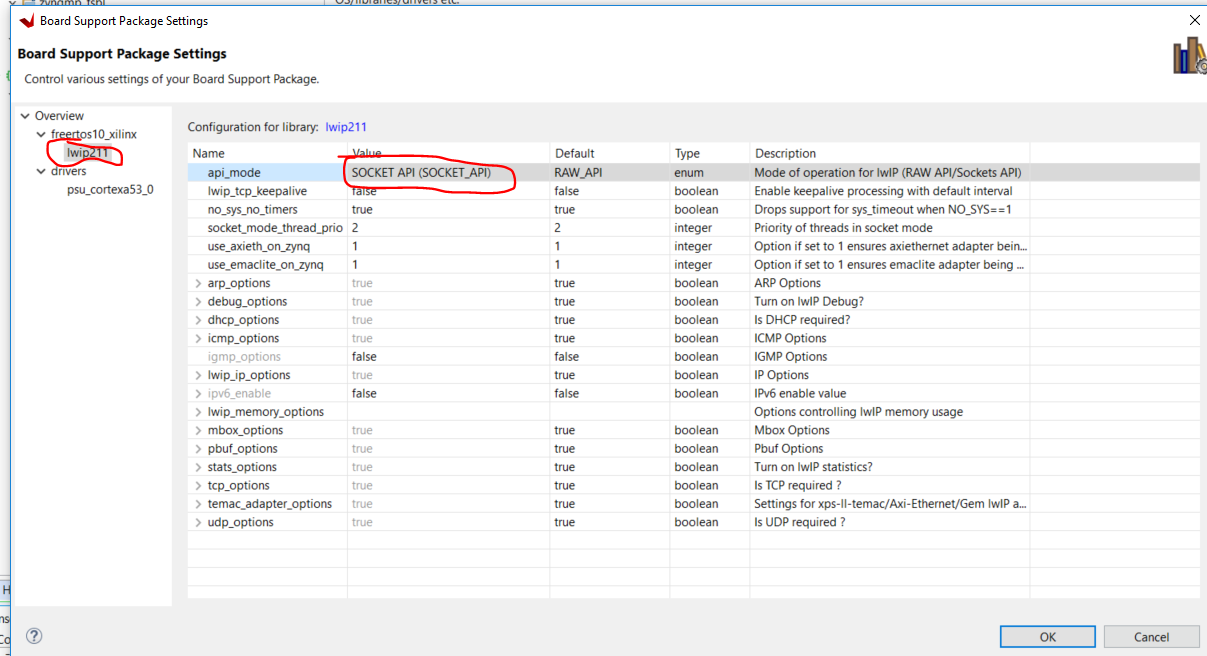
Add and configure the library
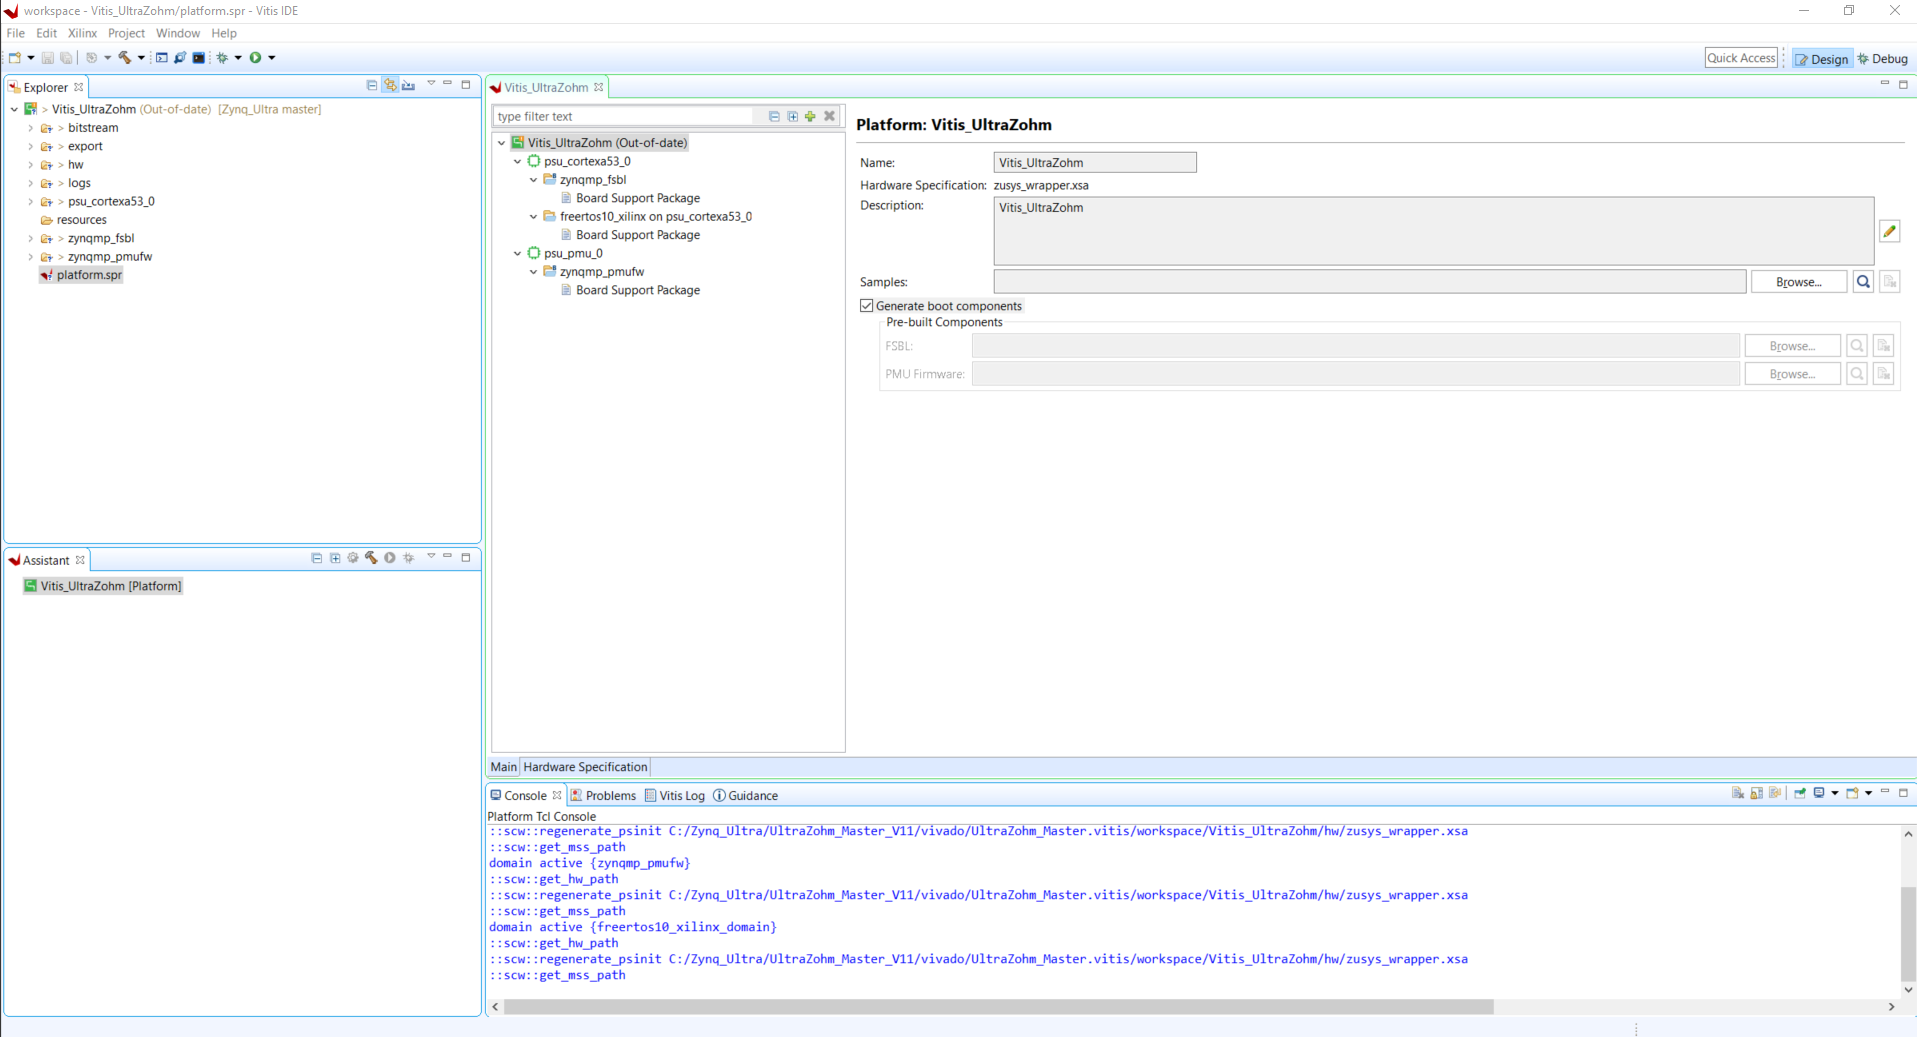
Build the platform especially if the platform is “out-of-date”
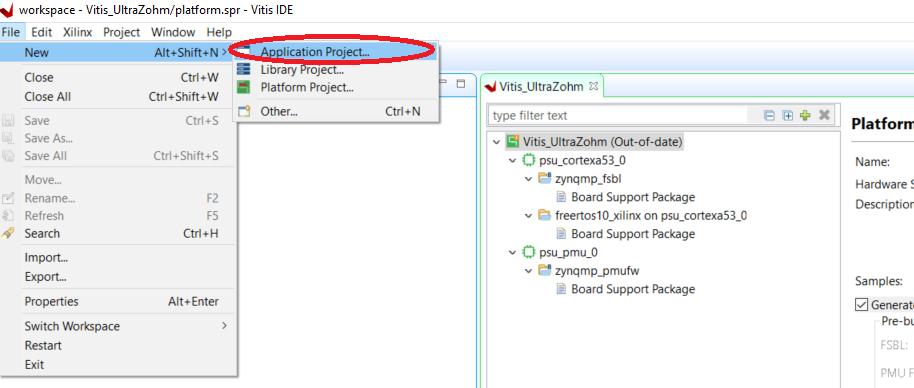
The Application Project#
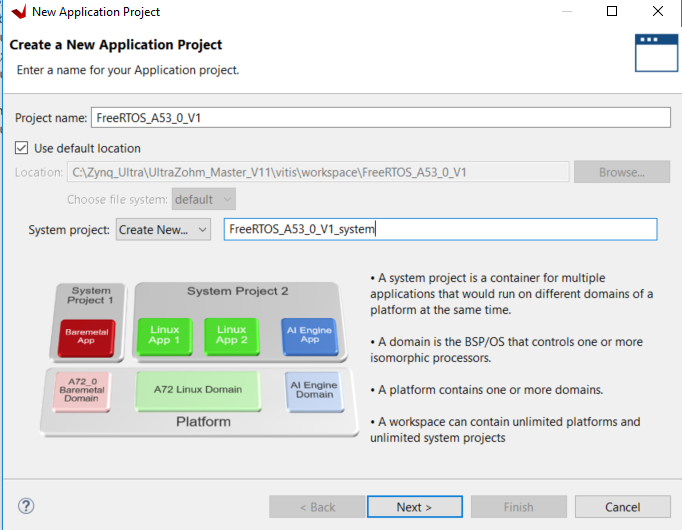
The next step is to create an “Application Project” for each different solution.
FreeRTOS#
In our case we have one processor of the A53 for the FreeRTOS:

If the necessary Platform is not shown, press the “+” and select the “ProjectName.xpfm” file from the path manually.
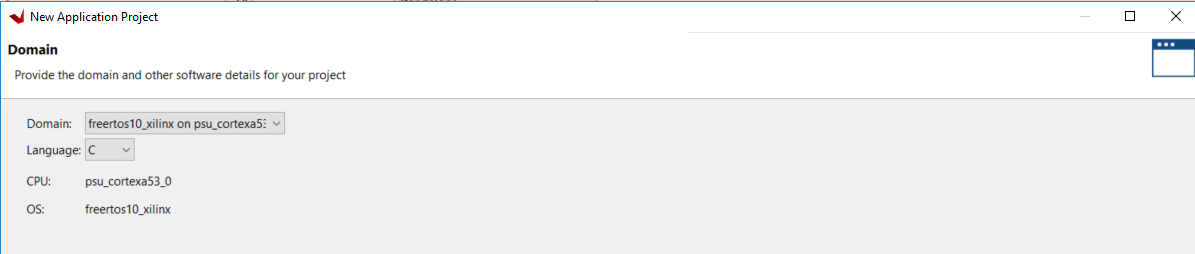
The following step works only if the lwIP library was included before:
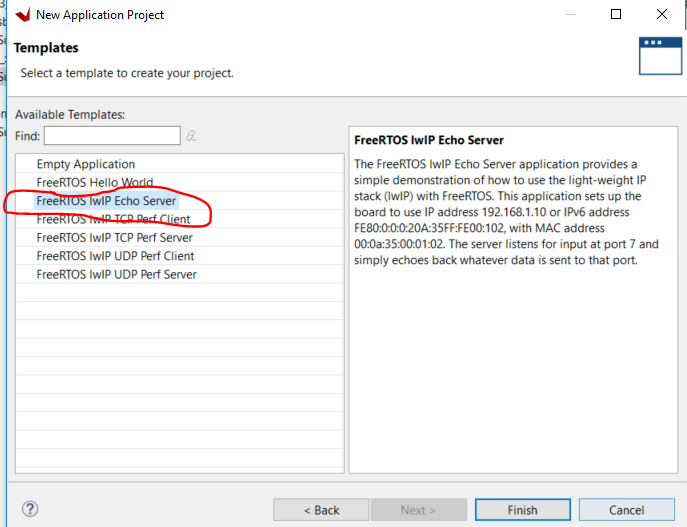
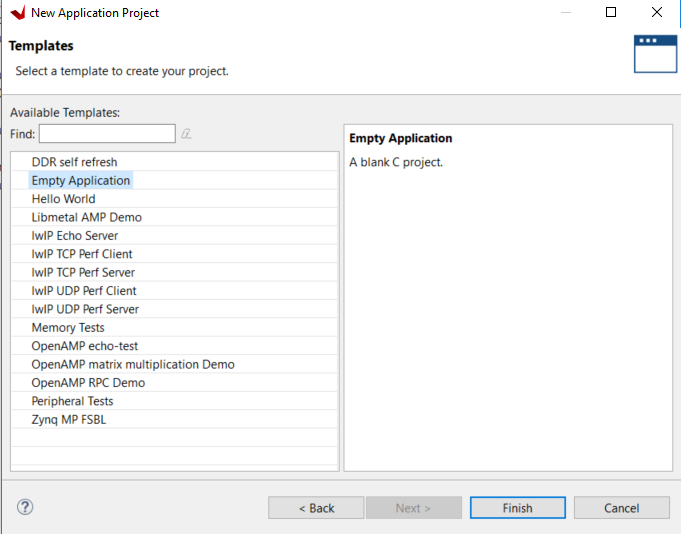
Press Finish
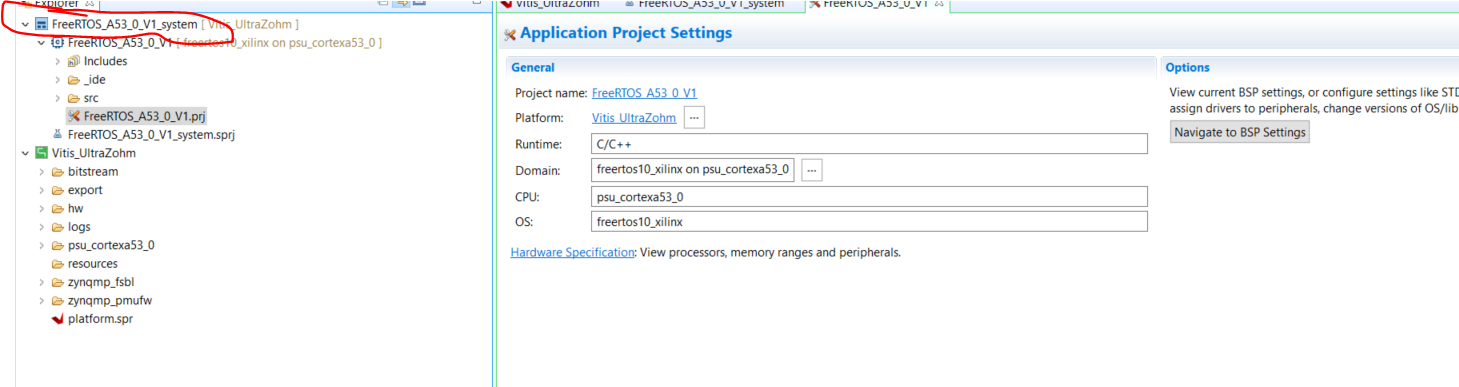
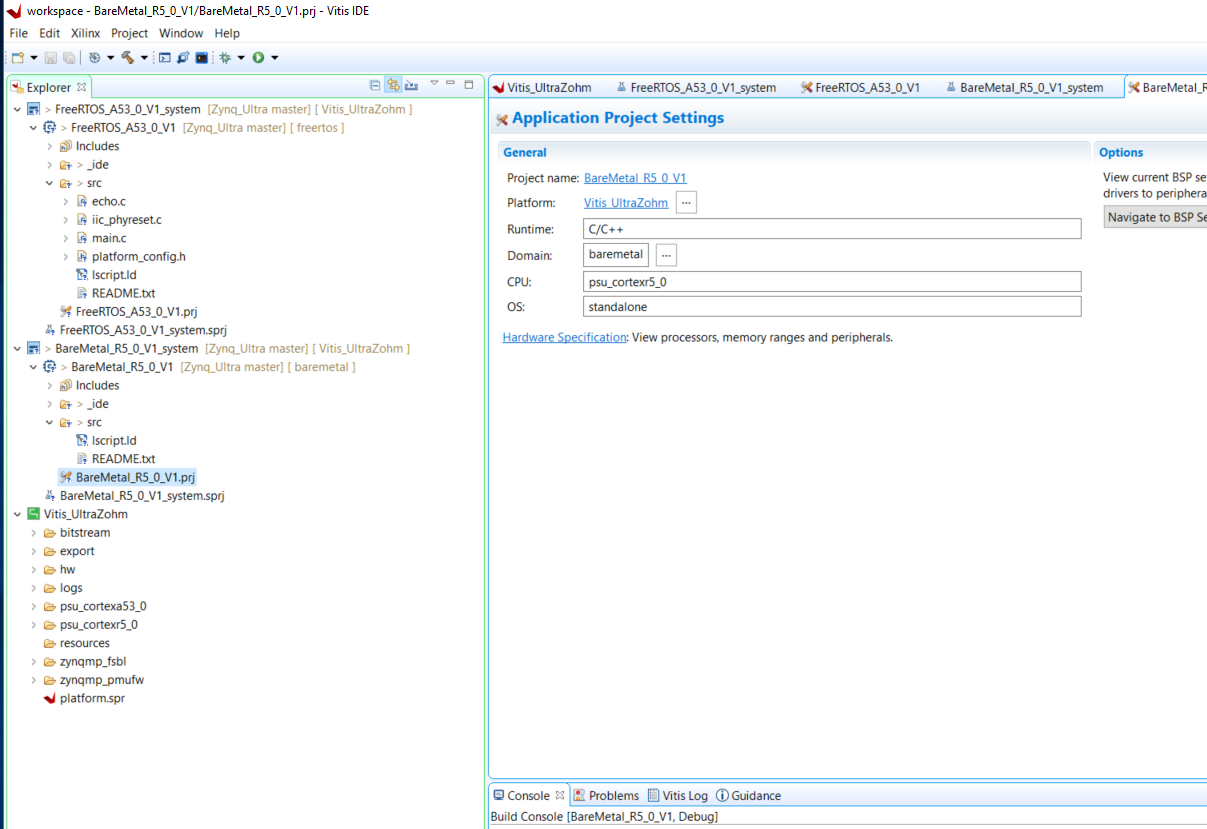
You will see the name of the “Platform Project”, which the “Application Project” is based on, in the yellow brackets behind the application.
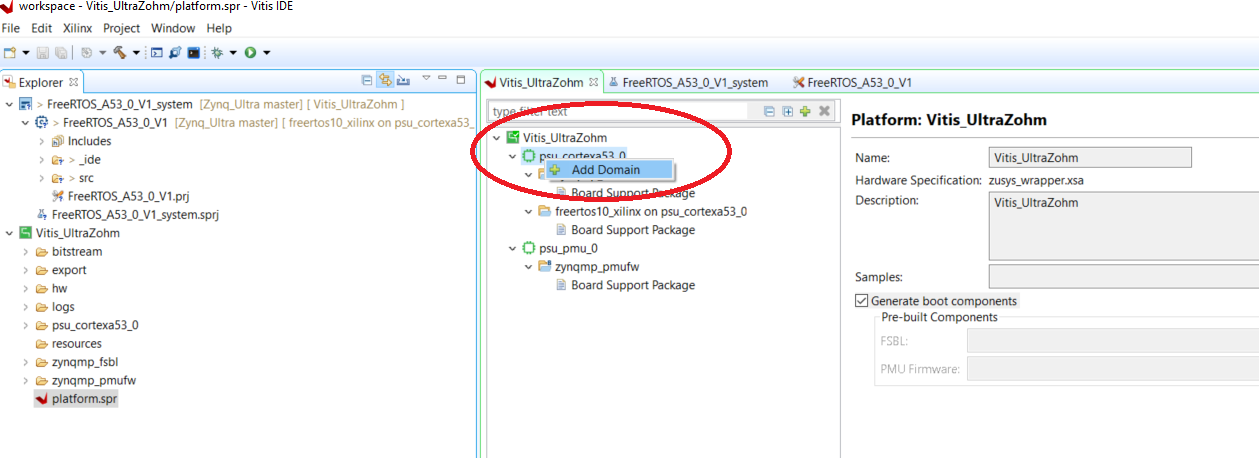
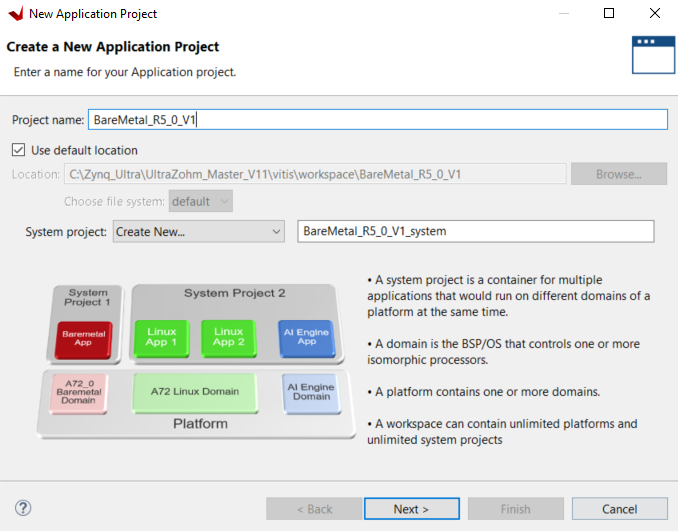
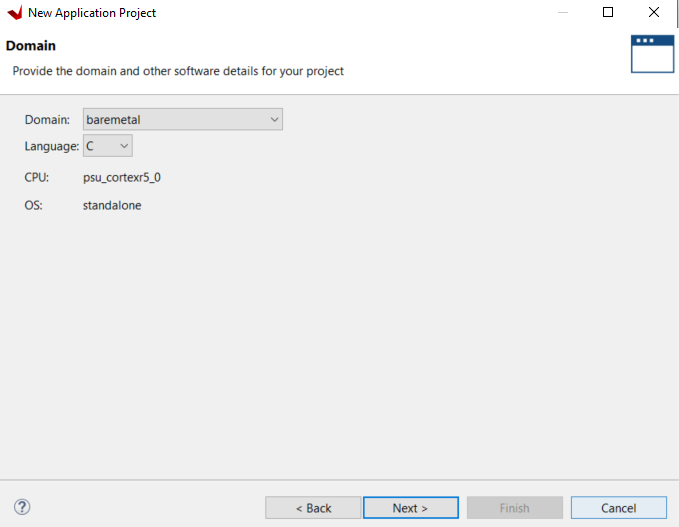
Bare Metal#
We will use one processor of the R5 for the bare-metal application
Since during creation of the “platform Design” we just created a “System project” for the A53_0, we now have to do the same manually for the R5
Right-click on the “Vitis_UltraZohm” and add a domain
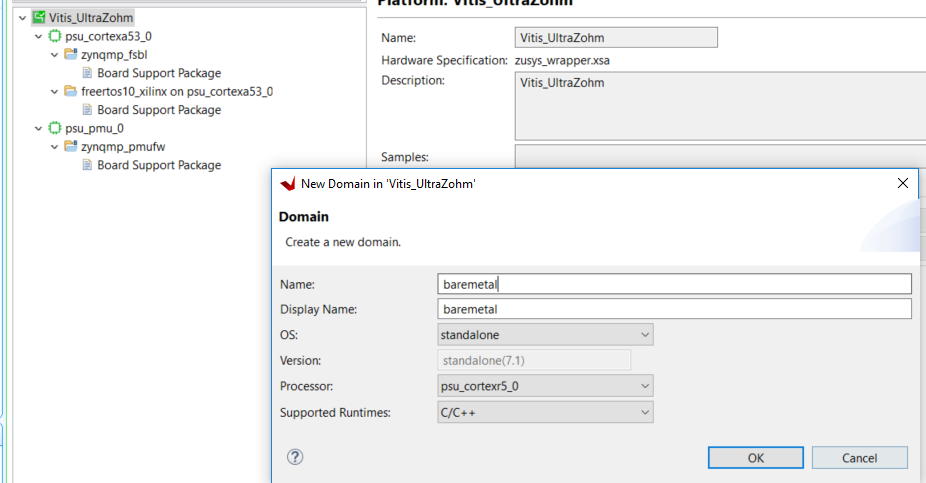
You should see the domain now. Rename the FreeRTOS to just freertos
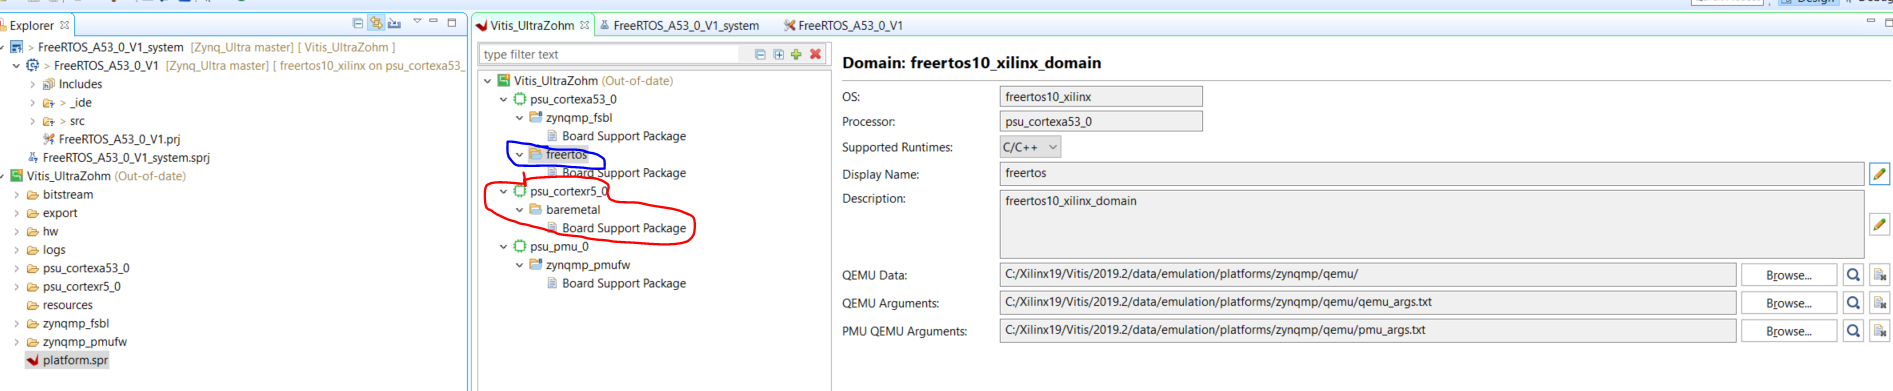
Rebuild the platform project since it is out-of-date (yellow comment)
Add the new application project.
Side comment: If there is already another Platform and Application present in Vitis, it may happen that the new domain is not visible. In this case, it is necessary to delete the old/other Platform and Application. Afterwards, the new domain, e.g. BareMetal, is visible.
C-Project Setup#
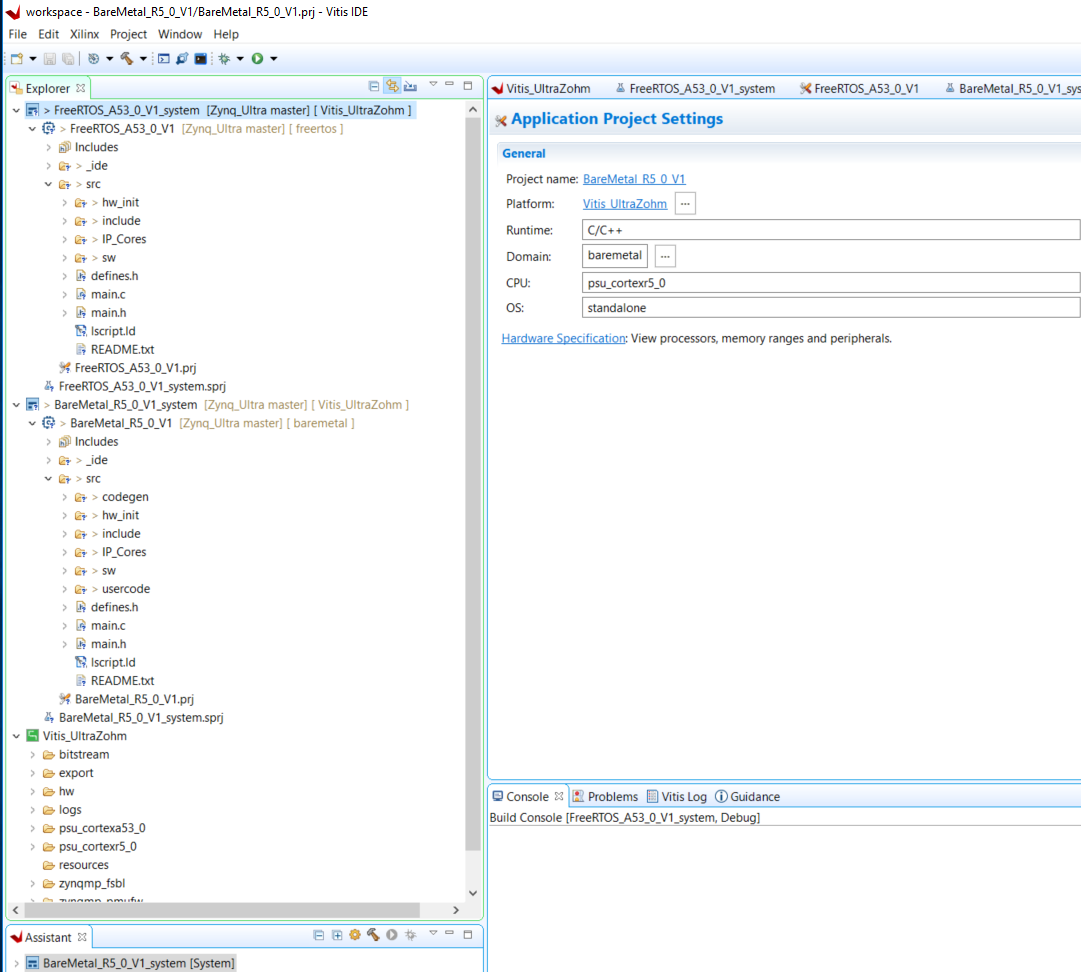
The project structure should be ready at this time.
Include the source (.c) and header (.h) files
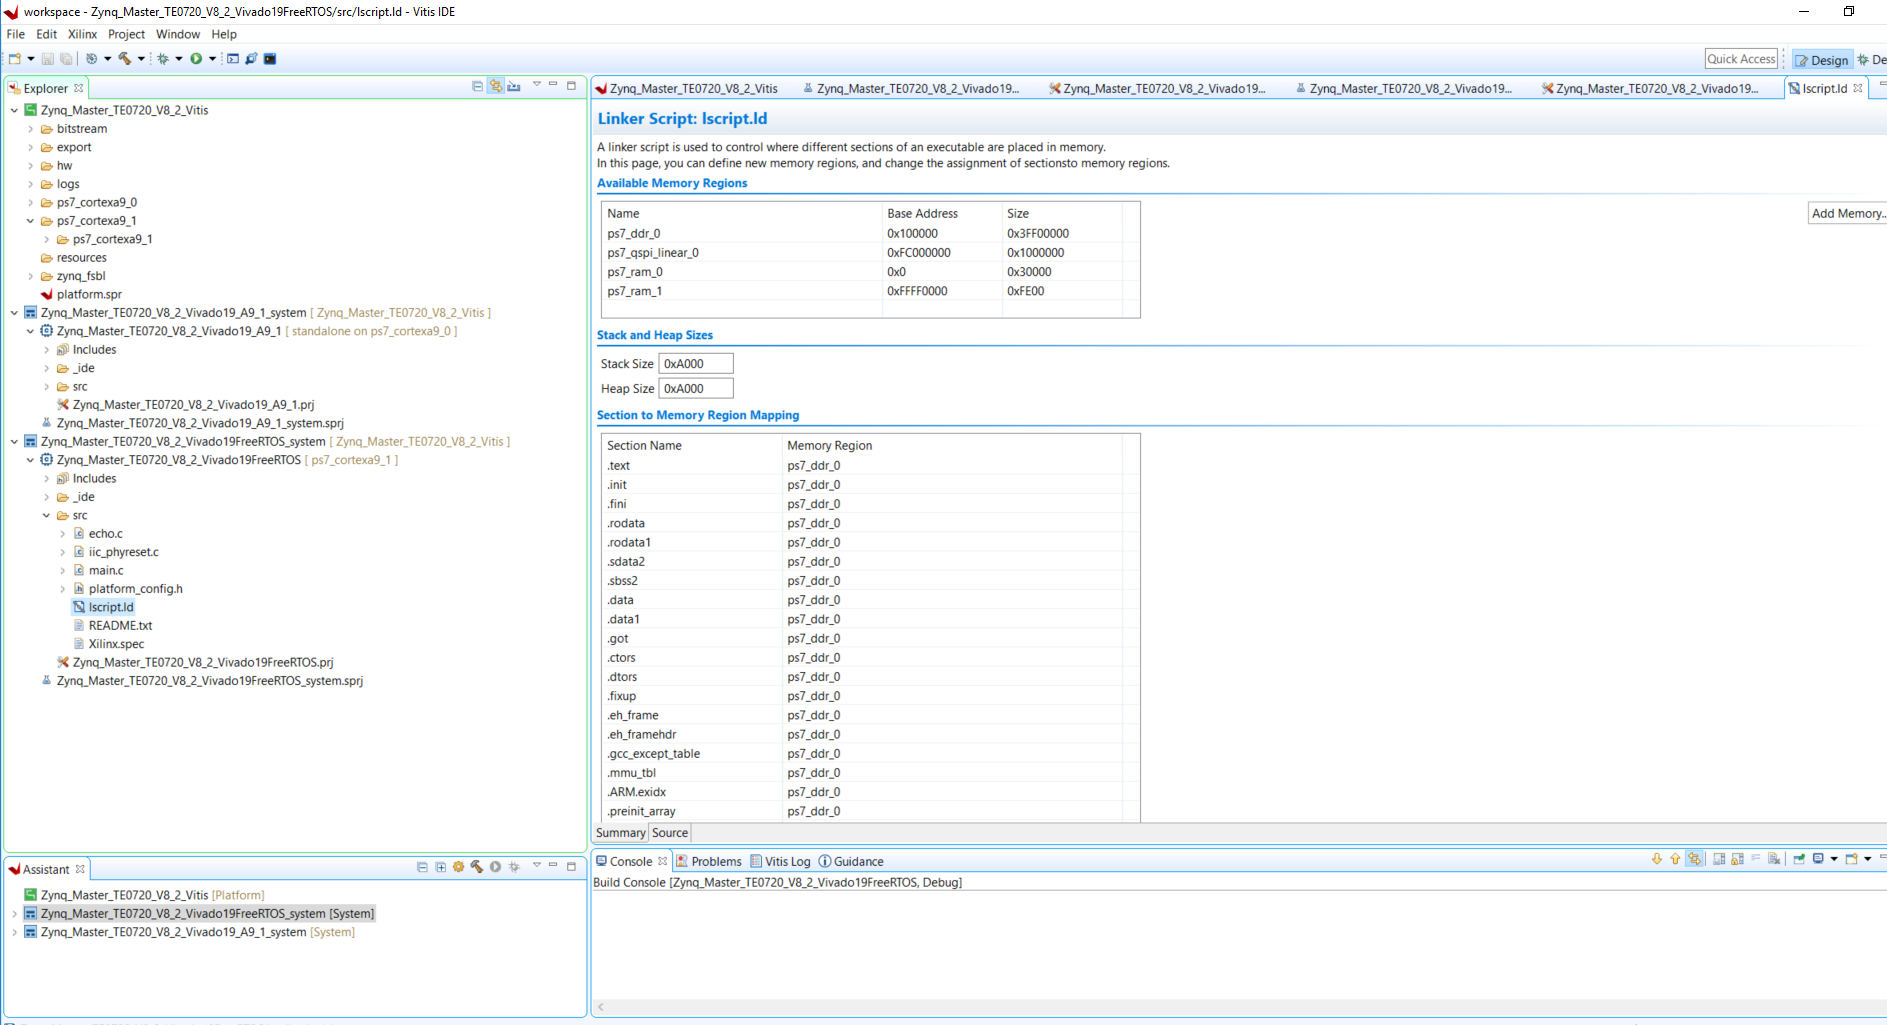
Make sure that the UltraZohm linker script is included.
The system is now ready for modifications
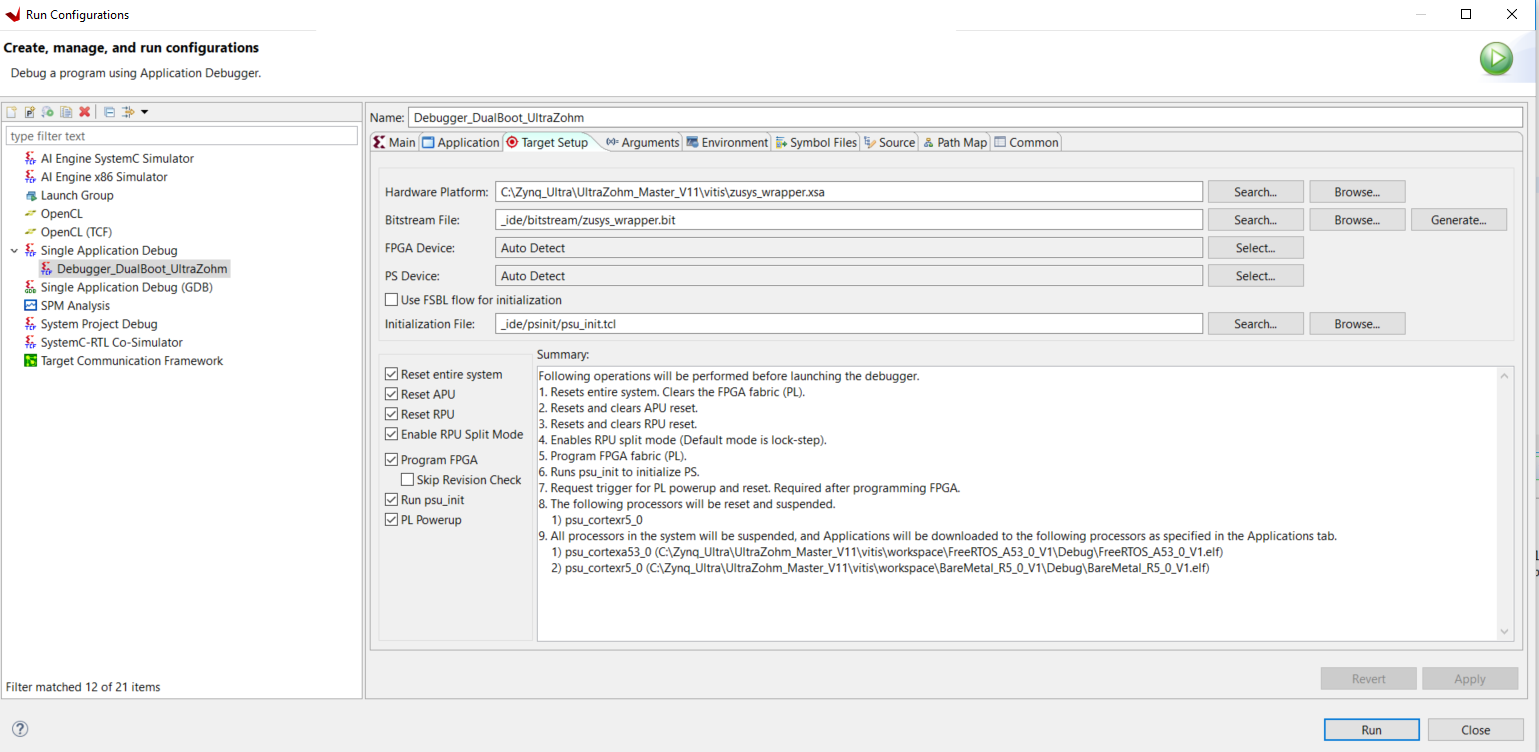
You can start a debug session now