Bitbucket#
Bitbucket is a cloud hosting service on which the remote repository of the UltraZohm is hosted UZ Repository . The source files and pull requests in the repository are public, while the issues are private. Therefore, one has to be registered at Bitbucket and request access to the repository at one of the maintainers. Please use a descriptive user name and work-related mail address.
The Bitbucket features Issues and Pull Requests are used to structure the technical discussion around the UltraZohm.
Issues#
The issue tracker is used to keep track of all issues with the UltraZohm and its documentation. Issues are bugs or problems with the system / the source code / documentation of the system and should be reported.
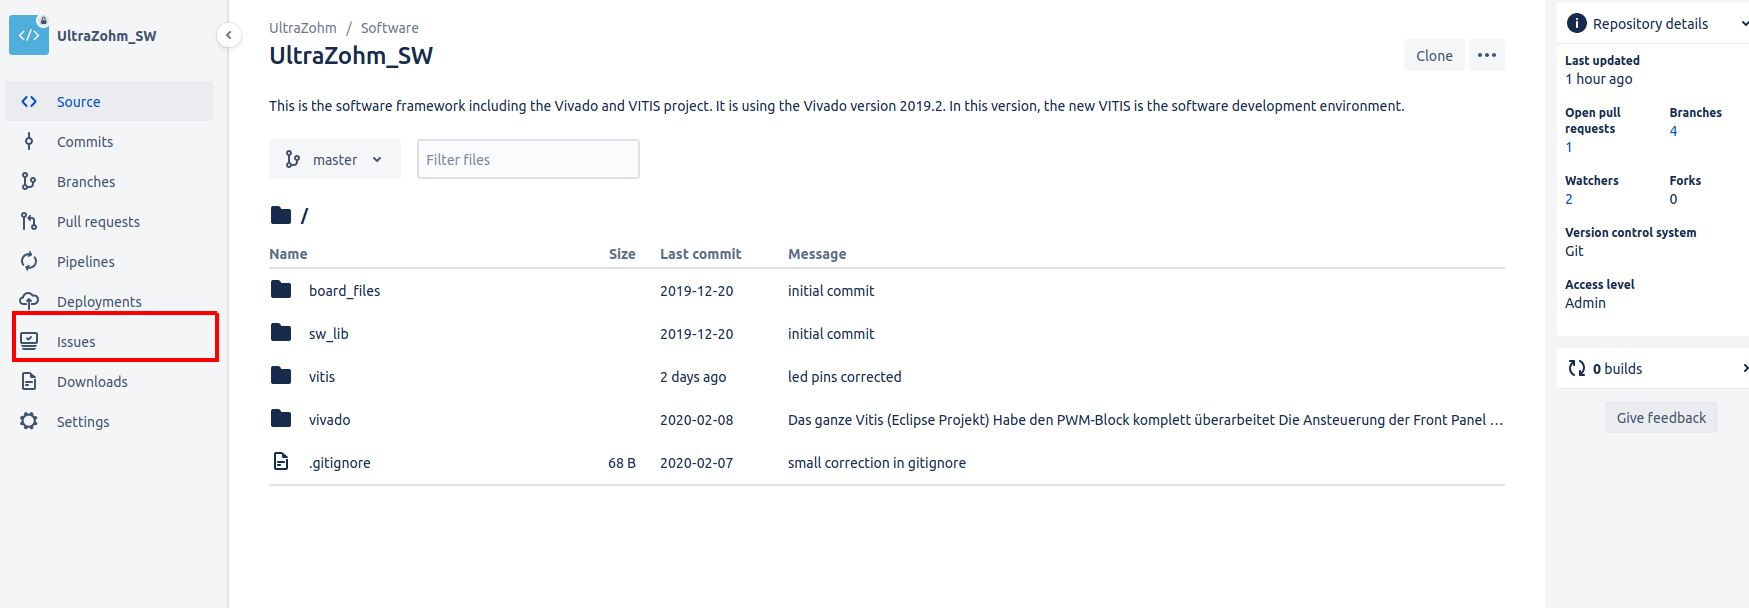
In the ultrazohm_sw repository, you can click on issues to get a list of all open issues.

Before reporting an issue, check if this issue already exists. You can sort the list by module and use the free text search.
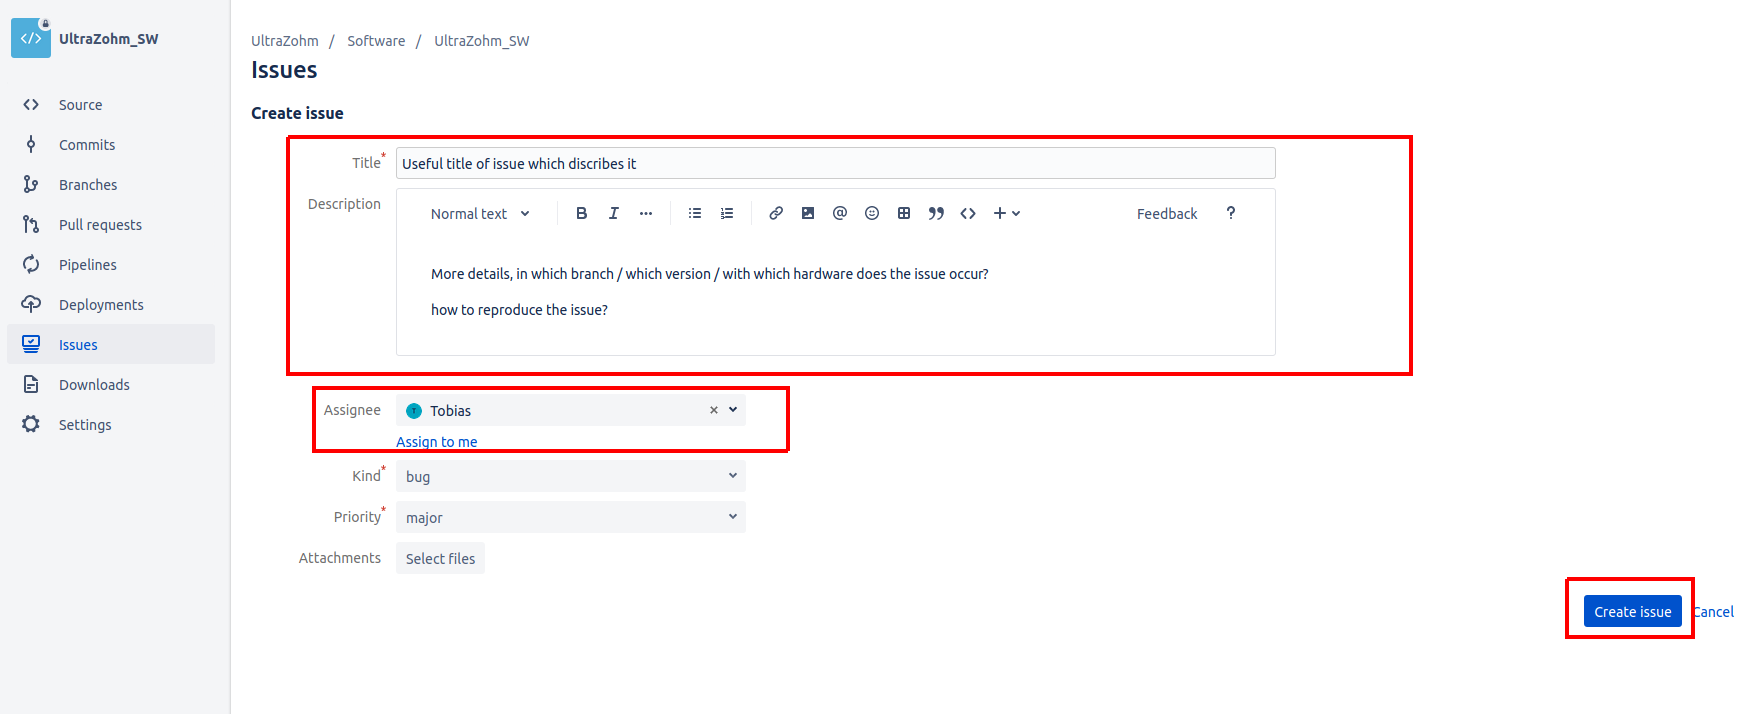
If the issue does not exist, report a new issue by clicking on Create issue.

How to use the issues#
Create a new issue for each topic. In this way, the issues will structure the technical discussion that often follows afterward. Furthermore, it’s easier to keep track of what is left to do for the assignee.
Enter a descriptive and compact title.
In the description, add further details:
Specify the observed behavior.
Steps on how to reproduce the issue.
Steps that have been taken so far to resolve the issue.
Add screenshots and cross-references to other issues or sources wherever needed.
You can assign the issue to yourself or somebody else, who will be notified automatically. When creating a new issue, it might be better not to assign the issue to someone without talking to them beforehand. Otherwise, this might be perceived as telling them what they have to do - no one likes that. If in doubt, rather not assign the issue and instead tag the relevant people in the description.
Tag the relevant people in the issue description by using
@personotherwise, they might miss the issue if they do not check the issue tracker regularly.Take advantage of the issue features by modifying kind and priority to indicate its urgency and intent (bug report vs. suggestion for an enhancement).
Add a component to indicate if the issue is related to the Vivado, Vitis, git, docs, Altium.
Click
Create issueto create the issue.

Once the issue has been created, discuss everything inside this issue. This helps to document the development progress and on-boarding other users when you ask them for help or review later on. If you discuss with someone in person or on the phone, write the outcome of this discussion in the issue.
Do not hesitate to close the issue, once you think it has been resolved. If it turns out it has not been resolved, they can simply be re-opened again. Generally, this should be done by the assignee or the reporter.
Pull Request#
After you finished a feature and you want to include your changes in the main repository, you have to create a pull request in Bitbucket.
A pull request is the process to merge your changes from your feature/branch into develop.

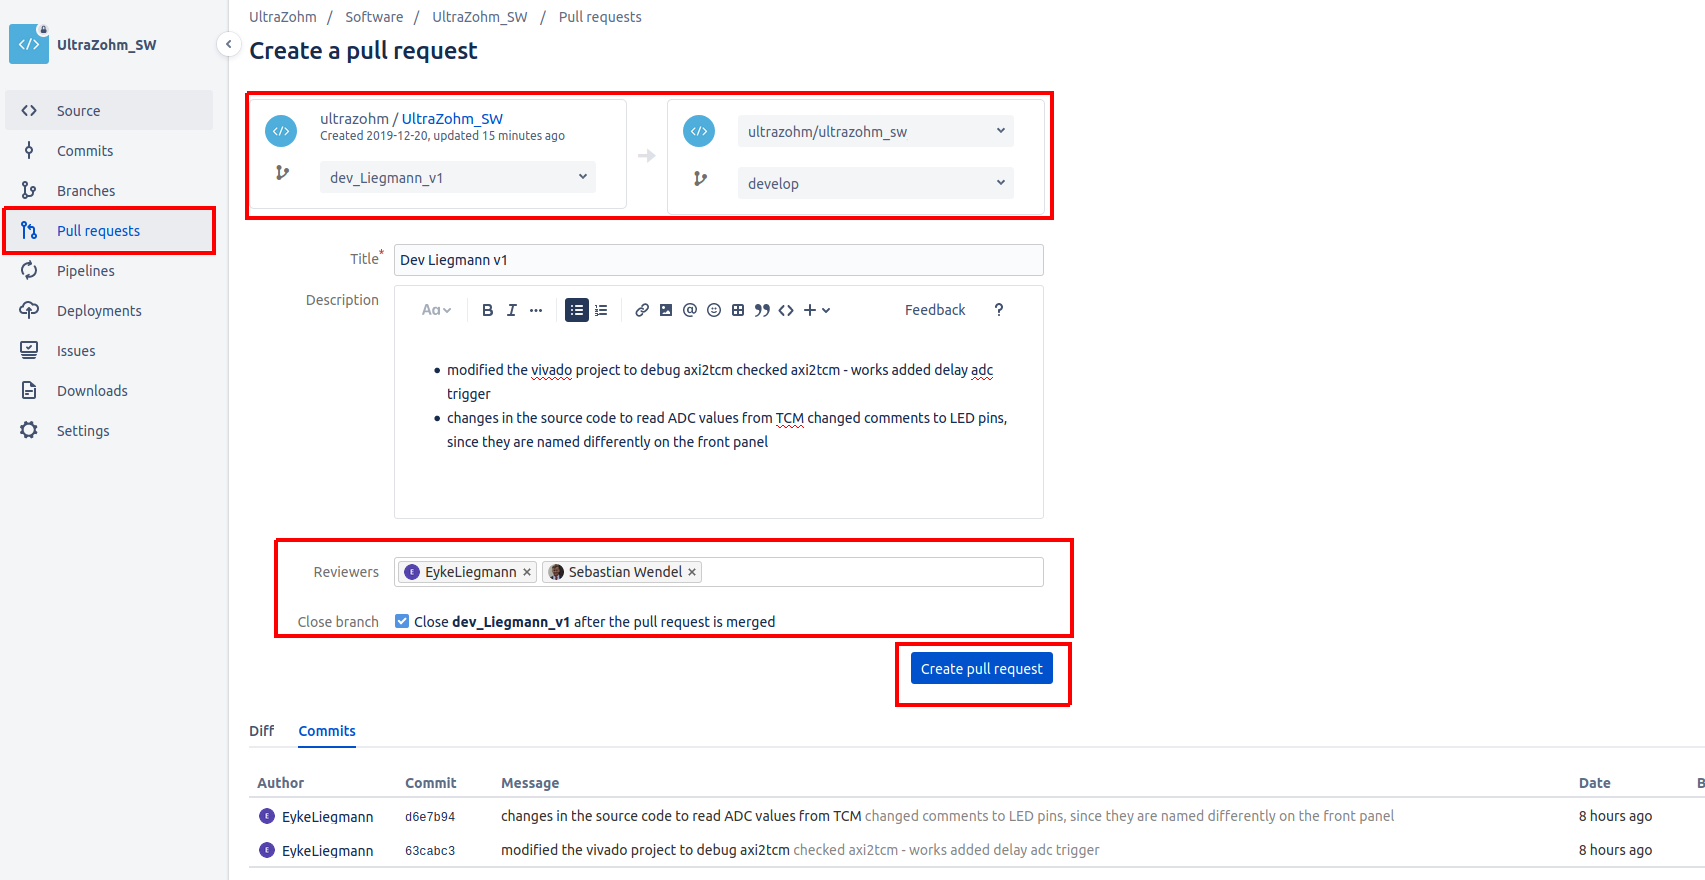
In the Create a pull request plane, you can choose which branches should be merged. Choose your feature/branch on the left side and develop on the right.
Give the merge request a useful title and describe what the changes do. The commit messages of your feature/branch are automatically added.
If you fix issues with your pull request, specify the issue in the title with
close #IssueID, i.e., Example text, close #99 #100.This will automatically close the specified issue after the pull request is merged.
For further information read Using Smart Commits.
Next, assign reviewers with at least one maintainer and click close feature after the pull request is merged. The reviewers will be notified, and after the pull request is merged, the feature branch will be deleted from the remote repository.

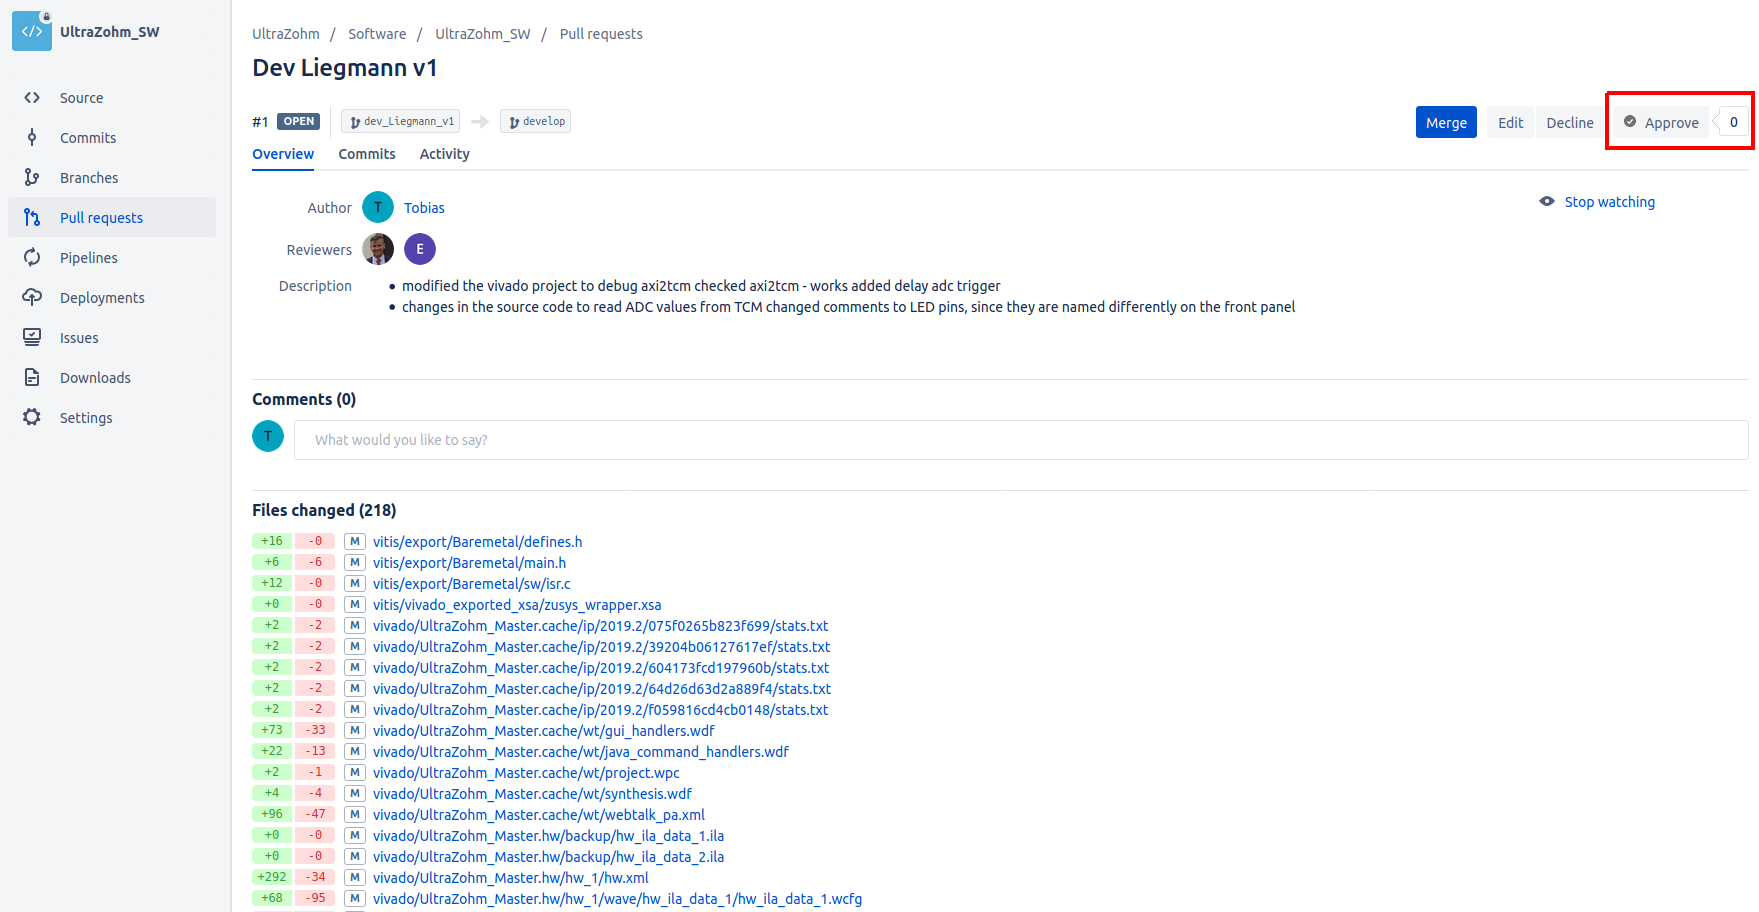
The proposed changes can be discussed in the pull request, and after the pull request is approved by a maintainer, the changes can be merged by the maintainer.

Using Smart Commits#
Documentation on how to resolve issues automatically can be found here. Alternatively, you can use Smart Commits. With smart commits, you can process your issues using special commands in your commit messages. You can:
Comment on issues.
Record time tracking information against issues.
Issues can be tagged and closed automatically through your commit message, by adding the following in your commit message, with
XXbeing the issue number. This is a nice feature since it links your commit to the issue, making it easier to track your changes:close issue #XXfor closing the issueXXissue #XXto link the commit to the issue